Charred Wood Blog
A Practical Guide to Cladding a House with Timber

Wrapping your house in timber cladding is one of the most effective ways to add natural warmth and character to its exterior. By fixing wooden boards to the outside of the building, you can completely transform its appearance while also adding an extra layer of protection and insulation. Timber cladding is highly versatile, working just as well on modern new-build homes as it does on traditional country cottages.
This article explains why timber cladding is such a popular choice, compares timber species including Larch, Cedar, Oak, Thermowood, and Accoya, and outlines how to prepare walls with membranes and battens before installation.
Why Choose Timber Cladding for Your Home?
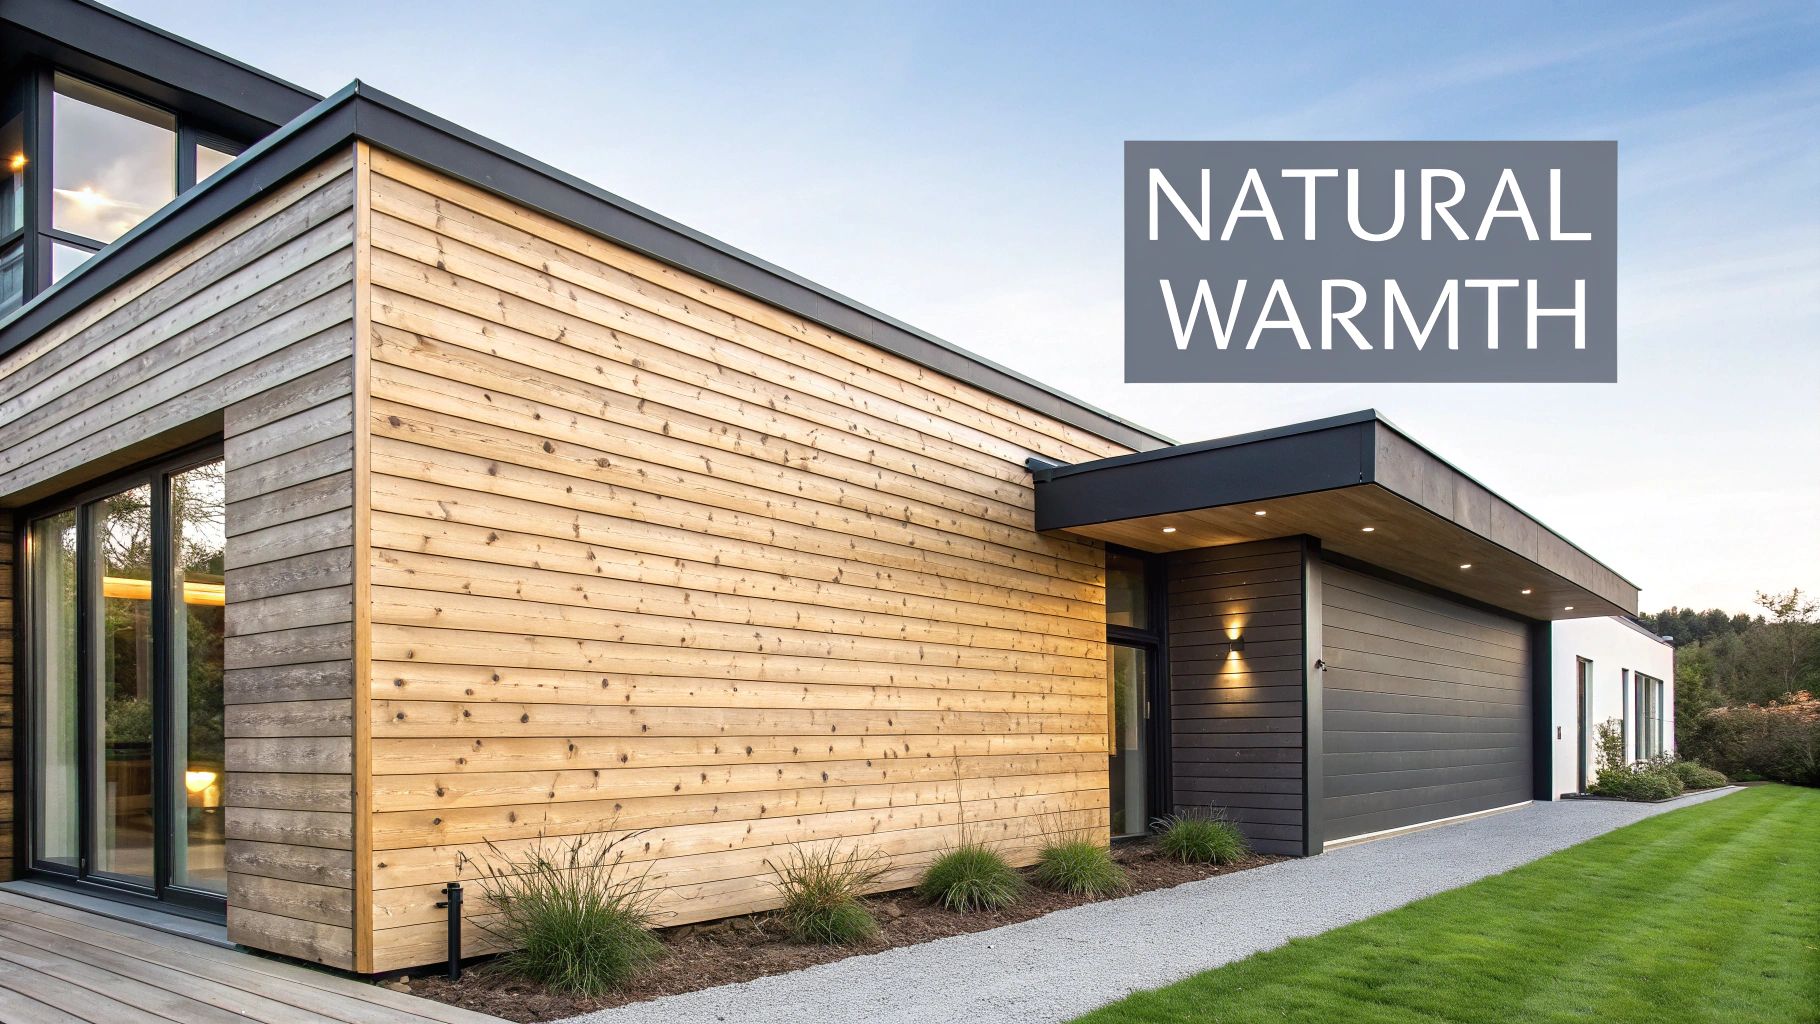
Timber cladding has become a popular choice for both renovations and new builds across the UK because it combines strong visual appeal with practical performance.
Beyond aesthetics, cladding a house with timber offers several practical benefits. Wood’s natural cellular structure provides effective insulation, helping to keep your home warmer in winter and cooler in summer. Over time, this can contribute to improved energy efficiency and reduced heating costs.
This guide serves as a clear roadmap, covering everything from selecting the right timber to preparing and installing cladding correctly. The aim is to help you achieve a durable, high-quality finish.
A Growing Trend in UK Architecture
The growing popularity of timber cladding reflects a broader shift towards sustainable, natural building materials in UK architecture. Its increasing use is driven by both evolving design preferences and supportive government initiatives.
Market data highlights this trend clearly. The UK timber cladding market, valued at approximately USD 1.09 billion, is projected to reach USD 2.15 billion by 2032. This growth is supported in part by the UK government’s Timber in Construction Roadmap, which promotes the use of locally sourced timber to help reduce carbon emissions. For a more detailed overview, you can explore the full market analysis on Verified Market Research.
Beyond its sustainability benefits, timber cladding enhances the connection between a building and its natural surroundings. As it weathers over time, it develops character and becomes a distinctive element of the property’s identity.
Key Advantages of Timber Cladding
Choosing timber cladding is an investment in your home’s durability, appearance, and environmental performance. It continues to be a preferred option for both homeowners and architects due to several key benefits:
- Aesthetic versatility: timber offers a wide range of design options, from the light, clean look of Larch to the rich, traditional tones of Oak, as well as options like douglas fir wood cladding and more distinctive finishes such as charred timber (Yakisugi), making it suitable for any architectural style
- Sustainability: when sourced from responsibly managed forests, timber is a renewable material with a significantly lower carbon footprint compared to more energy-intensive materials like brick or concrete
- Enhanced kerb appeal: timber cladding can dramatically improve a property’s exterior, contributing to a more attractive appearance and potentially increasing its market value
- Durability and longevity: with proper installation and regular maintenance, high-quality timber cladding can provide protection against weather conditions for decades
Selecting the Right Timber for Your Project
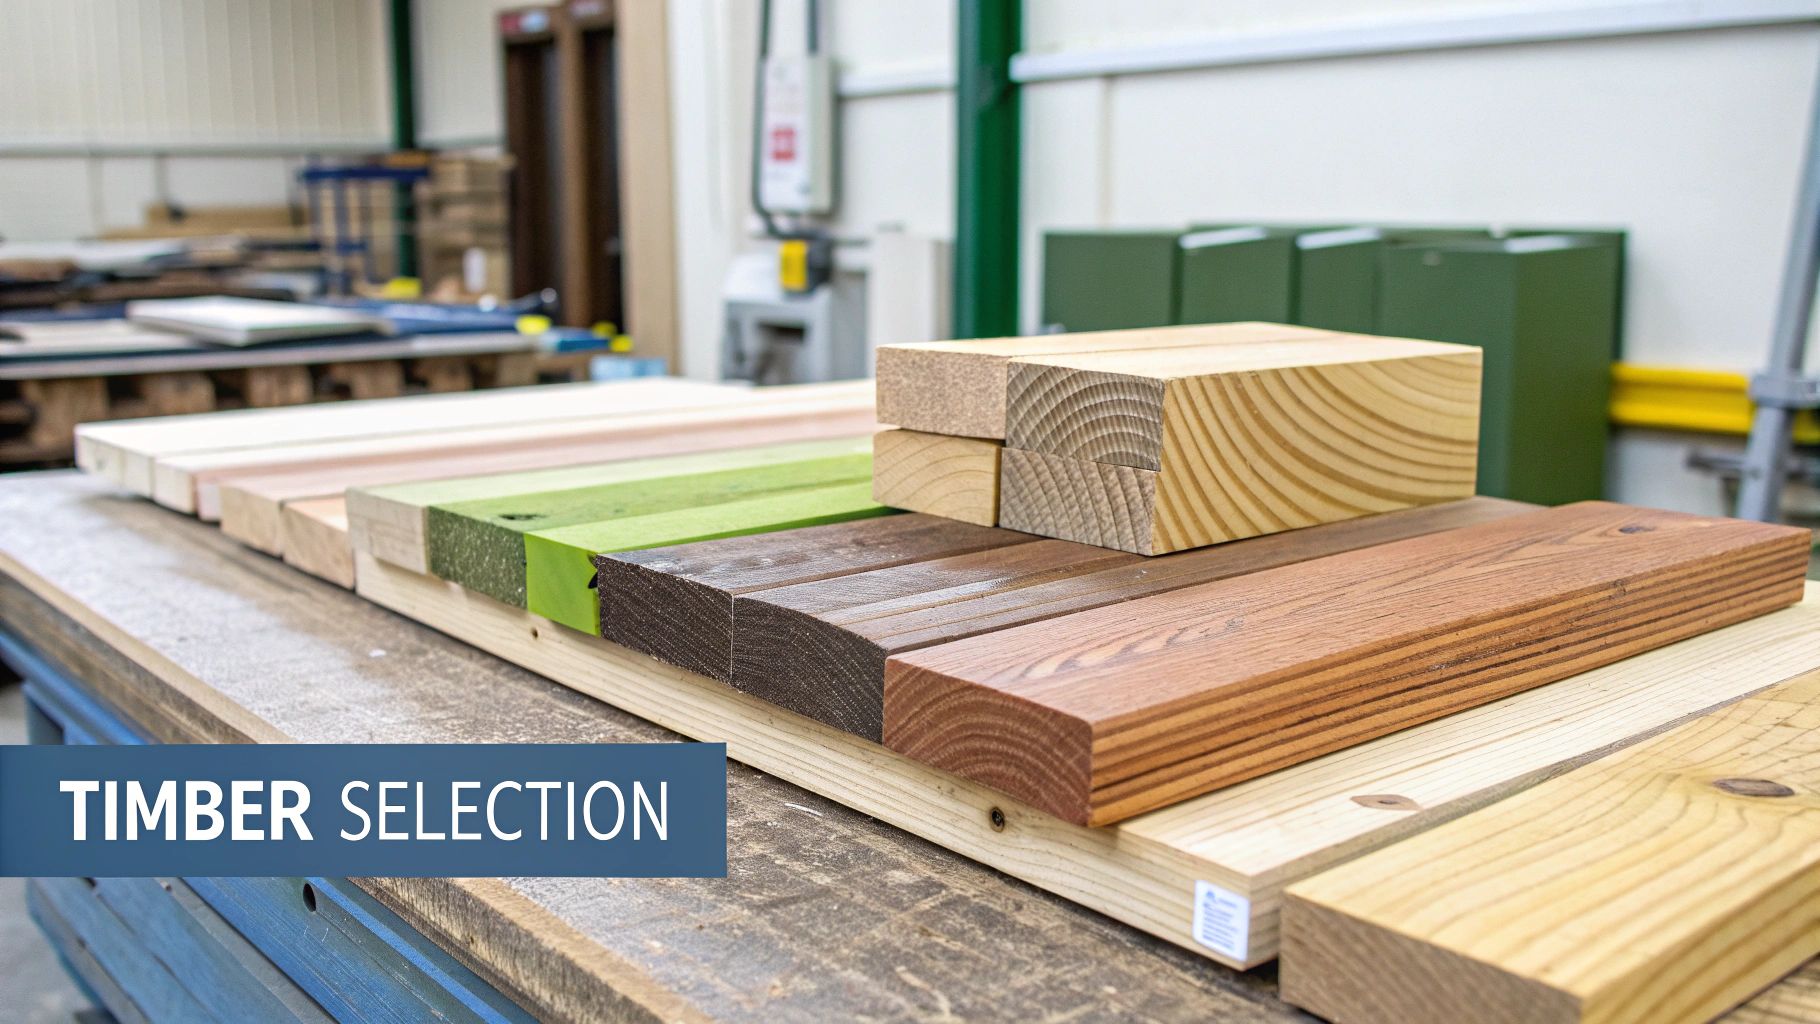
Choosing the right timber is one of the most important decisions when cladding a house. It directly influences the final appearance of your home, as well as the level of maintenance and long-term costs. In the UK’s damp and unpredictable climate, selecting a wood that can withstand moisture, sunlight, and temperature changes is essential for achieving a durable and lasting finish.
The first key decision is typically between softwoods and hardwoods. Despite the names, some softwoods offer excellent durability. Each option provides a different balance of performance, visual appeal, and cost.
Comparing Softwoods and Hardwoods
In the UK, softwoods such as Larch and Cedar are widely used for timber cladding due to their affordability and ease of installation. They are generally easier to work with and offer a practical solution for many types of projects.
- Larch (Siberian and British): a cost-effective and durable option, Larch contains natural resins that provide good resistance to rot. It begins with a warm, honey-toned appearance and, if left untreated, gradually weathers to a silver-grey finish. Siberian Larch is particularly valued for its density and durability, a result of its slow growth in colder climates.
- Western Red Cedar: a premium softwood known for its stability, Cedar is less prone to warping or twisting compared to many other timbers. Its natural oils offer strong resistance to decay and insects, making it especially suitable for exposed environments such as coastal areas.
Hardwoods, by contrast, are known for their strength and longevity. Oak is a classic example, valued for its durability and long lifespan. Although it comes at a higher cost, properly installed Oak cladding can last for decades, developing a distinctive and characterful appearance over time.
The timber you choose defines more than just the material—it shapes the overall character of your home’s exterior. It’s important to consider not only its appearance at installation but also how it will weather and develop over the next 20 years.
To help guide your decision, the comparison below highlights some of the most commonly used timber cladding options for UK homes.
Comparison of Popular Timber Cladding Species
| Timber Species | Average Cost per m² | Expected Lifespan (with maintenance) | Maintenance Level | Best For |
|---|---|---|---|---|
| Siberian Larch | £30 – £50 | 30+ years | Low | A durable and cost-effective option that weathers beautifully to a silver-grey. |
| Western Red Cedar | £60 – £90 | 50+ years | Low to Medium | Premium projects where dimensional stability and a rich, warm colour are key. |
| European Oak | £70 – £120 | 60+ years | Medium | Heritage properties or new builds seeking a timeless, robust, and prestigious finish. |
| Thermowood (Pine) | £40 – £60 | 30+ years | Very Low | Homeowners wanting a stable, rot-resistant material with minimal upkeep. |
| Accoya | £90 – £150 | 50+ years | Very Low | High-end, demanding applications where ultimate durability and stability are required. |
This table gives you a solid starting point, just keep in mind that both costs and lifespan are estimates—factors like installation quality and local climate will have a major influence on the final outcome.
Advanced and Modified Timber Options
Beyond the traditional choices, it’s worth considering modified timbers. These are engineered to enhance natural properties, giving you the look of real wood with reduced maintenance demands.
Thermowood is a strong example. Typically made from pine or spruce, it is heat-treated in a specialised kiln. This process removes moisture and resins, improving stability and increasing resistance to rot, which can significantly extend its lifespan.
Another proven method is Yakisugi, the traditional Japanese technique of charring the surface of wood, used in premium exterior solutions such as charred douglas fir cladding. Also known as shou sugi ban, it creates a protective carbonised layer that improves resistance to fire, pests, and moisture. The result is a bold, dark finish that is both visually striking and highly durable. If you’re comparing timber options, it can also be helpful to explore guides on the best wood for outdoor use, which look more closely at durability in different conditions.
This traditional method creates a distinctive aesthetic, ranging from a deep, uniform black finish to a more textured “alligator skin” effect, depending on how the surface is brushed after charring. It’s an ideal option for projects that aim to make a strong architectural statement while requiring minimal maintenance.
Preparing Your Walls for Cladding Installation
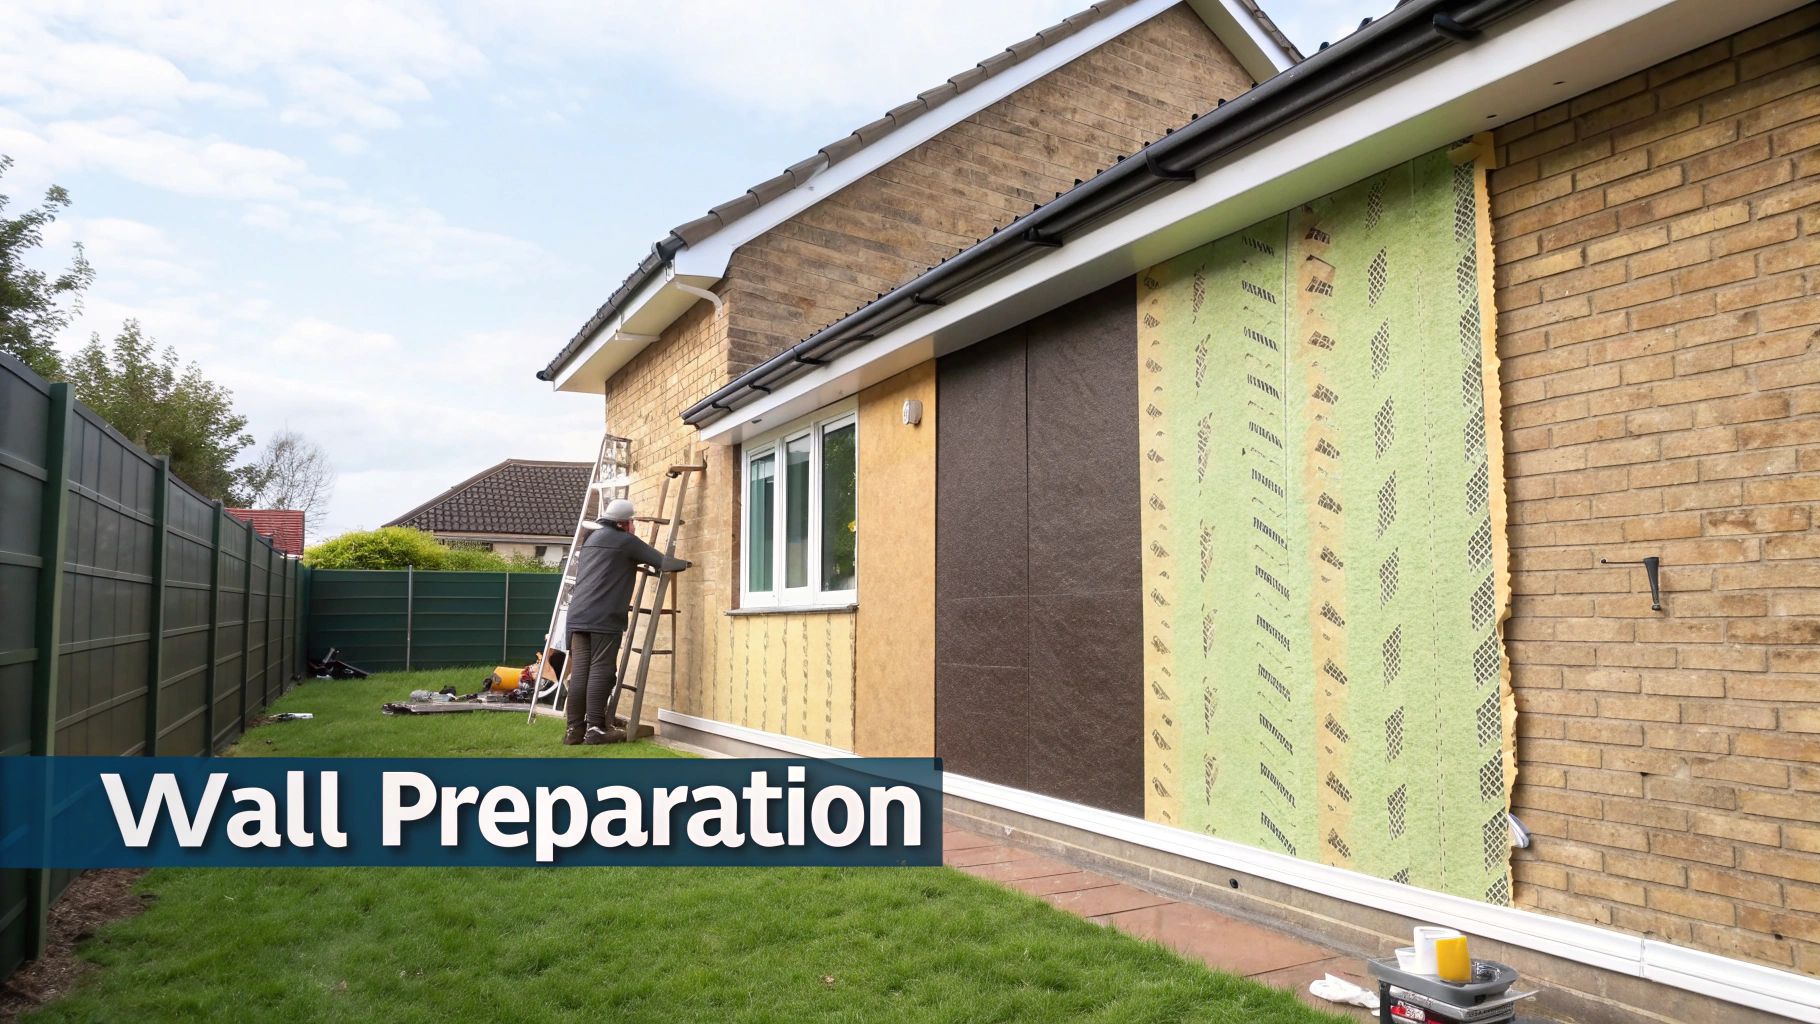
Before installing your first cladding board, proper wall preparation is essential. The success of the entire project depends on this stage, as it forms the foundation for a durable, weather-tight finish that will protect your home over time. Skipping this step is a common mistake and often leads to problems later on.
Start by carefully inspecting the existing wall. Whether it’s brick, block, or old render, check for any issues such as cracks, crumbling mortar, or signs of damp. Any structural problems need to be fixed at this stage—cladding will hide them, but it won’t solve them.
Once the wall is in good condition, the next step is to install a breathable membrane. This layer is fixed directly onto the wall and plays a critical role. It prevents rain from reaching the structure while allowing water vapour from inside the home to escape, helping to avoid condensation and trapped moisture within the wall cavity.
Creating the Essential Ventilation Gap
Once the membrane is securely in place, the next step is installing the battens. This timber framework provides the fixing point for your cladding, but its most important function is to create a ventilation gap. This gap is critical for the long-term performance of timber cladding.
Without proper airflow, moisture can become trapped behind the boards, creating ideal conditions for rot and decay. The most effective way to achieve consistent ventilation is by using a system of battens and counter-battens.
- Vertical battens: fixed first, running vertically over the membrane to provide the primary structural support
- Horizontal counter-battens: installed over the vertical battens, forming the fixing surface for the cladding boards and ensuring a continuous airflow channel
If you take one thing away, it’s this: the ventilation channel is the single most important element in ensuring timber cladding lasts. It allows the back of the boards to dry at the same rate as the front, significantly reducing the risk of warping, cupping, and long-term moisture damage.
This careful, layered approach is now standard practice in the UK timber cladding market. Advances in digital fabrication have made high-quality prefabricated cladding systems more accessible, helping to simplify installation and achieve a consistent finish. The market is expected to continue growing, particularly with building regulations such as the Future Homes Standard encouraging the use of timber for its natural insulating properties. You can read more about these trends and projections over at Data Vibe.
One final tip: always use pressure-treated timber for the battens. As the structural framework supporting your cladding, they need to be durable and resistant to rot and insect damage from the outset.
Mastering Timber Cladding Installation Techniques
With the preparation complete, the installation stage is where your timber cladding begins to take shape. This is the point where planning turns into visible results, and the quality of your work will directly affect both the appearance and lifespan of the cladding.
The most important step is ensuring the first board is perfectly level. This initial row sets the alignment for everything that follows, so any inaccuracy will carry through the entire installation. Using a spirit level or laser level, mark a straight guideline along the base to establish a precise starting point.
Once your starting line is set, the next consideration is how the boards will be fixed to the battens. The fixing method influences both the final visual finish and the installation process, so it should be chosen based on your preferred style.
This flow chart outlines the essential steps for installing timber cladding correctly.
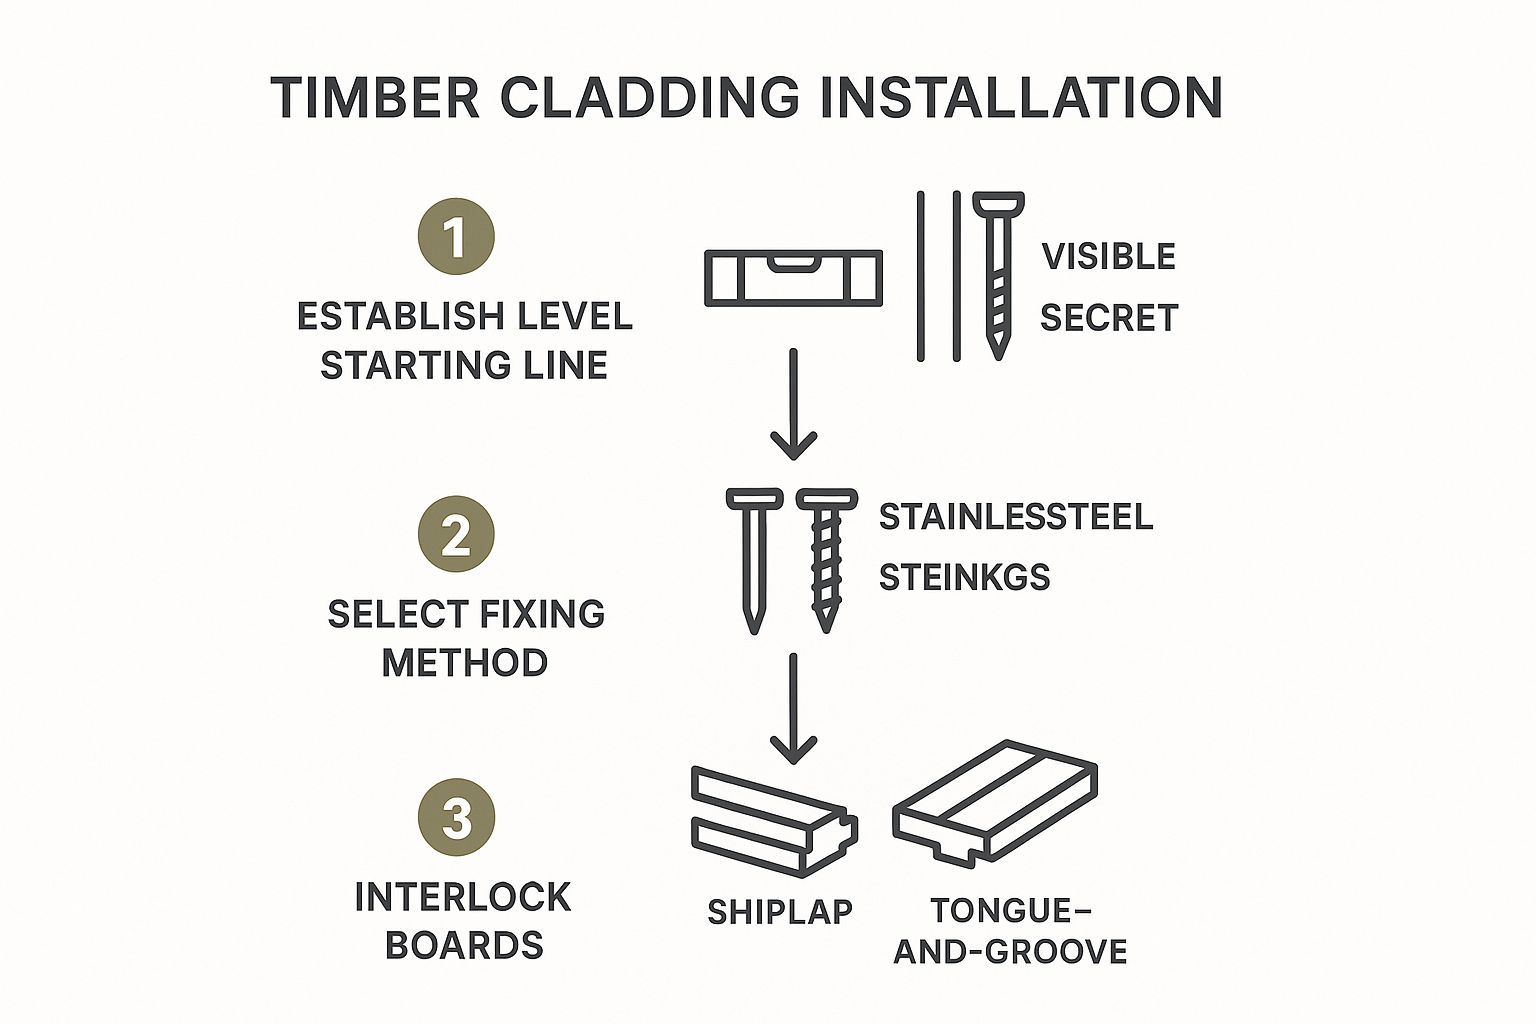
As you can see, the key steps come down to setting an accurate baseline, selecting the right fixings, and installing the boards correctly based on the chosen cladding profile.
Visible Versus Secret Fixing
There are two main methods for attaching timber cladding boards: visible fixing and secret fixing.
- Visible face fixing: a traditional and reliable method where screws or nails are driven directly through the face of the board into the battens. It is straightforward and strong, but the fixings remain visible as part of the finished look.
- Secret fixing: a more discreet option for a cleaner, contemporary finish. Fixings are hidden, typically using clips or by angling screws through the tongue of the board so they are concealed by the next board.
One essential rule applies to both methods: always use stainless steel fixings. Lower-quality galvanised fixings can react with the natural tannins found in timbers such as oak and cedar, leading to dark staining that can affect the appearance of your cladding over time.
Working with Different Timber Profiles
The profile of your cladding boards—the shape of their edges—determines how they fit together. When cladding a house with timber, the two most common profiles are shiplap and tongue-and-groove.
- Shiplap boards: designed with an overlapping joint that creates a defined shadow line while providing strong weather protection. Each board overlaps the one below, helping to direct rainwater away from the structure.
- Tongue-and-groove (T&G) boards: feature a tighter interlocking system, where a tongue on one board fits into a groove on the next. This creates a smooth, seamless finish that works particularly well on modern designs.
Regardless of the profile, accuracy in cutting is essential—especially around windows, doors, and corners. Measuring carefully before cutting helps avoid costly mistakes. For more complex shapes, creating a cardboard template first can make the process easier and more precise.
For a deeper dive, our comprehensive guide on the installation of cladding is packed with more detailed tips and visuals to help you along.
Finishing and Maintaining Your Timber Cladding
Getting the final board in place is a satisfying moment, but the job isn’t quite finished. To keep your new facade looking its best over time, it’s important to consider protection and maintenance. From the outset, you’ll need to decide whether to let the timber weather naturally or apply a protective finish.
To Finish or Not to Finish?
Letting timber age naturally is a popular choice, particularly for species like Larch and Cedar. When left untreated, these woods gradually develop a distinctive silvery-grey patina over time. This low-maintenance approach allows the cladding to blend into its surroundings and evolve with changing seasons.
Alternatively, applying a protective finish helps preserve the timber’s original colour while adding an extra layer of protection against the UK’s variable weather. If maintaining that fresh, newly installed appearance is important, this is the path for you.
Choosing the Right Protective Finish
If you decide to apply a finish, it’s important to choose one that works with the timber rather than against it. The ideal product should protect the wood while still allowing it to breathe.
Here are the main options to consider:
- Oils: products such as Danish or Tung oil penetrate the wood, nourishing it from within. They enhance the natural grain and are relatively easy to reapply, but typically require maintenance every one to two years
- Stains: these provide both colour and protection. Semi-transparent stains allow the grain to remain visible, while opaque stains create a more uniform, solid colour finish
- Paints: paint offers the highest level of protection against UV and moisture but completely covers the natural wood grain. A high-quality exterior paint system, including primer, is essential for durability
Ultimately, the right choice depends on your timber and how much maintenance you’re willing to carry out. Some prefer the low-maintenance, naturally weathered look, while others opt for the consistent appearance and added protection provided by oils or stains.
A Simple Maintenance Checklist
Maintaining timber cladding doesn’t require constant effort. A few regular checks and simple tasks are enough to keep it in excellent condition for years.
- Annual inspection: once a year, walk around your home and inspect the cladding carefully. Look for signs of damage, loose fixings, or areas where moisture may be collecting. Identifying issues early helps prevent more serious problems later
- A gentle clean: spring is a good time to clean the surface. Use a soft brush and mild soapy water to remove dirt, algae, and pollen buildup. Avoid high-pressure washers, as they can damage the wood fibres
- Follow a re-coating schedule: if a finish has been applied, follow the manufacturer’s recommendations for reapplication. This may mean every one to two years for oils, or every five to eight years for high-quality stains. Regular maintenance is far easier than restoring neglected timber
Planning Your Project and Budgeting for Costs
A successful timber cladding project starts with careful planning and a realistic budget. Getting this right early on helps avoid unexpected costs and ensures the project runs smoothly from start to finish.
When estimating costs, it’s important to look beyond the timber itself. You’ll also need to budget for support battens, a breathable membrane, and a large number of stainless steel fixings. Additional expenses such as scaffolding hire, waste disposal, and labour (if you’re not installing it yourself) can significantly affect the total cost. For a more detailed breakdown, it’s worth exploring a full guide on the cost of cladding a house.
It’s also important to be aware of current market conditions. Softwood prices have been rising, with increases of around 10% in early 2025, while labour costs have also gone up due to changes in the National Living Wage. In addition, new regulations around water and nutrient neutrality are influencing construction costs. These factors can all impact your final budget, so staying informed about timber market trends is essential when planning your project.
Getting Accurate Quotes
When speaking with contractors, the more detail you provide, the more accurate and useful your quotes will be. Supplying clear measurements along with your chosen timber species helps ensure the estimate truly reflects your project.
It’s important to get at least three itemised quotes. This allows you to compare not just the total price, but exactly what’s included. If one quote is noticeably lower than the others, treat it with caution—it may indicate lower-quality materials or shortcuts in key stages of the work.
A good approach is to ask installers about their experience with your selected timber. If possible, request to see examples of previous cladding projects. This gives you a clearer sense of their craftsmanship.
UK Planning Permission and Regulations
Before moving ahead with your project, it’s important to check with your local council whether planning permission is required. In many cases, timber cladding falls under permitted development, meaning formal approval may not be needed—particularly if the materials are similar in appearance to those already used in the surrounding area.
However, different rules apply if your property is:
- a listed building
- located within a conservation area
- situated in a National Park or an Area of Outstanding Natural Beauty (AONB)
In these cases, planning permission is usually required. The safest approach is to contact your local planning authority early on. This will clarify your specific situation and help you avoid potential complications later.
Got Questions About Timber Cladding? We’ve Got Answers
If you’re considering cladding your house with timber, it’s natural to have a few questions. It’s an important decision, so here are clear answers to some of the most common queries.
How Long Does Timber Cladding Last on a House in the UK?
The lifespan of timber cladding depends mainly on the type of wood you choose and how well it is maintained.
Durable hardwoods like Oak can last 60 years or more. Popular softwoods such as Cedar or Larch typically offer a lifespan of around 25–40 years.
However, the timber itself is only part of the equation. Proper installation plays a critical role in longevity. A well-designed system with a ventilated gap behind the boards allows the timber to breathe. Combined with regular maintenance, this can significantly extend the lifespan of the cladding—especially in the UK’s damp climate.
It’s important to think of cladding as a complete system. Well-installed Larch with proper ventilation can outperform poorly installed Oak where moisture becomes trapped.
Do I Need Planning Permission to Add Timber Cladding?
For most straightforward projects, adding or replacing timber cladding falls under permitted development rights, meaning full planning permission is often not required—especially if the materials are similar in appearance to those used on neighbouring properties.
However, restrictions are stricter in certain cases. You are more likely to need planning permission if your property is:
- a listed building
- located within a conservation area, National Park, or an Area of Outstanding Natural Beauty
The safest approach is to contact your local planning authority before starting your project. A quick check can clarify your situation and help you avoid potential issues later.
Can I Install Timber Cladding Over Existing Brickwork?
Absolutely. Installing timber cladding over existing brickwork is one of the most popular and effective ways to transform a home’s exterior.
The process is straightforward: a breathable membrane is fixed over the brick surface, followed by vertical timber battens. These battens create a vital ventilation gap, allowing air to circulate and preventing moisture from becoming trapped. The cladding boards are then fixed onto this framework.
This layered approach protects both the new timber and the original brickwork, resulting in a durable, long-lasting finish.
Ready to bring the timeless beauty and durability of charred timber to your project? Explore the full range of Yakisugi cladding, decking, and fencing at TimberSol, and discover sustainable, high-quality solutions designed to elevate your outdoor space.