A Guide to Flawless Installation of Cladding

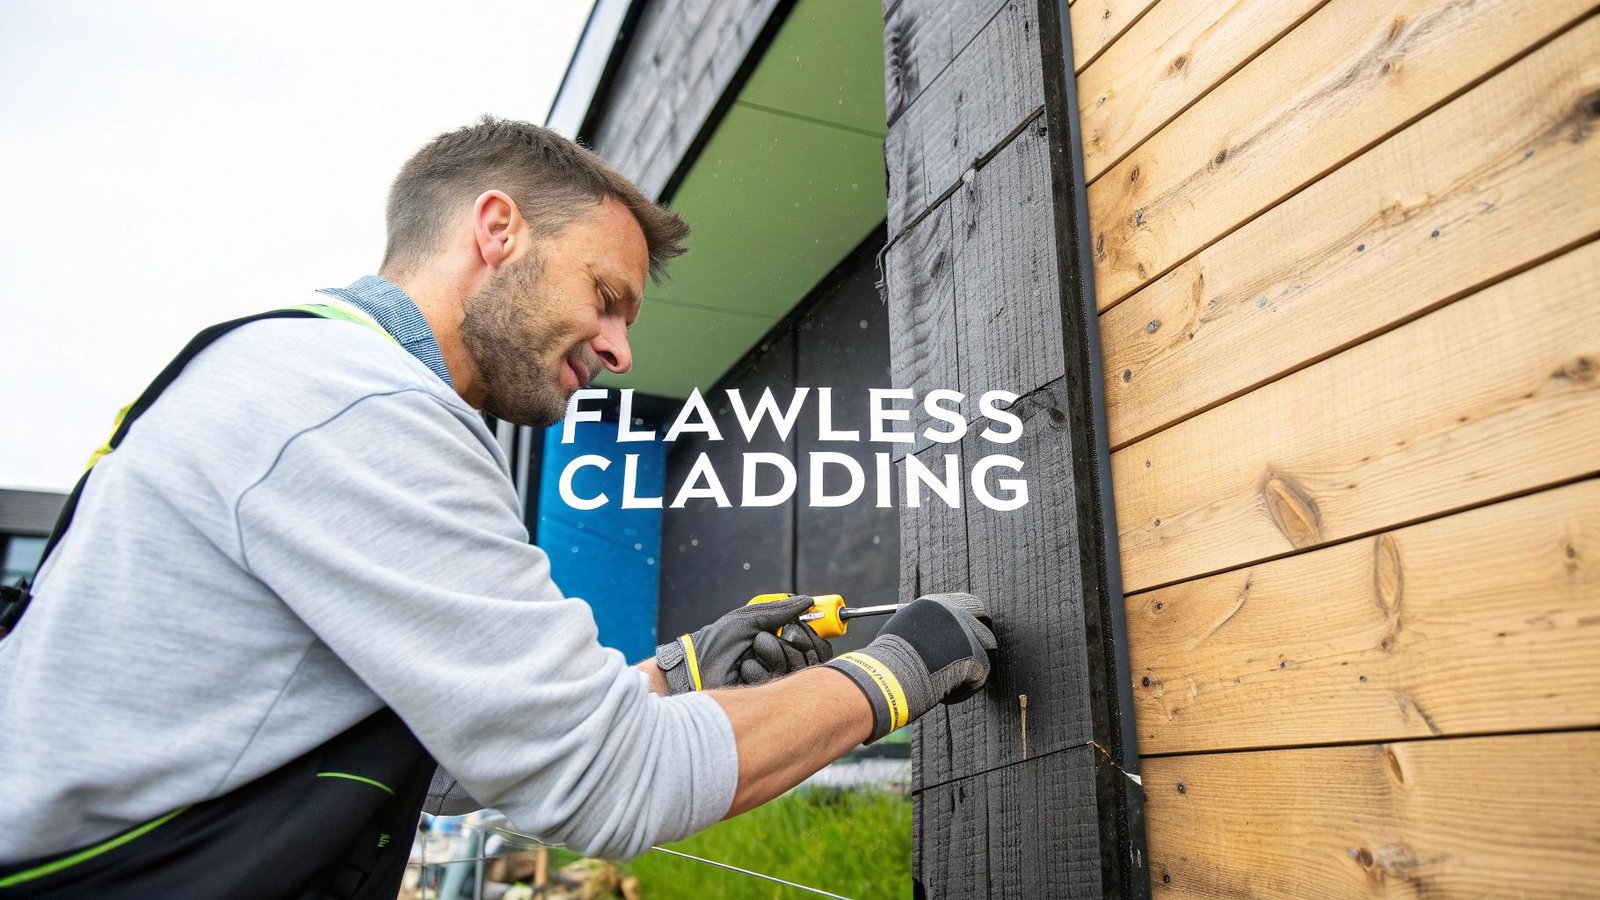
Before you even think about lifting the first board, let’s talk about what’s really going to make or break your cladding project: your toolkit. Getting this right from the start is the difference between a job you can be proud of for years and one that causes headaches down the line. With charred timber, in particular, proper prep is non-negotiable for achieving those clean cuts and secure, rust-free fixings.
Gathering Your Tools for a Perfect Cladding Job
Trying to install cladding without the right gear is a recipe for frustration. You’ll end up with a finish that just looks… off. The truth is, a professional-looking result comes down to having the right tools for the job, from getting your measurements spot-on to driving the final screw.
So, let’s go beyond just a basic shopping list. I want to explain why certain tools are absolutely essential, especially when you’re working with a unique material like charred timber.
Essential Cutting and Measuring Tools
Precision is the name of the game here. If your first board is out by just a few millimetres, that error will multiply across the entire wall, leaving you with a skewed, amateurish-looking finish.
- Fine-Toothed Saw Blade: The charred surface of the timber is its main feature, but it’s also delicate. A standard, coarse saw blade will just tear and splinter it, ruining the look. You need a fine-toothed blade on your mitre or circular saw to get a perfectly crisp, clean edge every time.
- Quality Spirit Level: Don’t skimp here. A long spirit level—I’d recommend at least 1200mm—is your best friend for making sure every single batten and board is perfectly plumb and level. Guesswork just won’t cut it.
- Chalk Line: When it comes to marking long, straight lines across your battens, nothing is faster or more accurate than a chalk line. It’s the perfect way to snap a baseline for your first row of cladding, ensuring everything that follows is perfectly parallel.
- Measuring Tape and Carpenter’s Square: The basics, but absolutely vital for accuracy. A good quality tape and a square are fundamental for making sure your cuts are precise and your corners are true.
Fixings and Fastening Equipment
How you attach the cladding is just as important as the timber itself. Here in the UK, with our damp climate, using the wrong screws is a critical mistake that can lead to ugly rust streaks and even long-term failure.
I’ve seen it happen too many times: someone uses standard galvanised screws, and within a year, they’re faced with black and brown stains running down their beautiful new cladding. This is caused by a chemical reaction between the metal, the moisture in the air, and the tannins in the wood. It’s a nightmare to fix once it’s happened.
Avoid this costly error by insisting on high-grade stainless steel fixings. Yes, they cost a little more upfront, but they guarantee a clean, streak-free finish that will last for decades. You’ll want an impact driver or a good drill to drive them in securely without damaging the wood. For the right kind of fasteners, it’s always best to get advice from specialists; you can find a solid range of fixings for cladding and fencing designed specifically for these types of jobs.
Safety Gear and Foundational Materials
Finally, don’t treat safety as an afterthought. Cutting any kind of timber kicks up fine dust, and with treated or charred wood, you really don’t want to be breathing that in.
- Respiratory Protection: A dust mask with a P2 or P3 rating is essential. Your lungs will thank you.
- Eye Protection: A simple pair of safety glasses or goggles is a must to keep sawdust and debris out of your eyes.
- Gloves: Charred wood can be a bit abrasive and splintery. A good pair of gloves will protect your hands.
The hidden elements are just as critical. Behind the beautiful timber, a high-quality breathable membrane acts as your weatherproof barrier. This is installed over your structure before the timber battens, which create the all-important ventilated cavity. This gap allows air to circulate, preventing moisture from getting trapped and protecting your home from damp and rot.
Getting the Substructure Right for a Lasting Finish
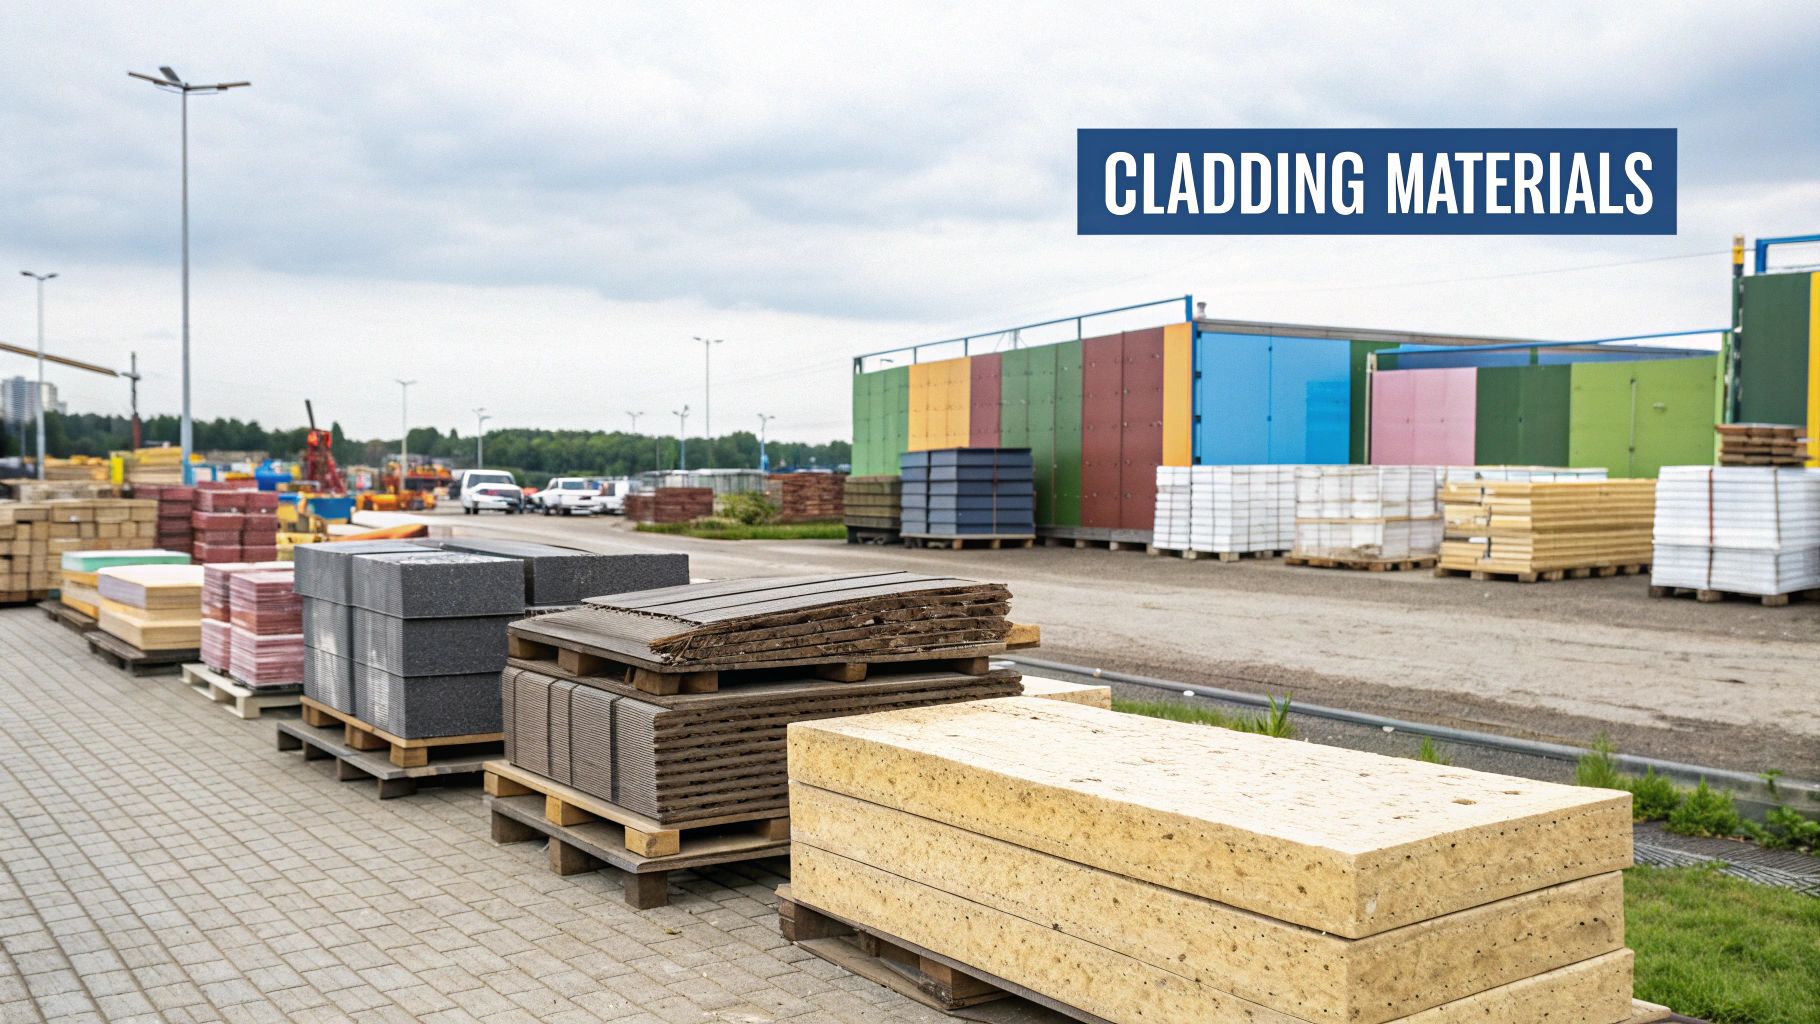
The charred timber itself might be the star of the show, but it’s the hidden framework—the substructure—that does all the hard work. Get this part right, and your cladding will look fantastic and perform flawlessly for decades. Cut corners here, and you’re just asking for moisture problems and a job that won’t last.
A well-built substructure isn’t just about giving you something to screw the boards to. It’s your building’s primary line of defence against the notoriously damp UK climate, protecting the core structure of your home. Think of it as the unsung hero of your project.
Starting with the Existing Wall
Before you even think about fixing a batten, take a good, hard look at the wall you’re about to cover. It’s tempting to just cover up old problems, but trapping damp patches, cracked render, or rotten timber will only make them a hundred times worse.
Make sure the surface is solid, clean, and already weatherproof. Any repairs need doing now because you won’t get another chance once the breathable membrane goes on. This initial check is a non-negotiable step for any professional installation of cladding.
Laying Down the Weatherproof Barrier
The first layer to go on is a high-quality breathable membrane. This clever bit of kit stops rainwater from getting in but allows water vapour from inside the building to get out. It’s the key to stopping condensation from building up inside the wall cavity, which is the number one cause of damp and rot.
Always fit the membrane from the bottom up, making sure each new section overlaps the one below it by at least 150mm. This creates a shingle-like effect that channels any water down and away. You’ll need to seal every single seam, both horizontal and vertical, with the proper tape to create a completely airtight and watertight shield.
Proper preparation of the building envelope is not just a best practice; it’s a critical safety measure. The Grenfell Tower tragedy highlighted the devastating consequences of inadequate cladding systems. Attention to detail at this stage ensures both performance and peace of mind.
This focus on safety is, quite rightly, a national priority. Data from the UK government in early 2025 showed thousands of residential buildings in England still needed unsafe cladding to be fixed—a stark reminder of why following proper installation procedure is so vital. Many of these problems stemmed from older installations that simply didn’t meet modern fire safety and weatherproofing standards. You can get more details on the latest cladding safety data in England and see the scale of the ongoing remediation work.
Fixing the Vertical Timber Battens
Once the membrane is securely in place, it’s time to install the timber battens. These vertical supports are doing two crucial jobs: giving you a solid fixing point for the cladding boards and, just as importantly, creating the ventilated cavity.
The battens need to be fixed securely back to the main structural wall with screws and plugs that are long enough to get a really firm grip. A spirit level is your best friend here—every batten must be perfectly vertical. If the wall itself is a bit wonky, you’ll need to use packers or shims behind the battens to get everything lined up on a single, flat plane for the cladding.
A Few Pro Tips for Batten Installation:
- Spacing: As a rule of thumb, space your battens at 400mm to 600mm centres. The exact distance depends on the weight and profile of your cladding, so always double-check the manufacturer’s guidance.
- Material: Don’t skimp here. Use pressure-treated timber for the battens. This protects them from rot and insects and ensures the substructure will last as long as the cladding.
- Detailing: Pay close attention to corners and openings like windows and doors. You’ll need to frame these out with battens to provide solid fixing points for your corner trims and flashing.
Why the Ventilated Cavity is So Important
That gap you’ve created between the membrane and the back of the cladding boards? That is the single most important part of the whole system. In the UK climate, a ventilated cavity isn’t a “nice to have”—it’s an absolute must.
This air gap creates constant airflow, which does a few vital things:
- Dries out moisture: Any dampness that finds its way behind the cladding or works its way out from inside the building can evaporate and escape.
- Controls temperature: In the summer, it helps let hot air out, which can help keep the building a little cooler.
- Protects the timber: Most importantly, it keeps the back of your expensive cladding boards dry, stopping them from rotting and massively extending their lifespan.
For the cavity to work, air needs to get in at the bottom and out at the top. We achieve this by fitting insect-proof vents at both ends to stop any critters from making a home in your wall. A minimum gap of 25mm is the standard, but I often prefer to go for 38mm or even 50mm to guarantee really good airflow.
Installing Your Yakisugi Boards Like a Pro
Now for the rewarding part. With your substructure perfectly prepped, this is where the vision for your project really starts to come alive. As each charred board goes up, you’ll see that dramatic, timeless, and yet strikingly modern facade taking shape.
The success of the whole job rests on getting that very first board perfectly straight and level. Seriously, this one board is the foundation for everything else. Even a tiny error here will get magnified as you work your way up the wall, leading to wonky lines and a finish you won’t be happy with.
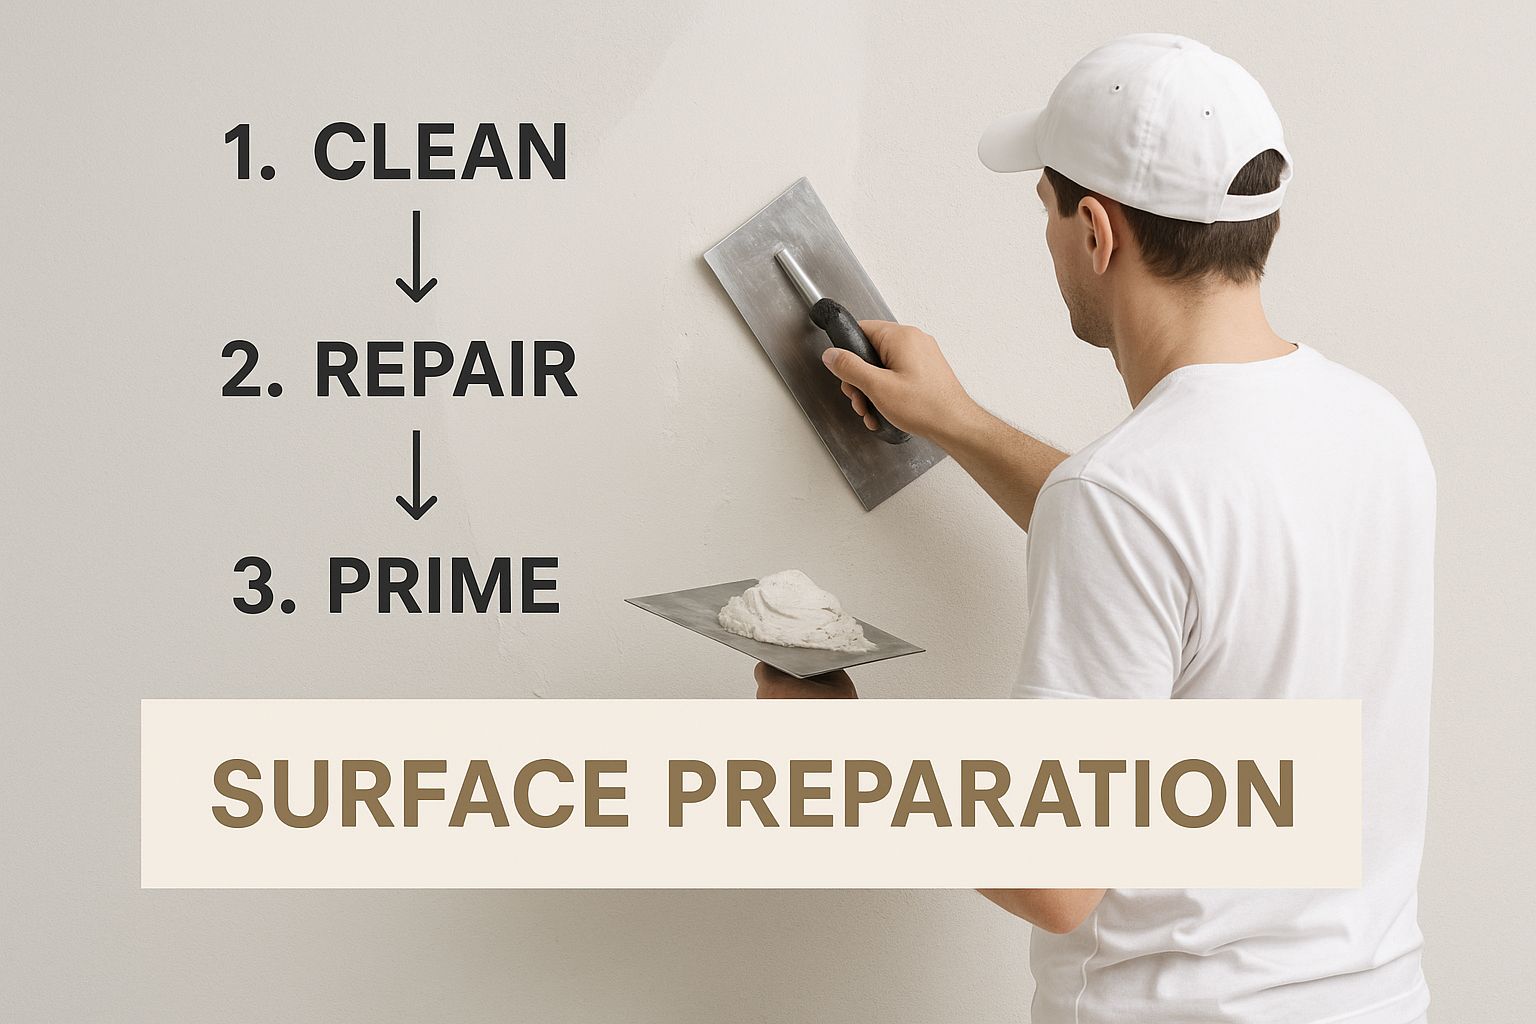
As you can see, getting the surface behind the cladding just right is the first crucial step. It’s what guarantees the longevity and performance of the beautiful facade you’re about to create.
Face Fixing vs. Secret Fixing: What’s Your Style?
Before you pick up a single screw, you need to decide on the final look. This boils down to two main methods for fitting your cladding boards: face fixing or secret fixing. They each give a very different aesthetic and have their own pros and cons.
- Face Fixing: This is the traditional approach. You drive screws directly through the face of the cladding into the battens behind. While the screws are visible, if you plan the layout carefully, they can create a really smart, intentional pattern. Consistency is everything here – making sure every screw head aligns perfectly.
- Secret Fixing: If you’re after a clean, contemporary finish, secret fixing is the way to go. This method uses special clips or tongue-and-groove profiles that hide all the fixings from sight. The result is a seamless, uninterrupted surface that lets the beautiful texture of the charred timber do all the talking.
To help you choose, let’s compare the two methods side-by-side.
Face Fixing vs Secret Fixing for Yakisugi Cladding
| Feature | Face Fixing (Visible Screws) | Secret Fixing (Hidden Fixings) |
|---|---|---|
| Aesthetic | Traditional and robust, with the fixings adding to a rhythmic design pattern. | Modern and seamless, creating a clean finish that highlights the timber’s texture. |
| Installation Speed | Generally faster and more straightforward. | Often more time-consuming due to the precise placement of clips or grooves. |
| Cost | Typically lower cost, as it doesn’t require specialised clips or fixings. | The cost of specialised clips and potentially more labour-intensive work can be higher. |
| Complexity | Simpler and more forgiving, making it a good option for skilled DIYers. | Requires greater precision and is often best handled by experienced professionals. |
| Board Replacement | Replacing a damaged board is relatively simple. | Can be tricky to replace a single board without disturbing the surrounding ones. |
Ultimately, there’s no right or wrong answer; it’s all about the look you want. Both methods can create a stunning and long-lasting finish when done well. If you’re still exploring the material itself, you can learn more about the beauty and resilience of Yakisugi cladding in our detailed guide.
Getting That First Board Just Right
Grab your long spirit level and chalk line, then snap a perfectly level guideline for the bottom edge of your first board. Don’t rush this. I can’t stress enough how critical this single line is to the entire installation.
Once you’re happy with the line, place your first board. If you’re face fixing, I strongly recommend pre-drilling the screw holes. It’s a small extra step, but it prevents the timber from splitting and makes a huge difference to the final quality. For secret fixing, you’ll attach the clips to the batten first, then firmly slot the board into place.
Key Takeaway: Always leave an expansion gap of around 2-3mm between each board. Timber is a natural material that moves with changes in temperature and humidity. This small gap gives it the space it needs to expand and contract without warping.
Cutting Around Windows and Doors
It’s rare to work on a perfectly blank wall. You’ll almost certainly need to cut boards to fit neatly around windows, doors, vents, and other obstacles. This is where your craftsmanship really comes into play.
Remember the old rule: measure twice, cut once. Use a carpenter’s square to get your measurement lines perfectly straight on the board. A fine-toothed saw is your best friend here—it’ll give you a clean edge on the charred surface without causing any nasty chipping.
And please, work safely. If your project involves working off the ground, make sure you’re taking the right precautions. This an essential safety guide for working at heights is a great resource for understanding what you need to do to stay safe on ladders or scaffolding.
Adding the Right Finishing Touches and Trims
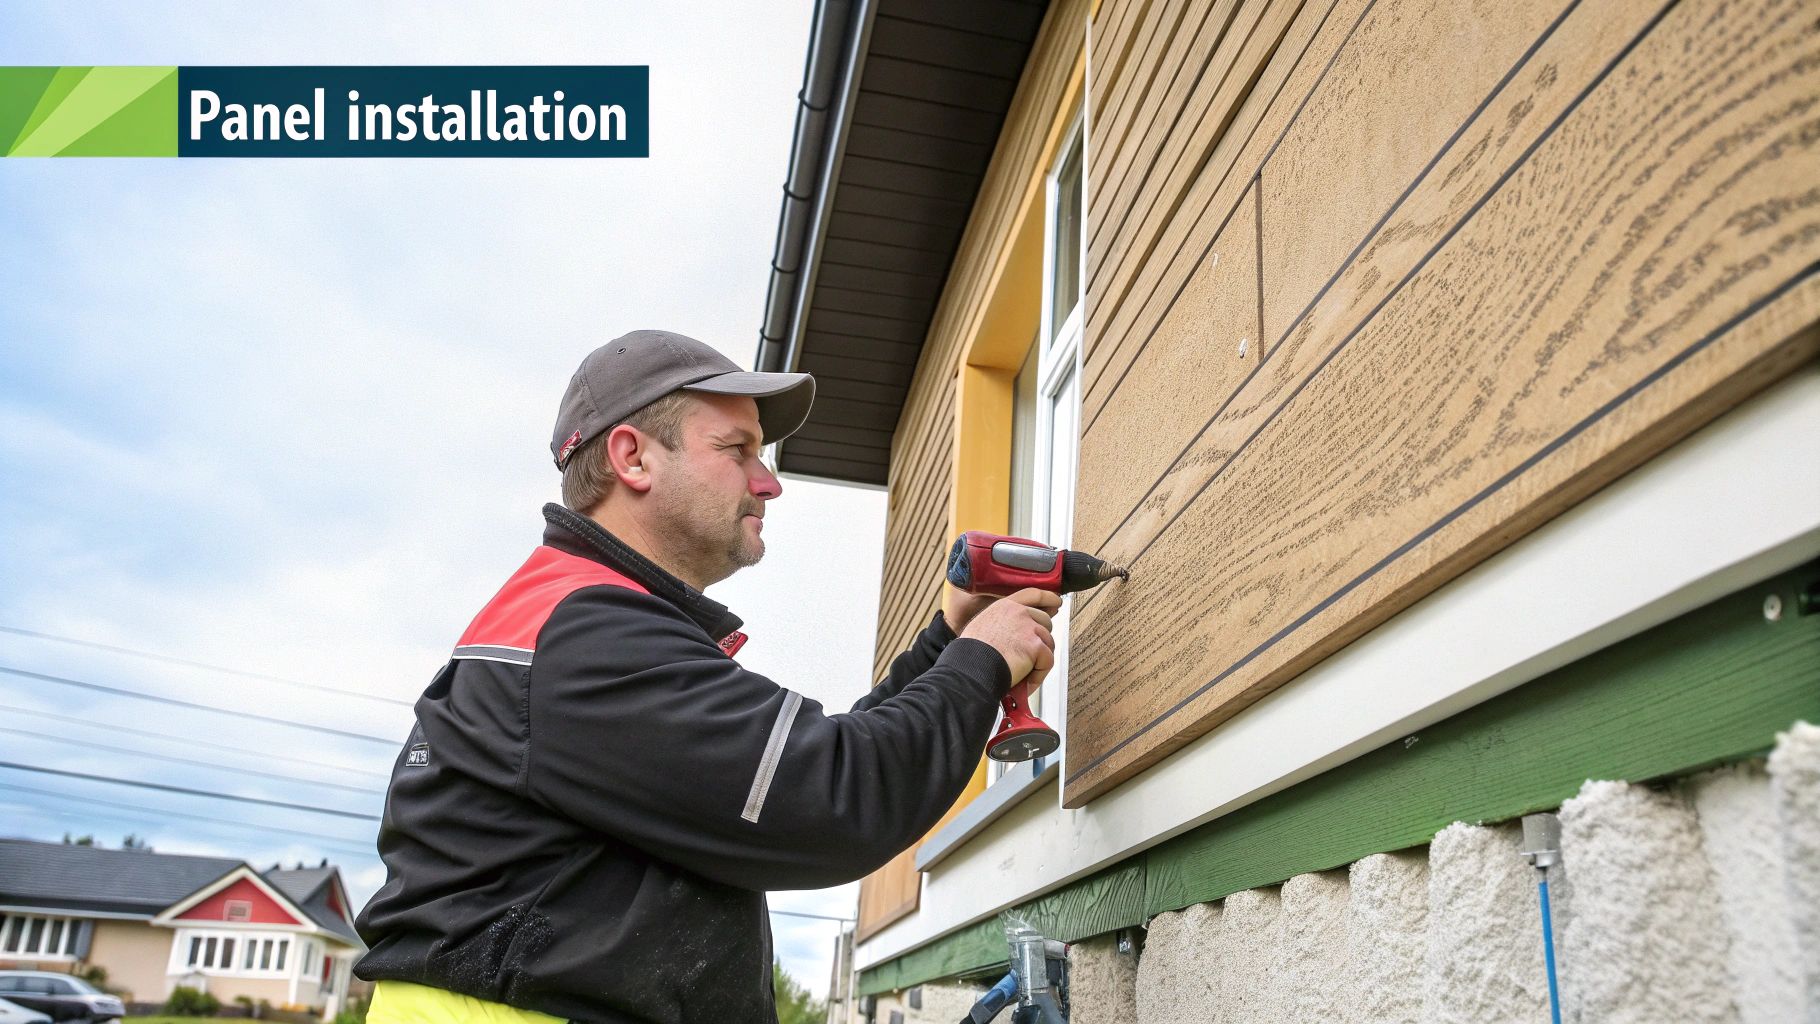
With the main boards securely in place, your project is starting to look the part. But it’s the finishing touches that really elevate a job from good to great. These details aren’t just for appearances; they’re your first line of defence against the weather at the most vulnerable points of the facade.
Properly installed trims give you clean, sharp lines and weatherproof seals, resulting in a polished, professional look. This is your chance to hide cut ends and protect corners, making sure the entire system holds up for years to come. A bit of patience here pays off massively in both durability and kerb appeal.
Creating Crisp and Weatherproof Corners
Corners are one of the most visible parts of any clad building, so getting them right is non-negotiable for a sharp, defined look. Whether you’re dealing with internal or external corners, purpose-made trims are the best way to get a neat, solid finish.
For external corners, you’ll typically fit a pre-formed angle trim over the edges of the boards. This does two things: it protects the vulnerable end grain from moisture and shields it from knocks and scrapes. A similar approach on internal corners creates a tidy seal where two walls meet, stopping water from getting trapped behind the cladding.
A crucial tip: always fix your trims securely into the battens beneath, not just to the cladding boards themselves. This gives you a much more solid and long-lasting fit.
Sealing Around Windows and Doors
Just as important is the detailing around openings like windows, doors, and soffits. These junctions are prime spots for water to get in if they aren’t handled correctly. The aim is to create a seamless, watertight barrier that looks like it belongs.
Here’s a practical approach that works every time:
- Frame the opening: Start by using trims to build a neat frame around the window or door reveal. This covers the cut ends of the cladding boards and provides a clean, crisp edge to work from.
- Integrate flashings: Metal flashings are essential above windows and doors to channel rainwater away from the opening. For these to be truly effective, they must be installed behind the breathable membrane.
- Use sealants sparingly: A high-quality exterior-grade sealant can fill small gaps, but it should never be your main waterproofing method. Think of it as a backup, not the primary solution.
This focus on meticulous sealing is a core principle of good building practice. The ongoing efforts to fix unsafe cladding across the UK have starkly highlighted just how vital correct installation is. For instance, by May 2025, over 6,700 buildings were part of the UK’s Cladding Safety Scheme, yet work was complete on only 5% of eligible buildings within the scheme. The slow progress often comes down to the complexity of rectifying poor detailing from the original job. You can see the latest governmental data on building safety remediation progress to grasp the scale of the issue.
Treating Your Yakisugi Cladding
Once all your trims are neatly in place, you have one last decision to make: how to treat the surface of your Yakisugi timber. Your choice here will define how it looks over time and set the tone for your future maintenance routine.
Essentially, you have two main paths: let the timber weather naturally or apply a protective finish to preserve its original colour. Neither is right or wrong—it’s purely a matter of aesthetic preference and how much upkeep you’re prepared for.
If you do nothing, the charred surface will slowly weather over many years, gradually developing a beautiful, silvery-grey patina. This is a fantastic low-maintenance option that lets the wood age gracefully with its surroundings.
The other option is to apply a protective oil, which will maintain that deep, black finish and really make the wood’s natural grain pop. This treatment also adds an extra layer of protection against UV rays and moisture. The trade-off is that it will need to be reapplied every few years to keep it looking fresh. Your choice here completes the installation of cladding and sets the stage for decades of performance.
Looking After Your Timber Cladding for the Long Haul
https://www.youtube.com/embed/4V7lemzrzJ0
Once the final trim is screwed into place, you can stand back and admire your handiwork. The tough part is over. But a little bit of ongoing care is what keeps your Yakisugi cladding looking incredible and doing its job for decades to come.
Think of it less as a chore and more as a simple, proactive way to protect your investment. A well-installed facade is incredibly durable, but catching small issues early on is always better than dealing with big, expensive problems later.
Your Annual Inspection Checklist
Set aside some time once a year, maybe on a nice spring day after winter’s done its worst, to just walk around your property. You’re not looking for huge problems; it’s the little things that matter.
This simple check-up is your first line of defence. Have any fixings worked themselves slightly loose with the timber’s natural movement? How do the seals around your windows and doors look? Are there any signs that moisture might be finding a way in?
Think of it like an MOT for your home’s exterior. This annual walk-around is your best tool for ensuring the long-term health of the entire cladding system, from the visible boards right down to the hidden substructure.
The consequences of poor cladding maintenance and installation are a serious national issue. Focusing on the social housing sector, for instance, as of June 2025, only 44% of the roughly 2,800 buildings identified with unsafe cladding had even started remediation. This highlights the widespread challenges in addressing cladding issues post-installation, often leading to massive government intervention to fix initial mistakes.
Safe and Effective Cleaning Methods
Keeping the charred surface clean is refreshingly simple. Most of the time, all you’ll need is a soft-bristled brush to get rid of dust and cobwebs. For anything more stubborn, a bit of mild soap in some water, applied with a soft cloth, will do the trick.
Whatever you do, don’t be tempted to use a pressure washer. The force is far too aggressive. It can easily strip away the delicate char layer and blast water into places it shouldn’t be, causing far more harm than good. A gentle touch is always the best approach. While the techniques differ for outdoor use, you can find some good general principles in guides offering essential wood cleaning tips.
Re-Oiling and Touching Up
If you opted for an oiled finish to protect your Yakisugi, you’ll need to re-apply it every now and then to maintain that deep, rich colour. The timeline really depends on how much sun and rain your building gets, but a good rule of thumb is to check it every 3-5 years.
You’ll know it’s time when the finish looks a bit tired or you notice that rainwater isn’t beading on the surface anymore. Re-oiling is straightforward:
- Prep the surface: Give the boards a gentle clean (as described above) and let them dry completely.
- Apply the oil: Using a good quality brush or a cloth, apply a thin, even coat of a suitable protective oil. Always work along the grain of the wood.
- Wipe away the excess: Let the oil soak in for 15-20 minutes, then use a clean cloth to wipe off any that hasn’t been absorbed. This is key to avoiding a sticky, patchy finish.
For minor scuffs or scratches, a dab of touch-up oil can often make them disappear. Knowing how to protect wood outdoors is a vital skill for any homeowner, ensuring the beauty of the timber lasts a lifetime. This ongoing care is the final, crucial step that started with a proper installation of cladding.
Common Questions About Cladding Installation
Even with the best-laid plans, a few questions are bound to pop up during any cladding project. Getting your head around the common queries first will give you the confidence to push forward, whether you’re tackling the job yourself or bringing in the professionals. It’s all about knowing the skills, costs, and potential pitfalls before you even pick up a tool.
Here are the answers to the questions we get asked most often about installing timber cladding.
Can I Install Timber Cladding Myself?
This is the big one, and the honest answer is: maybe. It really boils down to your skills and how complex the project is. Putting cladding on a single-storey garden room is a world away from wrapping a two-storey house with tricky corners and multiple window reveals.
A skilled DIYer with a good handle on woodworking can absolutely get a fantastic result. But it’s not a job for a complete beginner. You need to be confident with precise measuring, making clean cuts, and ensuring every single board is perfectly level and plumb. You also have to fully appreciate how critical the substructure and ventilated cavity are to the whole system.
Why Bringing in a Pro Can Be Worth It:
- Experience: They’ve seen it all. They know exactly how to handle those awkward details around windows, doors, and walls that aren’t perfectly true.
- The Right Kit: Professionals come equipped with all the specialist gear needed to get the job done efficiently and to a standard that’s hard to replicate without it.
- Speed: An experienced crew will have the job finished in a fraction of the time it would take most people doing it themselves.
- A Proper Guarantee: Good installers stand by their work, which gives you real peace of mind that everything has been done by the book.
If you have any doubt at all, hiring a professional is almost always the smarter long-term investment.
How Much Does Cladding Installation Cost in the UK?
Trying to pin down an exact figure for a cladding project is tough, as so many different things influence the final bill. As a ballpark, you could be looking at anything from around £100 per square metre to well over £250 per square metre for a complete installation.
Here’s a look at what swings the price:
- The Cladding Itself: This is a huge part of the cost. A premium material like Yakisugi timber will naturally sit at the higher end, with the price varying based on the wood species and the depth of the char.
- Project Complexity: A long, flat, uninterrupted wall is the dream scenario and will be much cheaper to clad. A building with lots of corners, dormers, and windows requiring fiddly cuts and detailed trim work will push the cost up significantly.
- Labour Rates: This will change depending on where you are in the country and the experience of your installer. A top-tier joiner costs more, but the quality of their finish often speaks for itself.
- Substructure Prep: If your existing walls need a lot of remedial work before the battens can even go on, that extra time and material will be added to the final cost.
The best advice is to get at least three detailed quotes from experienced installers. It lets you compare not just the bottom line, but exactly what’s included in terms of work and materials.
What Are the Most Common Installation Mistakes to Avoid?
Getting the installation right is everything. A few common slip-ups can compromise the whole system, leading to failure and some seriously expensive repairs down the line.
The single biggest mistake we see is poor ventilation. If you don’t create a proper, continuous air gap behind the boards, you’re trapping moisture right where you don’t want it. This is the number one cause of rot. Make sure you have a clear cavity of at least 25mm, with clear entry and exit points at the bottom and top.
Another classic error is using the wrong fixings. Using cheap galvanised screws instead of proper stainless steel ones will eventually leave ugly rust streaks running down your beautiful timber. It’s a small detail that makes a massive difference, especially with the UK’s damp climate. Finally, watch out for improper detailing around windows and doors, as this can let water in and undermine the very weatherproof barrier you’ve worked so hard to create.
Ready to bring the timeless beauty of charred timber to your project? The team at TimberSol provides premium Yakisugi cladding, crafted to perfection for a stunning and durable finish. Explore our range and get expert advice for your installation at https://timbersol-backup.elnoirstudio.com.