A Guide to Internal Wooden Wall Cladding


When you hear “wall covering,” you probably think of paint or wallpaper. But internal wooden wall cladding is something else entirely. It involves fixing timber panels or boards to an interior wall, turning it from a simple backdrop into a genuine architectural feature. It’s less about covering a surface and more about adding texture, warmth, and character to a room.
What Exactly Is Wooden Wall Cladding?
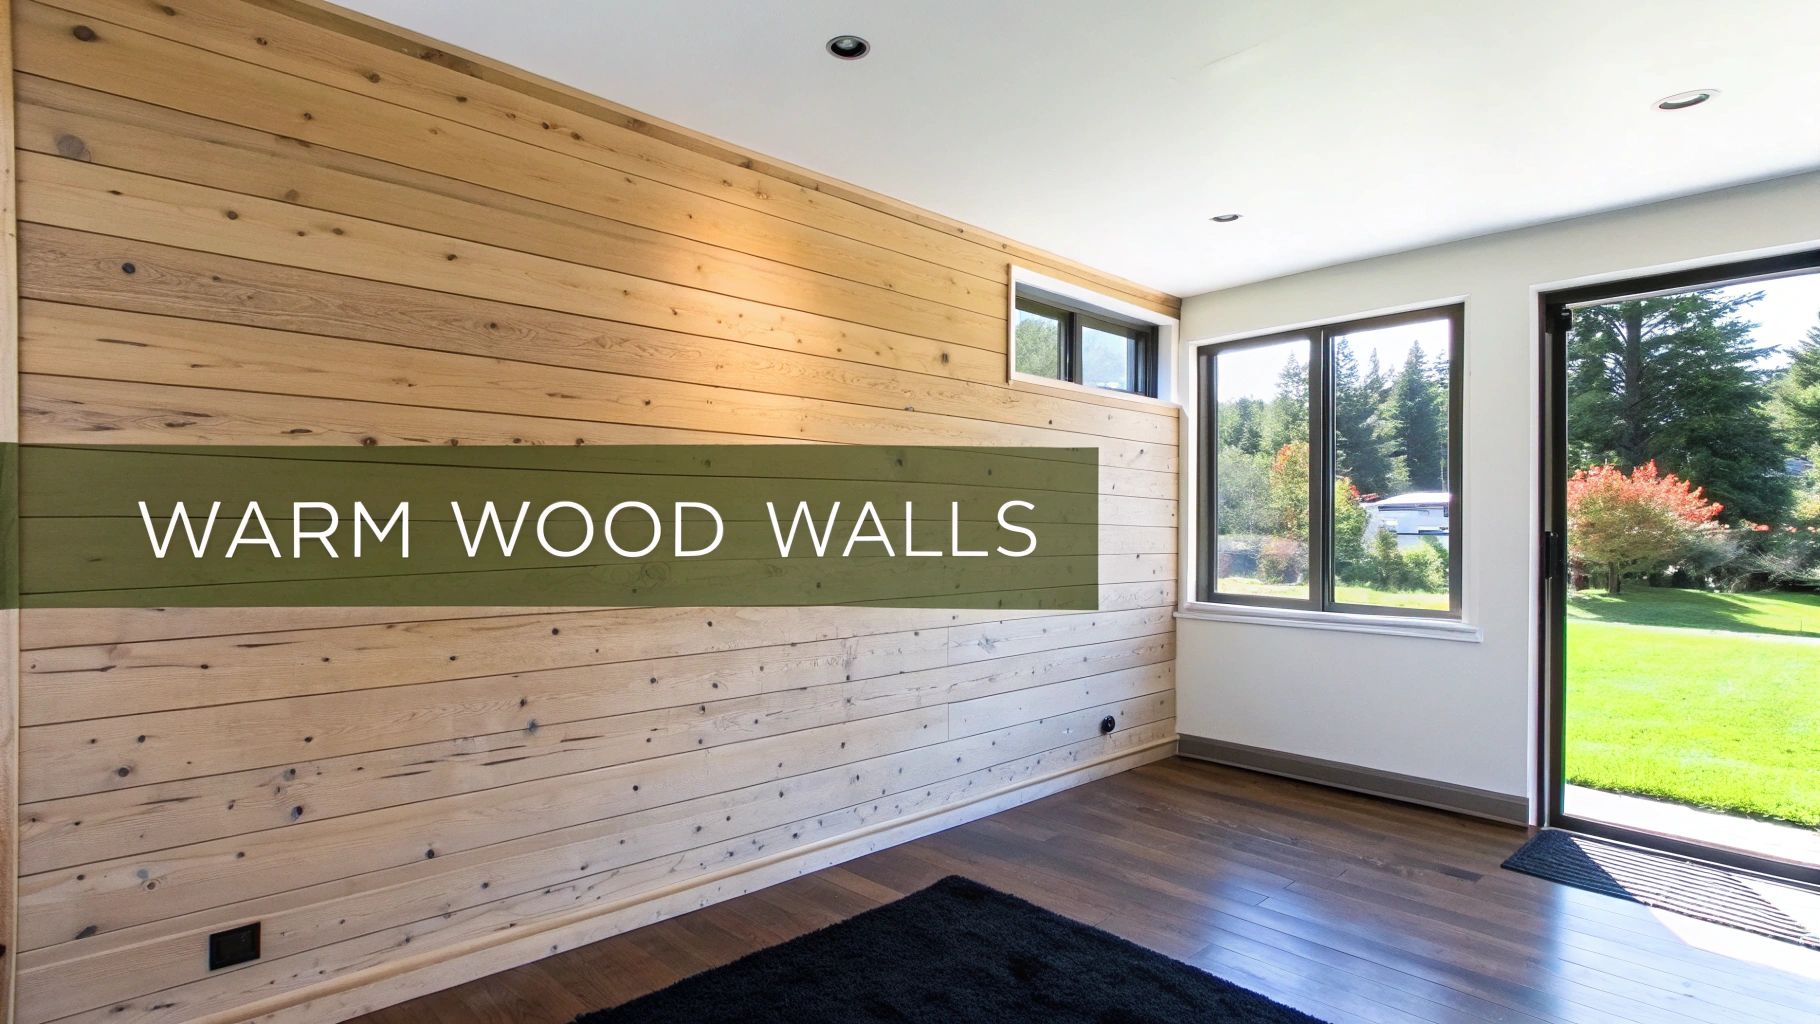
Think of it like giving your walls a bespoke wooden coat. Internal wooden wall cladding acts as a second skin for your interiors, becoming a core part of the room’s design and overall feeling, rather than just a decorative afterthought.
Paint and wallpaper are flat, two-dimensional finishes. Wood cladding, on the other hand, introduces a three-dimensional quality that brings depth and visual intrigue to a space. It can transform a bland, standard wall into a real statement piece. The natural grain, knots, and subtle colour shifts in the timber also bring a sense of the outdoors in, tapping into the principles of biophilic design to create a calmer, more organic atmosphere.
More Than Just a Pretty Face
While the visual impact is often the first thing people notice, wooden wall cladding is a workhorse with plenty of practical benefits that make a home more comfortable and functional.
Here’s where it really shines:
- Acoustic Insulation: Wood naturally absorbs sound. Installing cladding can significantly reduce echoes and dampen ambient noise, making a room feel much quieter and more peaceful. It’s a fantastic addition to busy open-plan spaces or a home office where focus is key.
- Built to Last: Good quality timber cladding is incredibly tough. It handles the bumps and scrapes of daily life far better than paint or wallpaper, making it a smart, long-term investment.
- Hiding Flaws: Got a wall with uneven plaster, hairline cracks, or messy wiring you’d rather not see? Cladding is a brilliant way to conceal these imperfections, giving you a perfectly smooth and polished look without the hassle and cost of re-plastering.
By layering natural materials onto interior walls, you are not just decorating; you are crafting an experience. Internal wooden wall cladding fundamentally changes how a room feels, making it warmer, more inviting, and acoustically softer.
A Growing Trend Across the UK
We’re seeing wooden wall cladding pop up everywhere in the UK, and for good reason. Homeowners, architects, and designers have all fallen for its versatility. It looks just as at home creating a rustic feature wall in a cosy Bristol cottage as it does forming a sleek, slatted backdrop in a modern London flat.
The creative possibilities are almost endless. You can run the boards horizontally to make a room feel wider, or install them vertically to create a sense of height. For something truly special, patterns like herringbone can turn a wall into a work of art. As we dig into the different materials, design styles, and benefits, you’ll see just how this timeless material can completely redefine your home.
The Perks of Bringing Wood Cladding Indoors
Choosing what to put on your walls is a bigger decision than you might think. It’s not just about colour; it’s about the feel of a room, how comfortable it is, and even how much you spend on bills down the line. Paint and wallpaper are flat, two-dimensional choices. Wooden wall cladding, on the other hand, brings so much more to the table.
Think of it as an investment that pays you back, not just in good looks but in practical, everyday benefits.
A Natural Warmth and Connection to the Outdoors
The first thing you’ll notice about a wood-clad wall is the immediate sense of warmth and character it adds. You just can’t fake the natural grain, the one-of-a-kind knots, and the subtle shifts in colour that real wood offers.
Bringing a natural element like this inside does more than just look good. It taps into a concept called biophilic design – our innate need to connect with nature. Research has actually shown that having materials like wood around us can lower stress and boost our sense of well-being. It helps create a calmer, more restorative space to live or work in.
A Quieter, Cosier Home
Looks aside, internal wooden wall cladding is a workhorse. Wood is a fantastic natural insulator, and adding that extra layer to your walls makes a real difference in a couple of key ways.
- Acoustic Comfort: Timber is great at absorbing sound instead of bouncing it back. This helps cut down on echoes and general background noise. It’s a brilliant solution for large open-plan spaces, busy home offices, or media rooms where you want to keep sound under control.
- Thermal Efficiency: Wood doesn’t transfer heat very well. This means it helps your home stay warmer in the winter and cooler in the summer. That extra layer of insulation can lead to a more comfortable, stable temperature indoors, which often means you’re not cranking the heating or air conditioning as much. The result? Lower energy bills.
Wood cladding is more than a decorative choice; it’s an architectural upgrade that enhances a room’s comfort. It works silently in the background, making spaces quieter, cosier, and more energy-efficient.
This appreciation for smart, sustainable materials is definitely catching on. The timber cladding market in the United Kingdom is expected to grow by over 4% each year. This is being driven by a huge demand for greener building materials and big investments in new housing. You can explore more market analysis on the growing popularity of timber in construction.
Durability That Lasts for Years
Let’s be honest, durability matters. Paint gets scuffed and chipped, and wallpaper can tear or start peeling, meaning you’re touching it up or redecorating every few years.
Internal wooden wall cladding is a different story. It’s tough and stands up brilliantly to the knocks and scrapes of everyday life. This makes it a fantastic choice for busy areas like hallways and living rooms, or even in commercial settings. Sure, the upfront cost might be a bit more than a tin of paint, but its sheer longevity makes it a smart, cost-effective decision for the long haul.
So Many Design Possibilities
Perhaps the biggest advantage of wood cladding is just how versatile it is. It doesn’t lock you into one particular look. Whether you’re dreaming of a rustic farmhouse vibe, a clean Scandinavian feel, or something sleek and modern, there’s a type of wood, a finish, and an installation style to bring your vision to life.
From the sharp, contemporary look of vertical slats to the classic, cosy appeal of horizontal shiplap, the design options are almost endless. This adaptability means you can use wood cladding to create a stunning feature wall or just add a touch of subtle texture, making it a valuable addition to pretty much any design scheme.
Choosing the Right Timber for Your Walls
Picking the right timber for your internal cladding is probably the biggest decision you’ll make for the entire project. It’s the choice that defines the room’s final look, how well it holds up over time, and, of course, the budget. Think of it like choosing the main fabric for a bespoke suit – everything else is built around it.
At first, the sheer variety can feel a bit daunting. You’re faced with a whole spectrum of colours, grain patterns, and price tags. But it all becomes much clearer once you understand the basic differences between the main wood categories: softwoods, hardwoods, and engineered options. Each one brings something different to the table, suited to different styles and practical needs.
This infographic neatly sums up the core benefits of wood cladding, breaking them down into aesthetics, practicality, and investment.
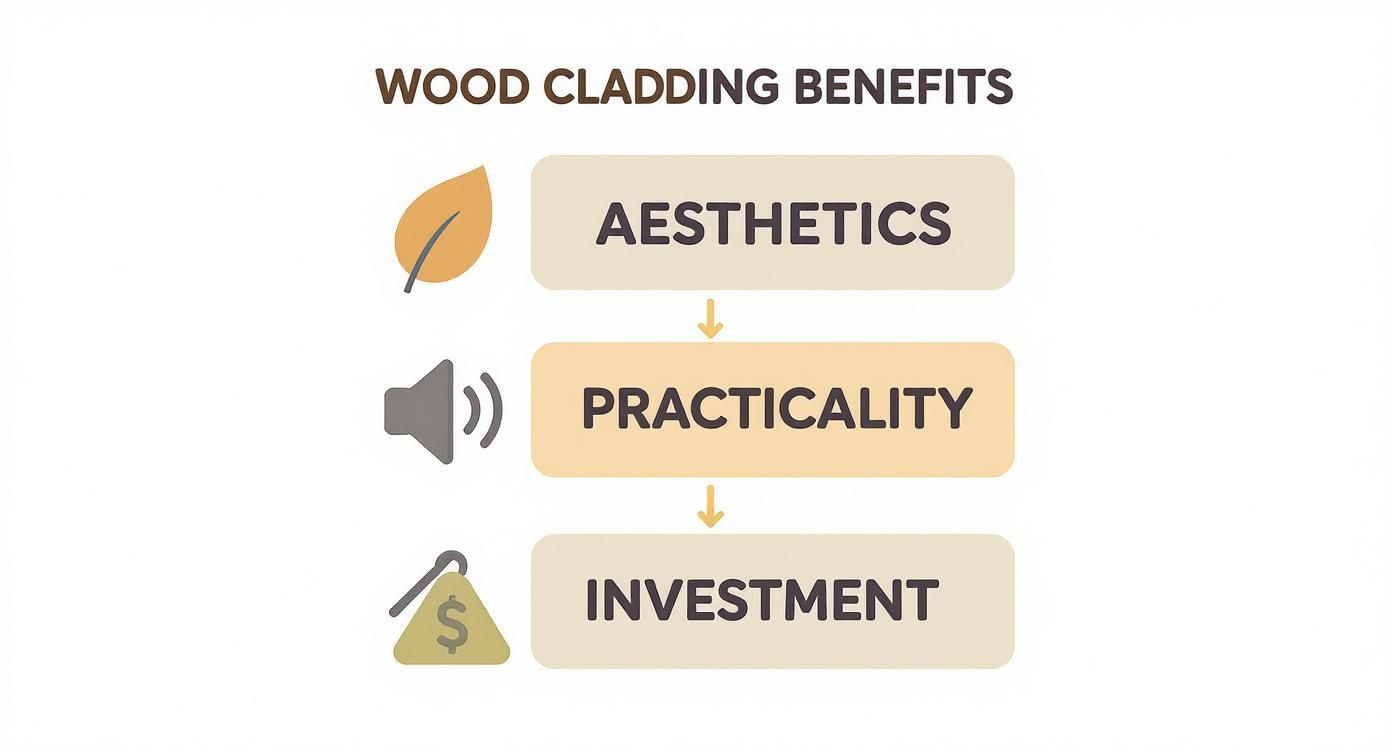
As you can see, opting for wood cladding is a well-rounded decision, where the beautiful finish is backed up by genuine functional advantages and long-term value.
Softwoods: A Cost-Effective Starting Point
Softwoods are a really popular and accessible choice for internal cladding, mostly because they’re lighter and easier on the wallet. They come from coniferous trees like pine and cedar, which grow much faster than their hardwood cousins.
- Pine: Often the go-to for rustic or Scandi-inspired designs, pine is light in colour with distinctive knots that give it real character. It’s a breeze to work with and you can stain it, paint it, or just leave it natural for a clean, minimalist vibe.
- Cedar: Prized for its rich, warm reddish tones and natural resistance to moisture, cedar adds an aromatic and slightly luxurious feel to a space. It’s a bit more of an investment than pine, but you get superior durability and a more refined finish in return.
If you’re aiming for a cosy, inviting atmosphere without breaking the bank, softwoods are a fantastic entry point into the world of wood cladding.
The choice between softwood and hardwood isn’t just about cost. It’s about the story you want your walls to tell—softwoods often speak of comfort and simplicity, while hardwoods convey a sense of permanence and elegance.
If you’re still weighing it up, it’s well worth exploring the differences between hardwood and softwood in more detail to help you make a fully informed choice.
Hardwoods: An Investment in Durability
Hardwoods, which come from slow-growing deciduous trees, are famous for their strength, density, and wonderfully intricate grain patterns. They really are a long-term investment in both quality and timeless style.
Oak and Walnut are two of the most sought-after hardwoods for cladding here in the UK.
- Oak: A true classic. Oak is incredibly durable and resistant to dents and scratches, making it perfect for hallways or other high-traffic areas. Its prominent grain and warm, honey-toned hues bring a sense of tradition and substance to any room.
- Walnut: For a touch of drama and luxury, you can’t beat walnut. Its deep, rich chocolate colours and flowing grain patterns create a bold, sophisticated feature wall that really commands attention.
While hardwoods do come with a higher initial cost, their sheer longevity and classic appeal mean they’ll remain a valuable, beautiful feature for decades to come.
Engineered and Reclaimed Options
Beyond solid timber, there are other brilliant materials to consider that offer their own unique benefits, especially when it comes to stability, sustainability, and character.
- Veneered Panels: These are cleverly constructed with a thin slice of real hardwood (the veneer) bonded to a stable core like MDF or plywood. This makes them less prone to warping with changes in humidity and often more affordable than solid hardwood. Their popularity is soaring; the UK market for veneered panels was valued at USD 310.9 million in 2025 and is projected to hit USD 556.8 million by 2035.
- Reclaimed Wood: If you want a truly one-of-a-kind look with a great story behind it, reclaimed wood is unbeatable. Sourced from old barns, factories, or warehouses, each board has its own history, complete with old nail holes, saw marks, and a beautiful aged patina that you simply can’t replicate.
To help you visualise the options side-by-side, here’s a quick comparison of some popular choices.
Comparing Common Woods for Internal Cladding
This table breaks down the key characteristics of popular timber choices, helping you weigh up the best option for your project’s budget, look, and durability needs.
| Wood Type | Typical Cost | Appearance and Colour | Durability | Best Suited For |
|---|---|---|---|---|
| Pine | £ | Light yellow/white with prominent knots | Medium-Low | Rustic, Scandinavian, and cost-conscious projects |
| Cedar | ££ | Warm reddish-browns with a fine grain | Medium-High | Feature walls in living rooms or bedrooms; areas needing moisture resistance |
| Oak | £££ | Honey-gold to light brown with a distinctive, strong grain | Very High | High-traffic areas, traditional and contemporary designs |
| Walnut | ££££ | Deep, rich chocolate brown with a smooth, flowing grain | High | Luxury feature walls, modern and sophisticated interiors |
| Reclaimed | Varies | Unique aged patina, varied colours and textures | Varies | Creating characterful, eco-friendly, and one-of-a-kind designs |
Ultimately, the “best” timber is the one that fits your personal style, the practical demands of the space, and your budget. By weighing these options carefully, you can confidently pick a material that will turn your walls into a feature you’ll love for years to come.
Design Inspiration and Cladding Styles
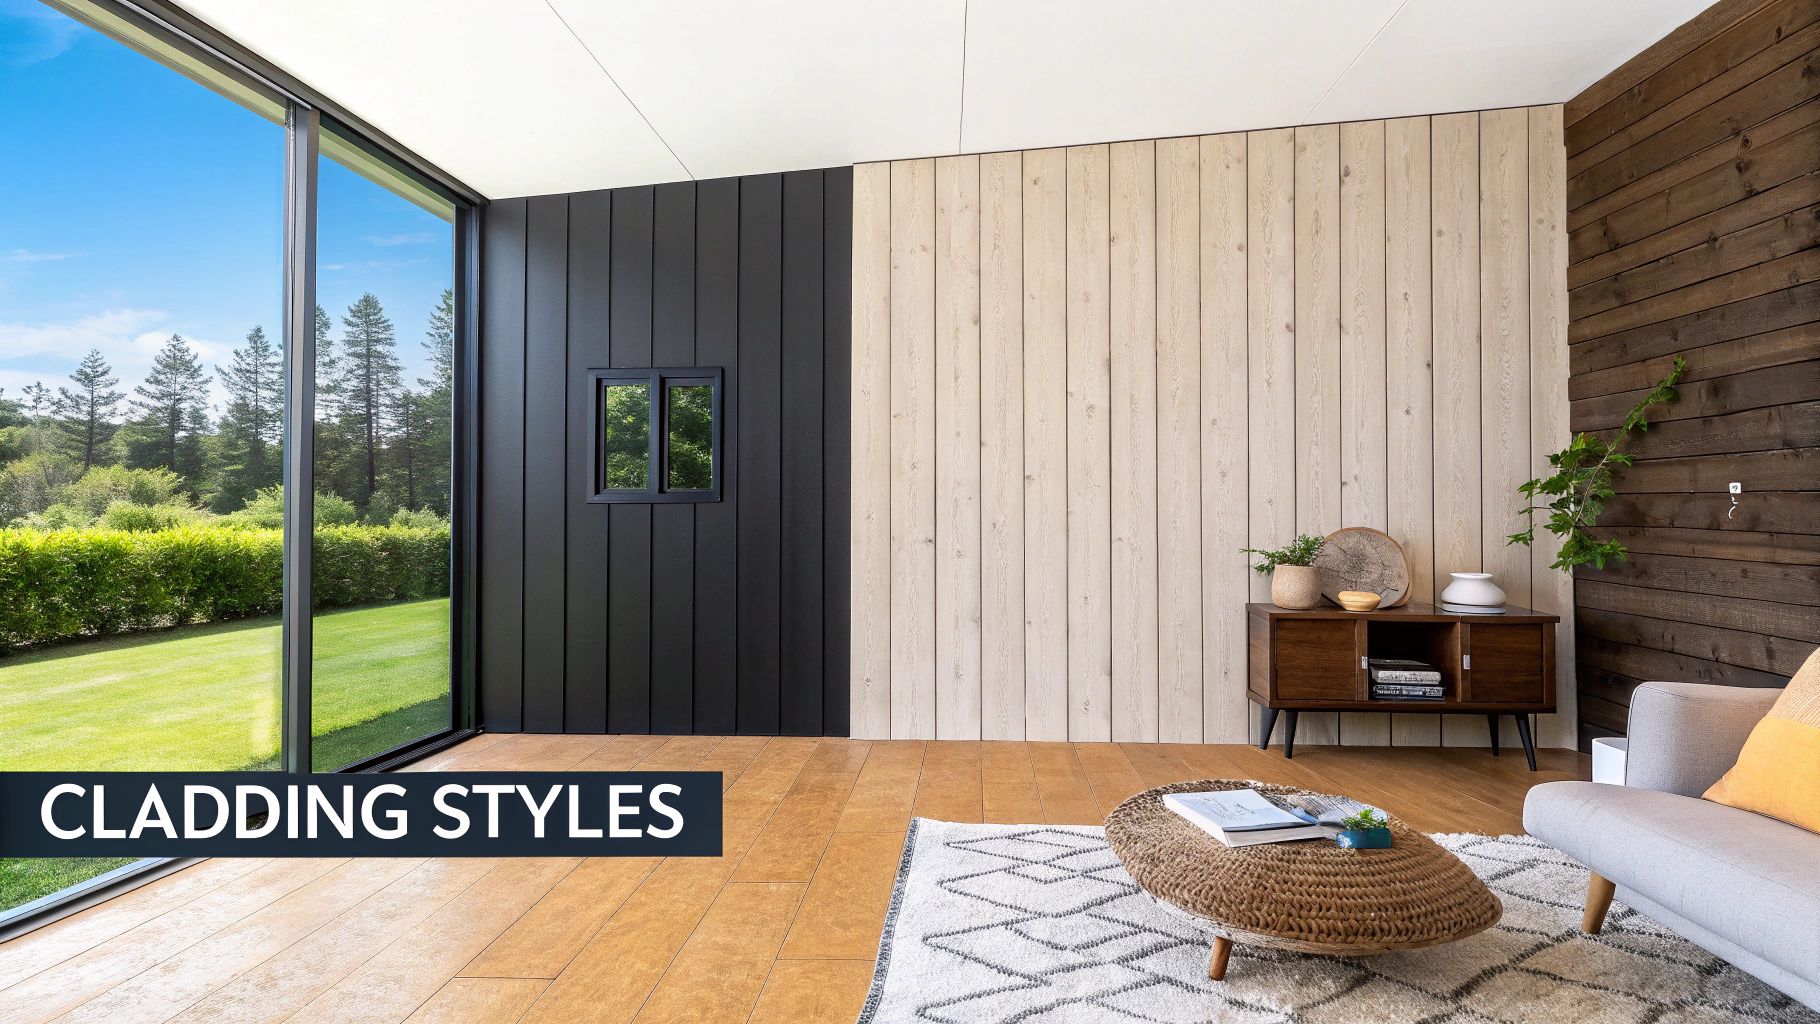
Once you’ve chosen the perfect timber, the real fun begins. The style and pattern of your internal wooden wall cladding are what will truly define the character of your space, turning a blank wall into a stunning architectural feature. The way you arrange and finish the boards can conjure up anything from a rustic country retreat to a sharp, minimalist haven.
This is where you graduate from simply picking a material to thinking like a designer. By playing with different installation patterns and finishes, you can create a look that’s completely your own.
Popular Cladding Patterns and Their Effects
The pattern you choose isn’t just a decorative whim—it has a huge impact on how a room feels, and can even trick the eye into seeing different dimensions. Each style tells its own story.
Here are a few of the most popular styles you’ll see in UK homes:
- Slat Walls (Vertical or Horizontal): This has become a modern classic for good reason. Thin, evenly spaced wooden slats create a clean, linear effect that feels both sophisticated and deliberate. Run them vertically, and you’ll make the ceiling feel higher; go horizontal, and the room will feel wider and more expansive.
- Shiplap: Famous for its cosy, slightly rustic vibe, shiplap involves boards that neatly overlap. Traditionally laid horizontally, it brings a lovely sense of comfort and texture to a space, making it a fantastic choice for a feature wall in a living room or bedroom.
- Board and Batten: A timeless style that uses wide vertical boards with their seams covered by thin strips (the battens). This creates a layered, three-dimensional look that adds a touch of traditional elegance, working beautifully in hallways, dining rooms, and period properties.
- Tongue and Groove: This method is all about creating a seamless, flat surface where the boards interlock perfectly. It gives you a clean and polished finish that can suit almost any style, from sleek and modern to warm and traditional, depending on the wood you use.
Think of the installation pattern as the grammar of your design. A simple horizontal layout speaks a language of calm and stability, while a dynamic herringbone or diagonal pattern introduces energy and movement. Choose the language that fits what you want the room to say.
The Power of the Finish
The finish is that final, crucial touch that both protects the wood and dictates its final look. This is your chance to decide whether you want the natural grain to be the star of the show or if you’d rather introduce a bold splash of colour.
You really have two main paths to go down: natural oils or paint.
Natural Oils and Stains If you’ve invested in a timber with a beautiful grain like oak or walnut, a natural oil or stain is the way to go. These finishes sink into the wood, enriching its natural colour and texture rather than covering it up. An oil finish gives a subtle, matte lustre that feels organic and lets the unique character of each board shine through. Stains can also be used to deepen the natural colour or even tint a lighter wood like pine to mimic a more expensive timber.
Paint for Bold Statements On the other hand, painting your cladding opens up an entire world of colour. A crisp white can create a bright, coastal feel, while a dark, moody charcoal or navy can add instant drama and sophistication. Painting is also a brilliant option for more budget-friendly woods like pine or MDF panels. It provides a uniform, flawless look while keeping the lovely texture of the cladding, allowing you to tie the feature wall perfectly into your room’s colour scheme.
Yakisugi: The Art of Charred Timber
For a truly dramatic and unforgettable finish, nothing comes close to Yakisugi. This traditional Japanese technique, sometimes known as shou sugi ban, involves carefully charring the surface of the wood with a controlled flame. The process completely transforms the timber, creating a stunning, deep black finish that is both incredibly beautiful and remarkably durable.
This charring creates a carbon layer on the surface that naturally protects the wood from moisture, insects, and even fire. The resulting texture can range from a deep, crackled “alligator skin” to a smoother, brushed finish that reveals a silvery grain beneath the char. Using Yakisugi for an internal wall creates a feature that’s rich in texture, history, and raw, natural beauty.
A Look at the Installation Process
Whether you’re bringing in a professional or keen to get your own hands dirty, it’s good to have a solid grasp of what goes into installing internal wooden wall cladding. Knowing the ropes helps you ask the right questions, set realistic expectations, and make sure the finished wall looks stunning for years to come. It’s a job where what happens before the boards go up is just as important as the final placement.
This isn’t a full-blown DIY manual, but more of a bird’s-eye view of the key stages. The idea is to lift the curtain on the process, so you can feel confident as you watch your project take shape.
The demand for unique interiors has exploded in the UK. The wider interior finish market was valued at a huge USD 406.98 million in 2023 and is expected to climb to USD 694.48 million by 2032. It’s a clear sign that homeowners are investing more in creating beautiful, bespoke spaces.
Getting the Groundwork Right
Before you even think about fixing the first board, there are two absolutely essential preparation steps. If you cut corners here, you’re asking for trouble later on in the form of warping, an uneven finish, or worse.
- Prepping the Wall: Think of your wall as a canvas – it needs to be clean, dry, and stable. That means getting rid of any flaky plaster, filling in cracks, and making sure there’s no damp. Often, the best way to guarantee a perfect finish is to fix wooden battens to the wall first. These strips create a solid framework for the cladding, helping to even out any lumps and bumps in the wall and allowing air to circulate behind the timber.
- Letting the Wood Settle In: This step is completely non-negotiable. Wood is a living, breathing material that reacts to temperature and humidity by expanding and contracting. You absolutely must leave the timber in the room where it will be installed for at least 48-72 hours. This allows it to get used to the environment. Skipping this is the number one cause of ugly gaps or warping appearing down the line.
Think of acclimatisation as letting the wood “breathe” and get comfortable in its new home. This simple bit of patience ensures the timber stays stable and flat long after it’s been fixed to the wall.
For a closer look at the nuts and bolts, our guide on the installation of cladding goes into much more detail.
Fixing the Boards and Finishing Touches
Once the prep work is sorted, it’s time for the main event: attaching the cladding and applying a protective finish. The method you choose often comes down to the style of the boards and the look you’re after.
Common Fixing Methods:
- Secret Nailing: If you want a seamless, modern finish with no nail heads in sight, this is the way to go. Nails are angled through the tongue of the board, and the groove of the next piece slots right over it, hiding the fixing completely.
- Adhesives: For lighter panels, a powerful construction adhesive can be used, sometimes with a few nails for extra security, to create a really strong bond.
- Face Fixing: For a more rustic or industrial vibe, you can drive screws or nails straight through the front of the boards. Here, the fixings themselves become a deliberate part of the design.
While it’s a different job, learning how to install baseboard trim can also give you a feel for the kind of precision and care needed for high-quality interior woodwork.
With all the boards securely in place, the last job is to apply a finish. This isn’t just for looks; it protects the wood from scuffs and moisture. You could go for a clear oil to bring out the natural grain, a hard-wearing varnish, or even a bold paint colour for a completely custom look.
Looking After Your Wooden Wall Cladding
So, you’ve got your beautiful new wooden wall cladding installed. The great news is that keeping it looking fantastic doesn’t take a lot of work. With just a little bit of care, that stunning feature wall will stay looking its best for many, many years.
A quick, gentle clean is really all it needs on a regular basis. I’d recommend a simple dusting with a soft, microfibre cloth every week or so to stop dust from building up in the wood grain. If it needs a bit more of a clean, just use a cloth that’s very slightly damp—make sure you wring it out properly to avoid leaving any excess water on the surface.
Routine Care and Minor Touch-Ups
Life happens, and occasionally your wall might get a little scuff or scratch. Don’t panic! How you handle it depends entirely on the wood’s finish. For a light mark on an oiled surface, you can often just buff it out gently with a soft cloth.
Deeper scratches might need a more hands-on approach. A very light sanding with some fine-grit sandpaper, followed by a tiny dab of the original oil on that spot, will usually do the trick. If you’re facing a bigger restoration job, this guide on how to remove paint from wood is a great resource.
When to Think About Refinishing
After a few years, you might notice the finish on your cladding looks a bit tired or dry, especially in spots that catch a lot of sun. That’s your cue for a refresh. How often you’ll need to do this really depends on the room, but it’s not an annual job by any means.
Re-oiling isn’t a repair; it’s a rejuvenation. Think of it like moisturising skin—it feeds the wood, brings back its natural glow, and adds a fresh layer of protection against the daily grind.
The process itself is straightforward:
- A Good Clean: First things first, give the entire wall a thorough clean to get rid of any dust and grime.
- Apply a Fresh Coat: Using a clean cloth, wipe on a thin, even coat of a good-quality wood oil.
- Wipe Off the Excess: Let the oil soak in for as long as the instructions say, then simply wipe away any that hasn’t been absorbed.
This simple bit of maintenance really brings the grain back to life, deepens the colour, and keeps your cladding looking as good as the day it was installed. For those keen on keeping their home environment as healthy as possible, it’s also worth looking into non-toxic wood preservatives for safe and effective options.
Answering Your Top Wood Cladding Questions
Thinking about bringing wood cladding into your home? It’s a great idea, but naturally, you probably have a few questions buzzing around. Getting these sorted out early on is the key to a project that runs smoothly and gives you the results you’re after. Let’s get into some of the most common queries we hear.
Can You Really Use Wood Cladding in a Bathroom or Kitchen?
This is a big one. The idea of wood in a steamy bathroom or a splash-prone kitchen can seem risky, but the answer is a definite yes—if you do it right.
It all comes down to choosing the right kind of wood and protecting it properly. Timbers like Cedar, which have a natural knack for handling moisture, are a fantastic starting point. Another brilliant option is thermally modified timber, which has been treated to make it incredibly stable and resistant to humidity.
Whatever you choose, the secret weapon is a tough, water-resistant finish. A few coats of a good quality polyurethane varnish will create a seal that moisture can’t easily get through. Just as important is good old-fashioned ventilation; an extractor fan is your cladding’s best friend in a damp room.
Is Wooden Wall Cladding Actually a Sustainable Choice?
In a world where we’re all trying to make better choices for the planet, this question is more important than ever. The good news is that wood cladding can be a wonderfully sustainable option.
The key is to look for proof. Make sure any timber you buy has a certification from either the Forest Stewardship Council (FSC) or the Programme for the Endorsement of Forest Certification (PEFC).
These labels aren’t just marketing fluff. They’re your guarantee that the wood was sourced from a forest managed in a way that protects wildlife, supports local communities, and ensures we’ll have healthy woodlands for generations to come.
And don’t forget about reclaimed wood! It’s another brilliant sustainable route, breathing new life into old timber and adding a layer of history and character to your walls that you just can’t get with new materials.
What’s the Realistic Cost for Internal Wood Cladding in the UK?
This is where the rubber meets the road. The cost of cladding can swing quite a bit depending on what you choose, so it helps to have a rough idea of the budget. The final price tag is shaped by the type of wood, the style of the panelling, and of course, labour costs if you’re not a DIYer.
Here’s a ballpark guide for the cost of materials per square metre:
- Softwoods (like Pine): £20 – £40 per m²
- Hardwoods (like Oak): £50 – £100+ per m²
- Engineered/Veneered Panels: £40 – £80 per m²
- Reclaimed Wood: This is the wild card—prices can be all over the place depending on how rare it is.
Keep in mind, these are just for the materials. If you’re hiring a professional, you’ll need to add labour costs, which typically run between £150 to £300 per day depending on their experience and where you are in the UK.
At TimberSol, we specialise in creating stunning, durable charred timber products using the ancient Yakisugi technique. Transform your interior spaces with our unique and sustainable cladding solutions. Explore our range and get inspired at https://timbersol-backup.elnoirstudio.com.