Vertical Cedar Cladding: Durable & Elegant UK Home Features

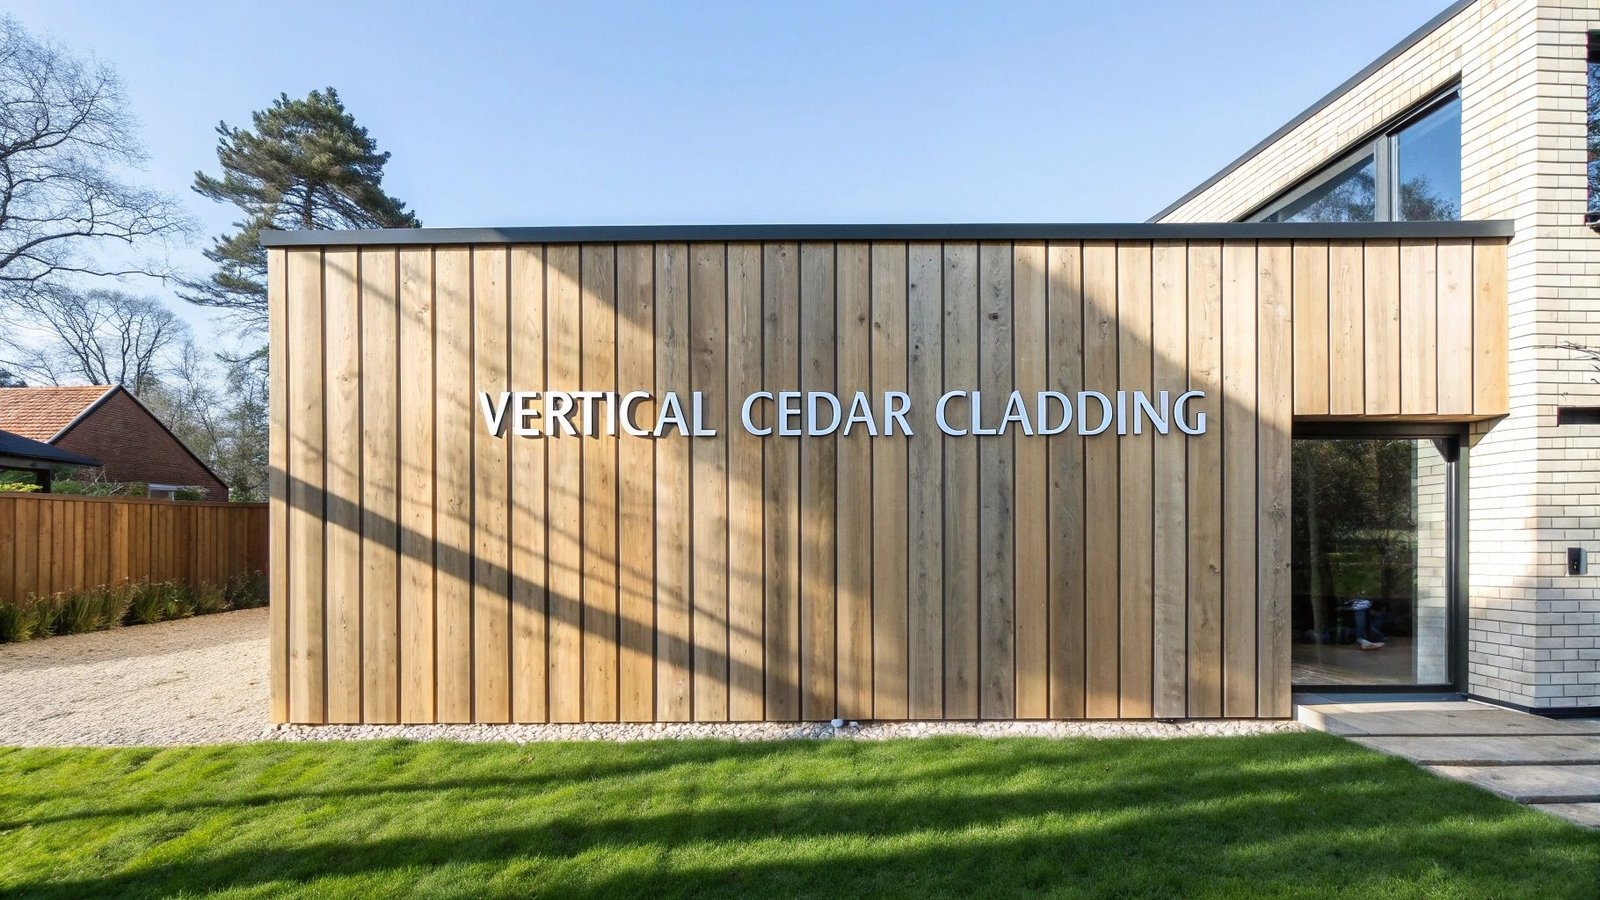
When you see a building clad in vertical cedar, you’re looking at more than just a wall covering; you’re seeing a deliberate architectural choice. It involves installing cedar boards upright, creating clean, elegant lines that give a building’s exterior a sleek and modern feel. This style is hugely popular across the UK for the way it can instantly make a property feel taller and more sophisticated.
Why Vertical Cedar Cladding is a Top Choice for Modern Design
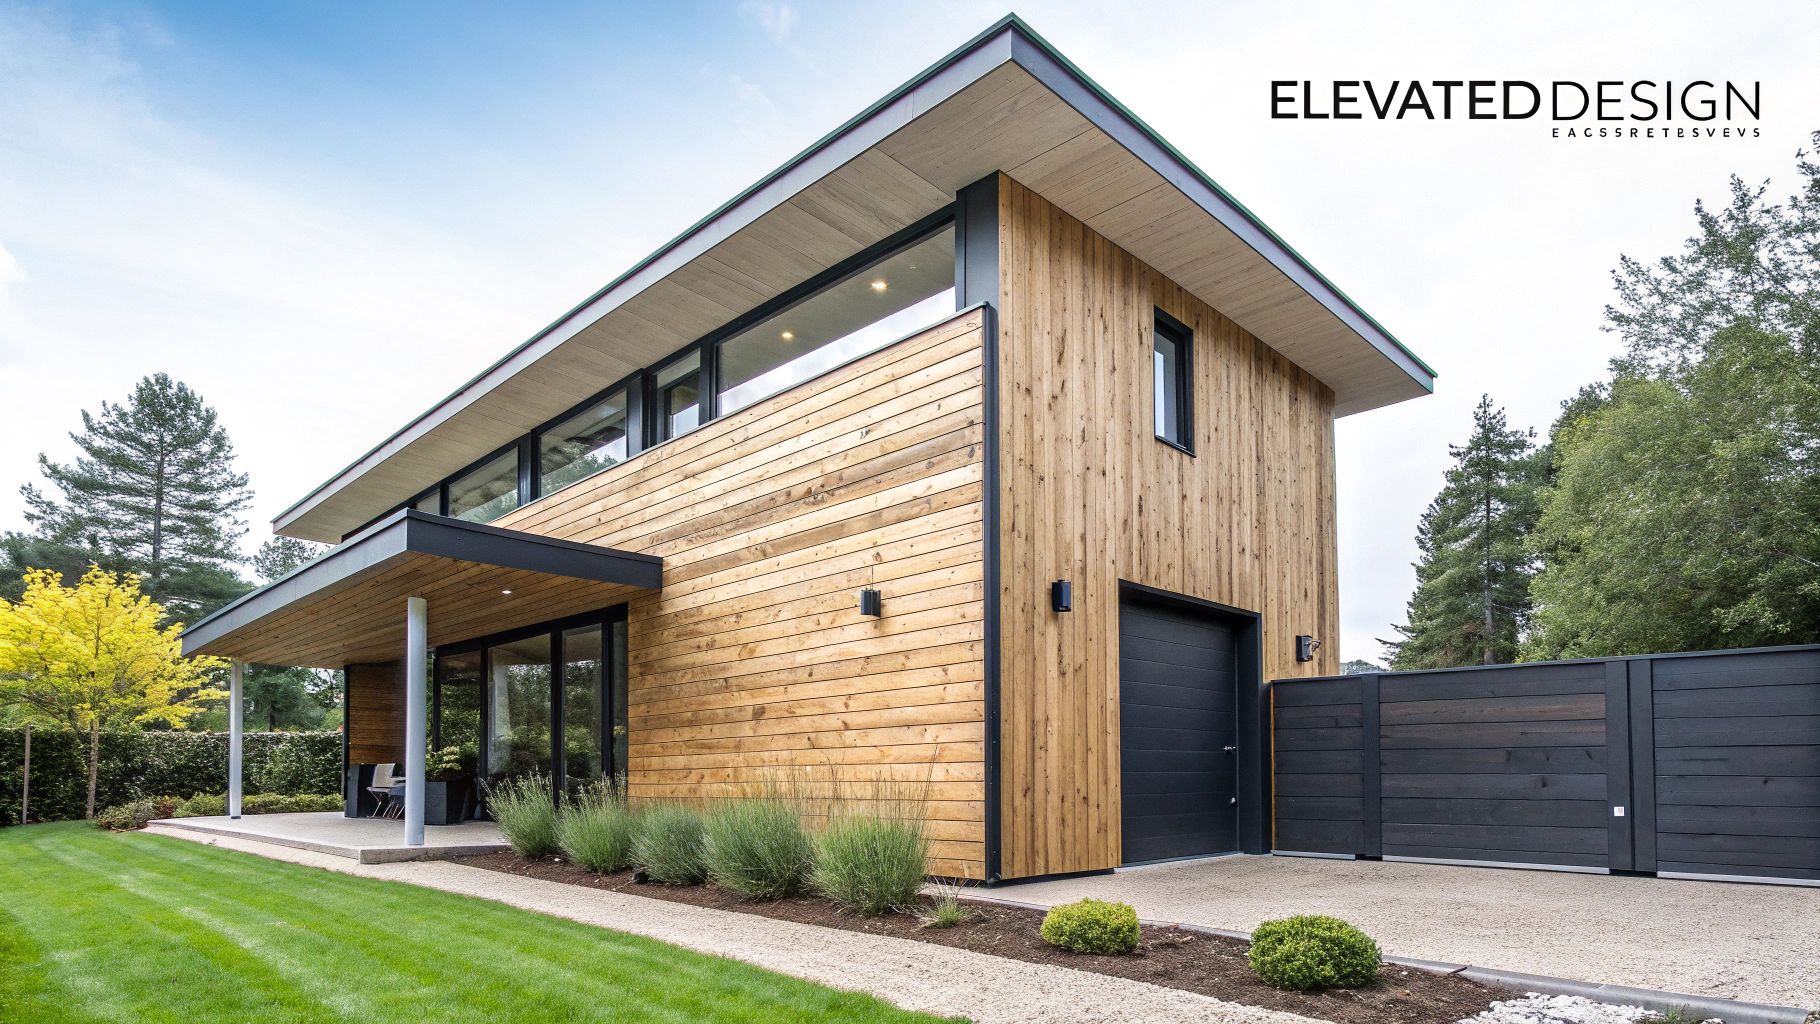
Think of it like getting a bespoke, tailored suit for your home. That’s the kind of finish vertical cedar cladding provides. It’s a favourite among architects and homeowners because it completely transforms a building’s character, making a powerful visual statement that feels both contemporary and classic.
Unlike the more common horizontal layouts, the vertical orientation naturally draws the eye upward. This simple visual trick makes any structure feel taller and grander, which is particularly effective on single-storey homes or extensions where you want to add a sense of stature. The clean, flowing lines create a satisfying rhythm and a feeling of organised, deliberate design, adding an air of refined elegance to the property. It’s a design language that speaks of precision and natural beauty working hand in hand.
The Natural Charm of Cedar
Of course, the real star of the show is the cedar itself. It’s a premium timber known for its rich, warm tones and incredible durability, performing just as beautifully as it looks. Cedar contains natural oils that give it an inbuilt resistance to moisture, rot, and insects, meaning you get a long-lasting façade that doesn’t demand constant attention.
Here’s a quick overview of what makes this material such a worthwhile investment for any property.
Key Advantages of Vertical Cedar Cladding
| Benefit | Why It Matters for Your Home |
|---|---|
| Aesthetic Versatility | You can let it age naturally to a beautiful silver-grey or treat it with oils and stains to keep its vibrant, warm colours. |
| Dimensional Stability | Cedar has a low density and shrinks very little, so it’s far less likely to warp, twist, or cup than other types of wood. |
| Sustainability | When you choose cedar from well-managed forests (look for FSC or PEFC certifications), you’re using a renewable, eco-friendly material. |
| Natural Durability | Its inherent oils act as a natural preservative, protecting your home from decay and insect damage without harsh chemicals. |
These qualities combine to make cedar a truly exceptional material, capable of elevating any architectural project.
By echoing the vertical lines of surrounding trees, this style of cladding helps a building blend beautifully into its natural environment. It’s a way of connecting architecture directly to the landscape with confidence and grace.
This guide is your roadmap to understanding everything you need to know about this fantastic material. We’ll walk through the different types of cedar available, get into the details of design and installation, and give you clear, practical advice on maintenance. Whether you’re an architect sketching out your next project or a homeowner dreaming of a stunning new exterior, you’ll find all the insights you need right here.
What Makes Cedar So Special?
What is it about cedar that gives it such a legendary reputation in the building world? It’s not just about its handsome looks; cedar’s standing is built on a remarkable combination of natural science and sheer resilience. You could say it’s a timber that’s been engineered by nature itself, offering a whole suite of qualities that synthetic materials can only dream of replicating.
A Natural Defence System
At the very core of cedar’s staying power are its natural oils, particularly compounds called thujaplicins and thujic acid. These act as a potent, built-in defence mechanism. Think of it as the wood’s own immune system, one that actively repels moisture, fights off fungal decay, and tells insects like termites and wood beetles to look elsewhere.
This incredible natural resilience means your cladding can remain strong and sound for decades without ever needing harsh chemical treatments. That’s a huge win for the environment and a big relief when it comes to long-term maintenance. It’s a key reason why cedar is such a popular choice in the UK’s timber weatherboarding market, which is valued at around £45 million each year.
The Science Behind Its Warmth
Beyond its clever chemical defences, cedar’s physical makeup offers another major benefit. If you were to look at it under a microscope, you’d see its cellular structure is filled with tiny, air-filled pockets. It’s not unlike how a thermos flask uses a vacuum layer to keep your drink hot or cold.
These little air pockets are fantastic at slowing down the transfer of heat, making cedar a superb natural insulator. A home clad in vertical cedar will feel warmer in the winter and cooler in the summer, which can genuinely help trim your energy bills over time. The wood’s low density not only makes it lightweight and a dream to work with but also boosts these insulating properties, giving it a real performance advantage over materials like concrete or steel.
Cedar’s unique cellular structure provides a natural thermal break. This means it helps maintain a more stable indoor temperature, reducing the load on your heating and cooling systems and creating a more comfortable living environment year-round.
An Ever-Changing Beauty
Perhaps one of the most captivating things about cedar is its aesthetic journey. When it’s first installed, Western Red Cedar displays a stunning palette of rich, warm tones, from subtle ambers and reddish-cinnamons to deep, mellow browns. Because no two boards are ever exactly alike, you get a vibrant, natural tapestry that adds immense character to any building.
But that visual depth is just the beginning. If left to its own devices, cedar cladding embarks on a graceful transformation. As the sun and rain work their magic over the years, it develops a distinguished and highly sought-after silver-grey patina. This elegant, weathered look helps a building settle beautifully into its landscape, creating a timeless connection with its surroundings.
When you choose cedar, you’re choosing to embrace this natural evolution. Whether you decide to maintain its original warm colour with finishing oils or let it age into a soft, silvery sheen, the material’s beauty is undeniable. For a deeper dive into the unique characteristics that set this timber apart, you can explore the fundamental properties of cedar wood in our detailed guide. This adaptability ensures your home’s exterior remains a point of pride for decades to come.
Choosing the Right Cedar for Your Project
Picking the right timber for your vertical cladding is one of the most important decisions you’ll make. It’s not just about the final look; it’s about performance, budget, and how your home will stand up to the British weather over the decades. It’s a common mistake to think all cedar is the same. The reality is that the species, grade, and even the finish you choose will leave a completely unique signature on your property.
This is where you move from the general idea of “cedar cladding” to the specific material that will bring your vision to life. It’s all about finding that sweet spot between the aesthetic you’re after and practical things like durability and cost.
Comparing Popular Timber Choices
While Western Red Cedar is a firm favourite for its incredible qualities, it’s worth seeing how it stacks up against other popular timbers used for cladding in the UK. Let’s look at it next to Siberian Larch and our home-grown British Larch, as each has its own distinct character and price point.
To help you weigh up the options, the table below breaks down the key differences.
| Feature | Western Red Cedar | Siberian Larch | British Larch |
|---|---|---|---|
| Durability | Exceptionally high (up to 60 years) | Very durable (up to 40 years) | Durable (around 20-30 years) |
| Appearance | Rich red-brown tones, very few knots | Pale yellow/golden, more knots | Warmer tones than Siberian, knotty |
| Stability | Very stable, minimal shrinkage/swelling | Less stable than cedar, can warp | Prone to movement, needs careful fixing |
| Cost | Premium/High | Mid-range | Lower/Most affordable |
| Maintenance | Low, weathers to a beautiful silver-grey | Low, also weathers to silver-grey | Low, similar weathering |
Ultimately, while larch varieties offer a more accessible price point, Western Red Cedar’s superior stability and clean, consistent appearance often justify the investment for a premium finish.
This comparison infographic gives you a quick visual summary of the key trade-offs between these three popular timber choices.
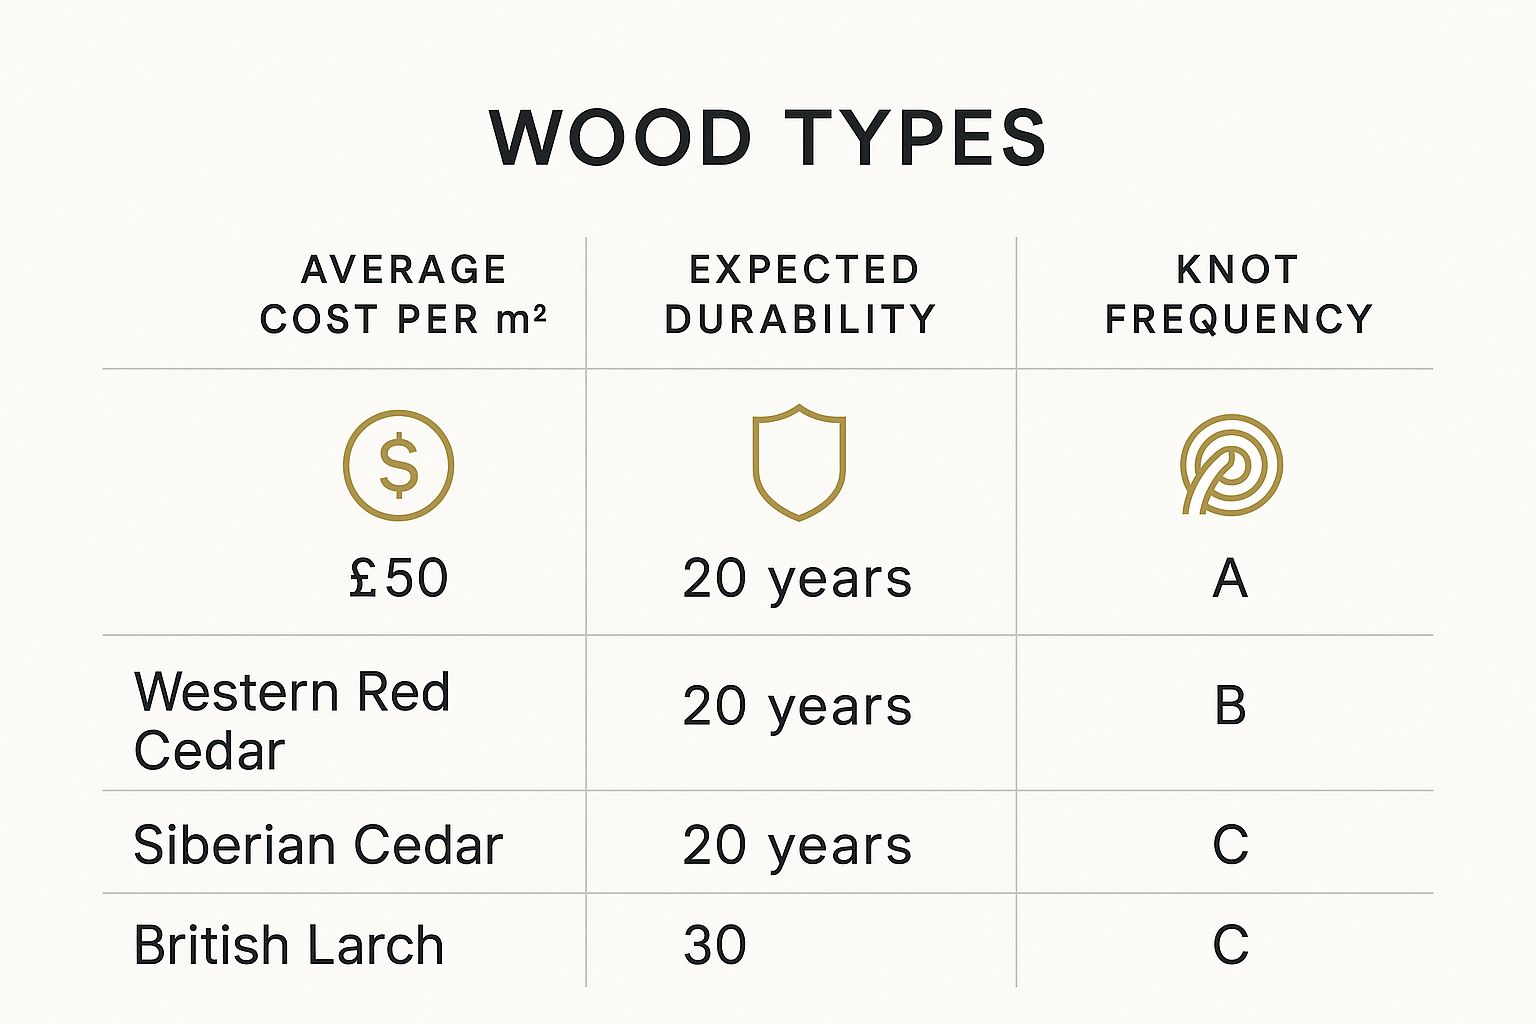
As you can see, Western Red Cedar sits at the premium end of the market but delivers top-tier durability and a cleaner look with far fewer knots.
Understanding Cedar Grades: Clear vs Knotty
Once you’ve settled on a species, the next big decision is the grade. This is simply a way of describing the wood’s visual quality, which mostly comes down to the number of knots you see. The two main categories you’ll come across are ‘Clear’ and ‘Knotty’.
- Clear Grade Cedar: This is the best you can get. Harvested from the heartwood of older, more mature trees, it’s virtually free of knots and other marks. The result is a clean, uniform look that’s perfect for contemporary designs where you want crisp, uninterrupted lines. As you’d expect, this premium quality comes with a higher price tag.
- Knotty Grade Cedar: This grade comes from a different part of the tree and, as the name suggests, has plenty of knots. But these aren’t flaws; they add a huge amount of rustic character and natural charm. If you’re aiming for a more traditional or organic feel, knotty cedar is a fantastic, and much more budget-friendly, option.
Your choice between clear and knotty will fundamentally define your building’s character, pushing it towards either a sleek, modern finish or a more charming, rustic one.
Selecting the Right Finish
The final piece of the puzzle is the finish. What you put on the surface of your cedar—or what you choose not to put on it—protects the wood and dictates its colour for years to come. This is as much about your personal style as it is about maintenance.
Choosing a finish is like deciding on the final chapter of your cladding’s story. Do you let it tell a tale of natural weathering, or do you preserve its vibrant youth? Each path offers a distinct and beautiful outcome for your home’s exterior.
Here are a few of the most popular routes people take:
- Natural Weathering: The simplest approach is to do nothing at all. If you leave it untreated, your cedar will slowly and beautifully transform into a silvery-grey patina over time. It’s a look that’s highly sought-after in modern architecture.
- UV Protective Oils: If you want to hold onto cedar’s gorgeous, warm, reddish-brown tones, you’ll need to apply a clear oil that contains UV inhibitors. This isn’t a one-and-done job; you’ll need to reapply it every few years to stop the timber from greying.
- Charred Finishes (Yakisugi): For a truly dramatic and striking statement, a charred finish is an incredible choice. This ancient Japanese technique, known as Yakisugi (also known as shou sugi ban), involves carefully charring the surface of the wood. This process not only creates a stunning, deep black, textured finish but it also makes the wood remarkably resistant to fire, pests, and rot. It’s as durable as it is beautiful.
Each option gives you a different look and a different level of upkeep, so you can tailor the finish to perfectly match your design vision and how much time you want to spend on maintenance.
Designing with Vertical Lines and Textures
Choosing the right cedar is just the start. The real architectural magic begins when you start to think about design, and this is where vertical cladding truly shines. It does so much more than just protect a building; it completely reshapes its presence, using strong, clean lines and natural textures to tell a compelling visual story. The upward orientation is a powerful tool in any designer’s kit.
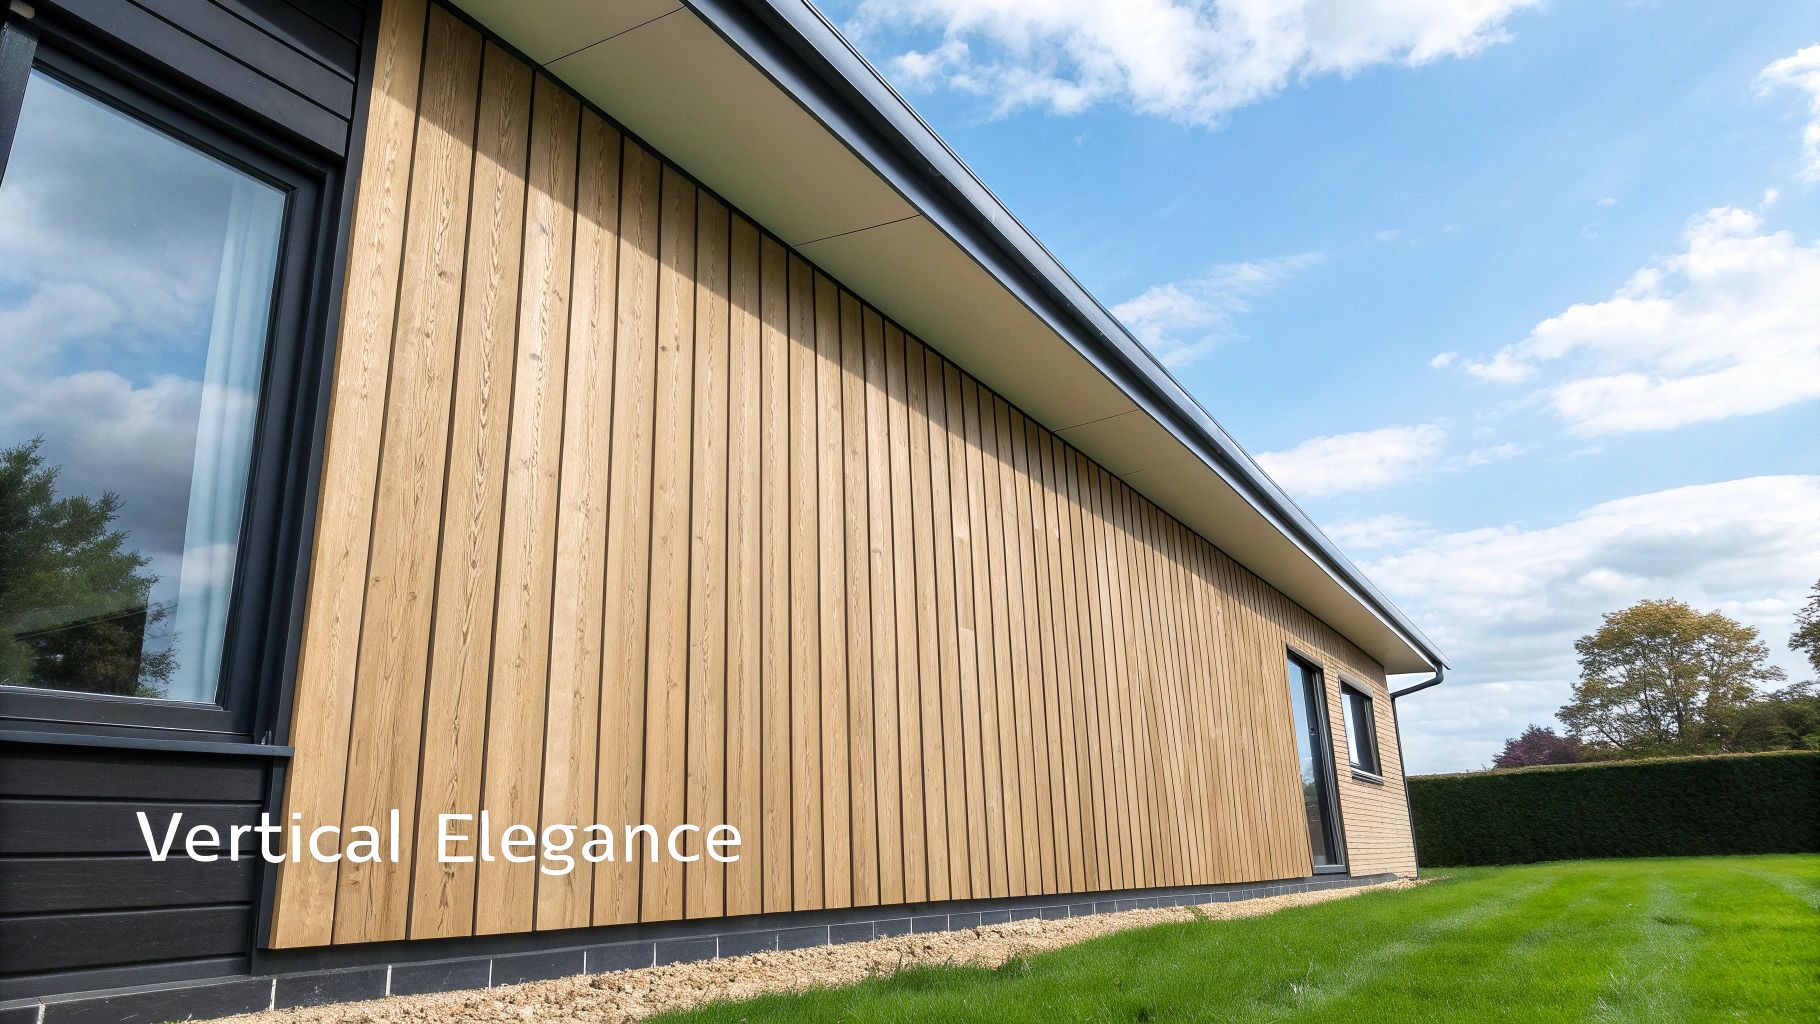
The most obvious effect of vertical lines is how they draw the eye upwards, creating an illusion of height and grandeur. This is a brilliant trick for single-storey homes or extensions, adding a sense of stature and elegance that might otherwise be lacking. The rhythmic, repeating pattern of the boards lends a clean, organised feel, turning a simple wall into a sophisticated design statement.
Choosing Your Profile for Visual Impact
The profile of your cladding boards—that is, the shape of their edges—plays a massive part in the final look. Each option casts its own unique shadow lines and creates a distinct texture, allowing you to really fine-tune the character of your building’s exterior.
Here are the most common profiles you’ll come across for vertical jobs:
- Tongue and Groove: This is a hugely popular choice, creating an almost seamless, flush finish with a subtle ‘V’ joint between each board. It delivers a clean, contemporary appearance with minimal shadow lines, making it perfect for a sleek, modern aesthetic.
- Shiplap: With its classic overlapping joint, shiplap creates more pronounced shadow lines than its tongue and groove cousin. This adds a lovely depth and visual interest to the facade, giving it a refined look that feels at home on both modern and traditional buildings.
- Board and Batten: This traditional style involves laying wide boards first, then covering the joints with narrower strips called battens. The result is a bold, three-dimensional effect with deep, dramatic shadows. It’s a great way to add rustic, textured character and make a strong architectural statement.
Think of the profile choice like an artist selecting a brushstroke. A smooth Tongue and Groove profile is a gentle wash of colour, while a bold Board and Batten is a confident, textured line that defines the entire piece.
Harmonising Cedar with Other Materials
One of vertical cedar’s greatest strengths is how beautifully it plays with other building materials. Pairing its natural warmth and texture with contrasting elements creates a dynamic and harmonious facade that feels balanced and engaging. This approach stops the building from looking like one big block of wood and lets you highlight specific architectural features.
Consider these powerful combinations:
- Cedar and Brick: The warm, organic tones of cedar create a stunning contrast with the earthy, rugged texture of traditional brickwork. This pairing just feels grounded and timeless.
- Cedar and Stone: Combining vertical cedar with a stone base or a feature wall adds a real sense of permanence and natural elegance. The clean lines of the wood work to soften the visual weight of the stone.
- Cedar and Render: For a crisp, contemporary look, you can’t beat pairing cedar with smooth white or grey render. The cedar injects warmth and texture, preventing the render from appearing too stark or clinical.
The demand for natural materials is as strong as ever, with the UK timber cladding sector as a whole forecast to grow at over 4% CAGR through 2030. That said, cedar has stiff competition from lower-maintenance alternatives like uPVC, which saw its sales surge by a staggering 55% in just two years among leading UK suppliers. This just highlights how important thoughtful design is to showcase timber’s superior aesthetic. You can dig deeper into these trends by exploring some UK building material statistics. This sustained interest ensures that a well-designed timber facade will always be a valuable architectural feature.
By carefully thinking through your profiles and material pairings, you can elevate vertical cedar cladding from a simple protective layer to a primary tool for architectural expression.
Getting the Installation Spot-On
You can choose the most beautiful, high-grade vertical cedar, but if the installation isn’t up to scratch, it simply won’t last. The long-term success of your project really does hinge on getting the fundamentals right from the start. A proper installation turns stunning timber into a durable, protective shield for your building.
This isn’t about turning you into a DIY expert overnight. It’s about arming you with the right knowledge so you can have a confident conversation with your installer. Knowing what to look for helps you spot potential shortcuts before they become expensive problems down the line. A flawless finish is always born from meticulous preparation.
The Crucial Role of Battens and Ventilation
If there’s one concept to grasp, it’s breathability. Timber is a natural material; it needs to breathe and manage moisture. If you trap water behind the boards, you’re creating a perfect environment for rot and decay. This is where the batten system becomes your project’s unsung hero.
Think of it this way: the battens create a dedicated air channel, or ventilation gap, between the back of the cedar boards and the building’s main wall. This gap is vital. It allows air to circulate freely, wicking away any moisture that finds its way behind the cladding and letting the timber dry out properly after a downpour. With vertical cladding, this usually means a ‘counter-batten’ system—one set of battens fixed horizontally, with another set running vertically on top—to guarantee the airflow is never blocked.
An adequate ventilation gap is non-negotiable. For UK conditions, a gap of at least 25mm is the standard recommendation. This ensures enough airflow to prevent mould, mildew, and premature timber decay.
This system is basically the lungs of your cladding, and it’s what will keep it healthy for decades.
Choosing the Right Fixings and Spacing
With the support structure sorted, the next detail is how you actually attach the boards. It might seem like a minor point, but using the wrong screws or nails can completely ruin the look of your beautiful new cedar.
The golden rule here is to always use stainless steel fixings. Cedarwood has natural tannins in it, and these will react badly with cheaper galvanised or iron-based fixings. This chemical reaction causes ugly black streaks and stains to run down the boards, spoiling the clean aesthetic. Insisting on stainless steel is a must.
Getting the spacing right is just as important. Cedar will naturally expand and contract a little with changes in humidity and temperature. A good installation has to account for this natural movement:
- Expansion Gaps: Small, deliberate gaps are often left between boards to give them room to swell slightly without buckling or warping.
- Correct Fixing Points: The nails or screws must be positioned perfectly to hold the board firm while still allowing for that tiny bit of seasonal movement.
These seemingly small details are absolutely vital for the facade’s long-term stability. For a deeper dive into best practices, our guide to installing timber external cladding is a great resource.
Common Mistakes to Avoid
Knowing what not to do is just as important as knowing the right way to do things. As a clued-up homeowner, you can help make sure your contractor avoids common pitfalls that can compromise the whole project.
Keep an eye out for these frequent installation shortcuts:
- Inadequate Ventilation: Skipping the counter-batten step or making the air gap too small is a critical, and surprisingly common, error.
- Incorrect Fixings: Using the wrong type of metal for nails or screws is a false economy that will lead to staining.
- Poor Detailing: Badly cut corners or messy junctions around windows and doors not only look unprofessional but can create weak points where water gets in.
- No End-Grain Sealing: The cut ends of cedar boards are like a sponge for moisture. They should always be sealed before the board is installed.
By understanding these key principles, you’re in a much better position to oversee the work. It empowers you to ensure your investment in vertical cedar cladding results in a durable, flawless, and beautiful finish that will protect and enhance your home for a lifetime.
Keeping Your Cedar Cladding Looking Its Best
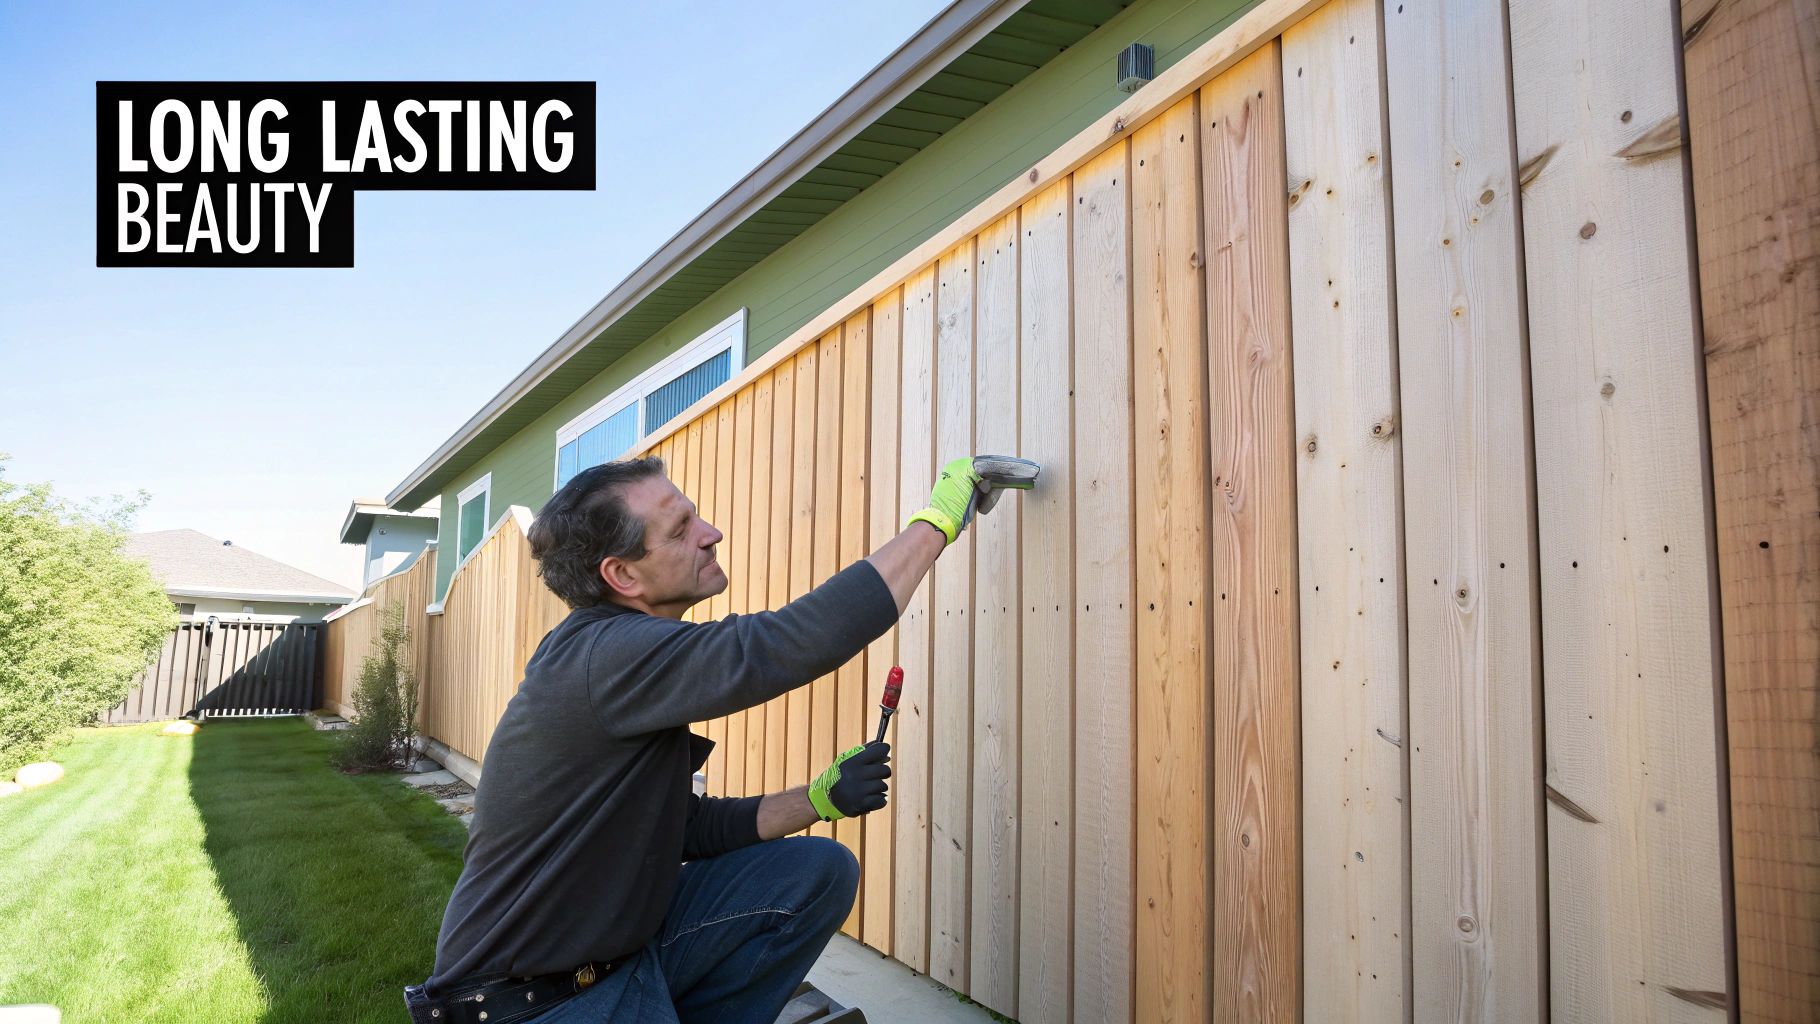
Your vertical cedar cladding is more than just a protective layer; it’s a major part of your home’s character and value. Keeping it that way is surprisingly straightforward and really comes down to one key decision: do you let it age gracefully, or do you preserve its original, vibrant colour?
Honestly, there’s no right or wrong choice here. It’s all about the look you’re going for. Both paths lead to a stunning, long-lasting facade that will serve your home well for decades.
The Low-Effort Charm of Natural Weathering
If you love the idea of a low-maintenance finish, letting your cedar weather naturally is the way to go. It’s a look that’s hugely popular in contemporary architecture for good reason.
When you leave it to the elements, the sun and rain work their magic. Over a few years, the warm, reddish-brown tones will slowly and beautifully transform into a sophisticated silvery-grey patina. The end result is a soft, elegant finish that helps your home blend seamlessly into its natural surroundings.
For this hands-off approach, all you need is a little common sense:
- Annual Check-up: Once a year, give it a quick once-over. Look for any damage, trapped leaves or debris, or anything unusual around the fixings.
- A Gentle Wash: Every so often, a wash with a soft brush and some mild detergent will get rid of any surface grime, helping it to weather nice and evenly.
Letting cedar go grey is like letting your home tell a story. The facade evolves with the seasons, creating a living finish that connects the building to its environment.
Preserving That ‘Just Installed’ Colour
Did you fall for the rich, warm glow of brand-new cedar? You can absolutely keep it looking that way. This route just requires a more hands-on approach to shield the wood from its main adversary: the sun’s UV rays.
The trick is to use a protective finish that’s designed to block UV light. I always recommend high-quality penetrating oils or specially formulated stains. These products soak into the timber to nourish it from within, rather than just sitting on the surface like a film that could eventually peel or flake off.
A Realistic Maintenance Schedule
To keep that original colour locked in, you need to think of maintenance as a cycle, not a one-time job. A simple, consistent plan will keep the wood protected and looking fantastic.
- The First Coat: Get a protective finish on the boards as soon as you can after installation. The absolute best practice is to coat all sides before they even go on the wall.
- The Follow-Up: Plan for a second coat within the first 12-18 months. This really helps to build up the protection.
- Ongoing Care: After that initial period, you’ll be looking at reapplying the finish every 3 to 5 years. The exact timing depends on how much direct sun and rain your home gets.
Of course, regular cleaning and inspections are just as important here. For a deeper dive into the best products and techniques, understanding how to protect wood outdoors is a massive help.
Whether you let it silver or keep its warm tone, a little bit of care goes a long way in making sure your cedar cladding remains a standout feature of your home.
Answering Your Questions About Vertical Cedar Cladding
Even after exploring all the design ideas and benefits, you probably still have a few practical questions knocking around. Let’s tackle some of the most common queries we hear from homeowners and designers to help you move forward with confidence.
How Much Should I Expect to Pay for Vertical Cedar Cladding in the UK?
This is a big one, and the cost can swing quite a bit depending on the grade of cedar you choose, the complexity of the profile, and where you buy it from. As a ballpark figure, you should budget for anywhere between £50 to over £100 per square metre for the timber itself. The pristine, knot-free look of clear-grade Western Red Cedar will sit at the top end of that scale.
It’s really important to remember that this price is just for the materials. Always get a few detailed, itemised quotes from experienced installers. A good quote will break down the costs for labour, battens, fixings, and any protective finishes you might need.
What’s the Real Lifespan of Cedar Cladding?
When it’s installed properly, the longevity of Western Red Cedar is genuinely remarkable. The timber is naturally armed against rot, moisture, and pests, which gives it incredible staying power.
With a professional installation that includes a proper ventilation gap and the right stainless steel fixings, there’s no reason your vertical cedar cladding shouldn’t last for 50-60 years, and often a lot longer.
The beauty of this is that you can achieve this amazing lifespan whether you decide to maintain its warm, reddish-brown colour or let it age gracefully into that classic silver-grey patina. It all comes down to getting the initial setup right.
Is Cedar Cladding a Sustainable Choice for My Home?
Absolutely, cedar is a fantastic sustainable option, but there’s a crucial catch: it must come from a responsible source. To make sure your choice is an environmentally friendly one, always look for timber that’s certified by either the Forest Stewardship Council (FSC) or the Programme for the Endorsement of Forest Certification (PEFC).
These labels are your guarantee that the cedar was harvested from forests managed to protect wildlife, support local communities, and ensure the trees are replanted for the future. As a natural material, cedar also has a far lower carbon footprint than manufactured alternatives like vinyl or metal.
Is Vertical Cladding More Expensive to Install?
Sometimes, yes, the installation for vertical cladding can be a little more expensive than a standard horizontal layout. This usually comes down to the extra work needed to build the support structure. To ensure proper drainage and airflow, vertical boards often require a ‘counter-batten’ system, which involves fitting both horizontal and vertical supports behind the cladding.
However, the cost difference is often pretty small when you look at the total project budget. For most people, the stunning visual impact and the way vertical lines make a building feel taller more than justifies any slight increase in labour costs.
For a truly striking and durable facade using advanced timber techniques, explore the range of charred timber products at TimberSol. Discover how Yakisugi can bring unmatched beauty and resilience to your project at https://timbersol-backup.elnoirstudio.com.