How to Protect Wood Outdoors in the UK

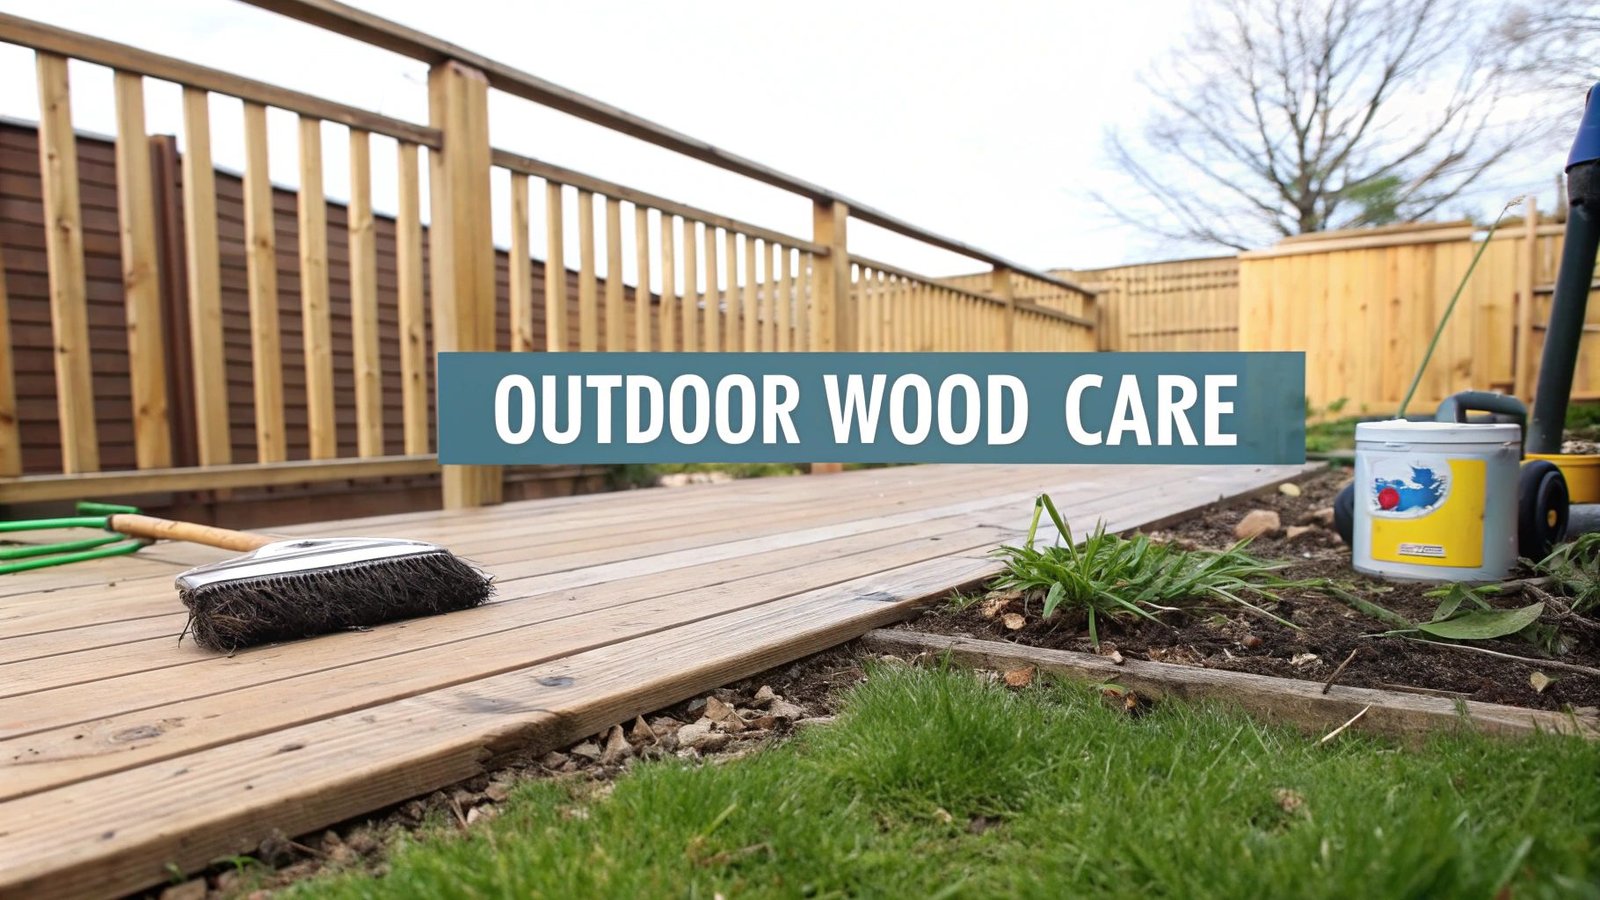
Outdoor wood protection is the process of shielding timber from moisture, UV radiation, and insects using oils, stains, paints, or preservatives. Proper surface preparation, multiple protective coats, and seasonal maintenance help prevent rot, greying, and structural damage.
This guide explains how to properly prepare wood, choose the right finish—such as oils, stains, or paints—and apply it correctly for long-lasting protection. It also outlines a seasonal maintenance routine to help keep decks, fences, and garden furniture in excellent condition.
Why Outdoor Wood Needs Protecting in the UK
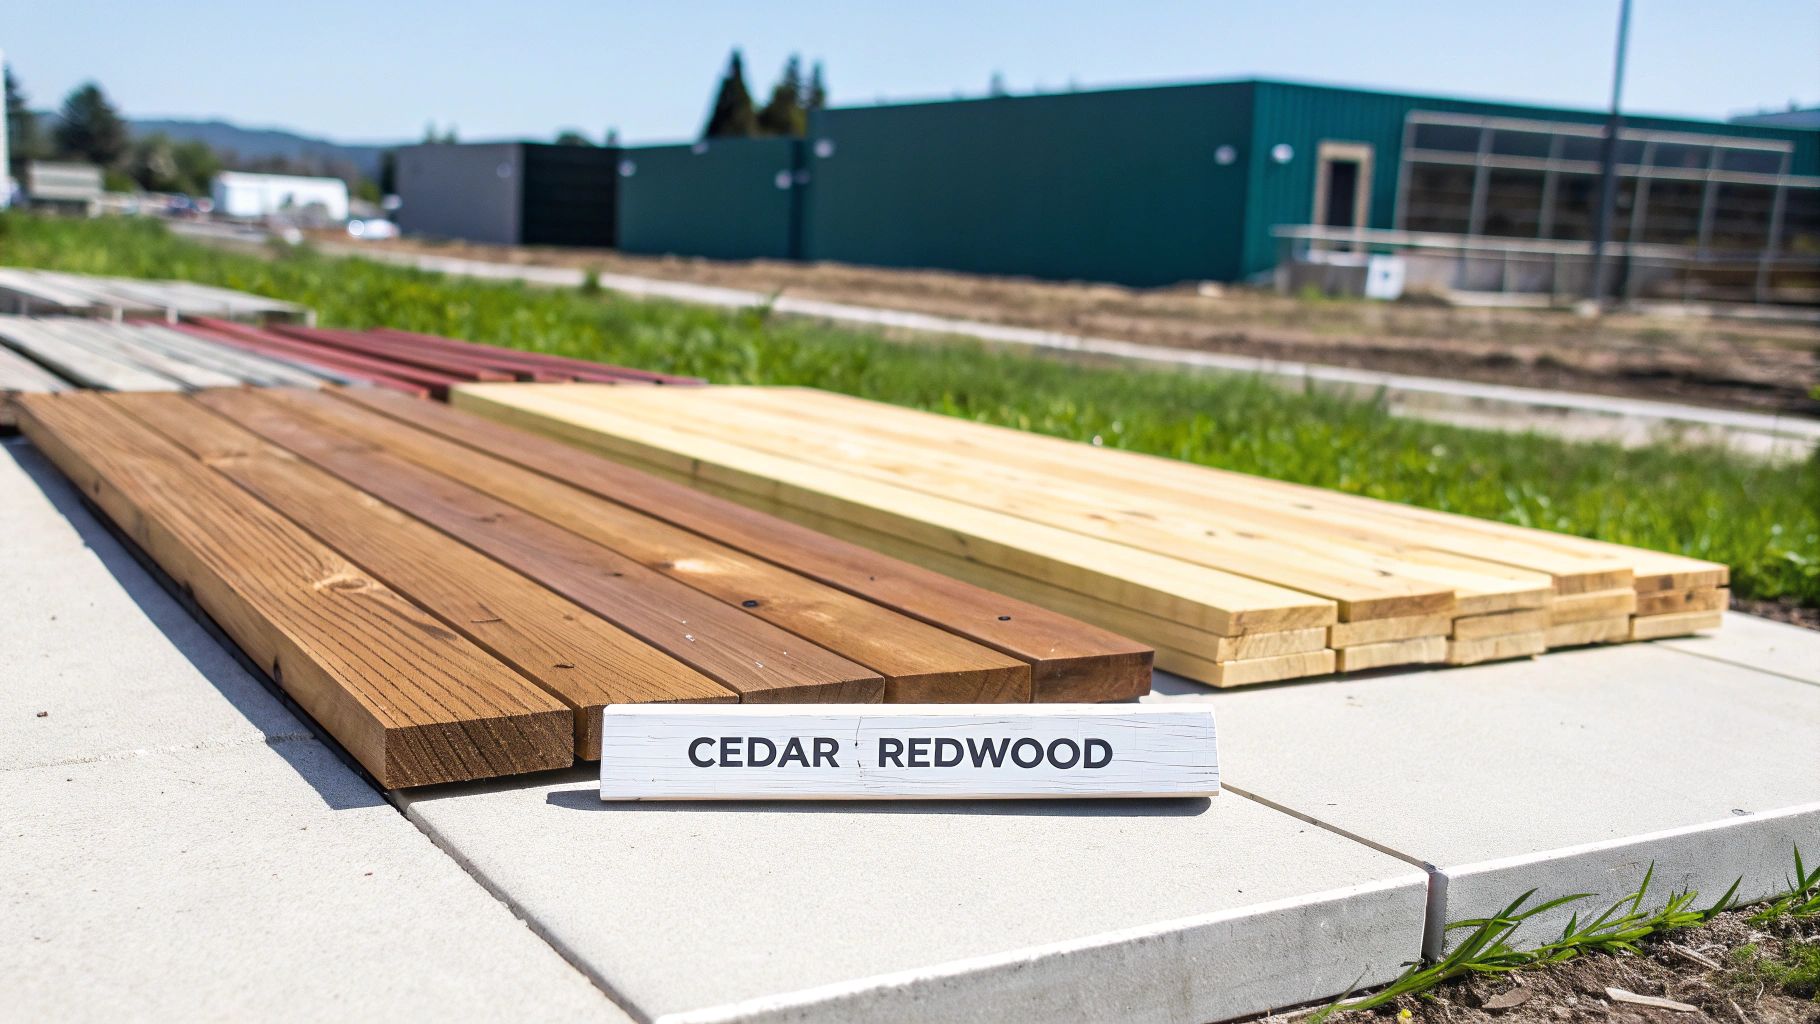
The UK climate—with its persistent damp conditions, mild winters, and occasional bursts of strong sun—creates challenging conditions for outdoor wood. Leaving decking, fencing, or garden furniture unprotected exposes timber to rapid weathering and long-term damage.
In practice, outdoor timber faces three main threats: moisture, sunlight, and biological activity. Each of these gradually breaks down the wood, turning what was once a beautiful garden feature into a faded, brittle surface. Understanding these threats is the first step toward protecting your timber effectively.
The Relentless Threat of Moisture and Fungal Rot
In the British climate, moisture is the primary threat to outdoor wood. Frequent rain, morning dew, and constant humidity mean timber surfaces rarely dry completely. These persistently damp conditions create an ideal environment for fungi, which leads to wood rot.
The effects are easy to recognise. A fence post may become soft and spongy at the base, or a section of decking that rarely dries can develop dark, uneven patches. This problem is not only cosmetic—it affects the structure of the wood. Fungal decay gradually breaks down the timber’s cellular structure, weakening it from the inside.
The difference between treated and untreated wood is well documented. A long-term UK field trial lasting 10 years found that most untreated fence posts failed in less than five years due to fungal decay. In contrast, preservative-treated posts showed no visible signs of decay even after a decade.
UV Damage and the Greying Effect
Although sunshine may be less frequent in the UK, its ultraviolet (UV) rays remain highly damaging to exposed wood. UV radiation breaks down lignin, the natural compound that binds wood fibres together. This process, known as photodegradation, gradually bleaches the wood, changing its rich natural colour to the familiar silvery-grey tone.
This greying effect is not purely cosmetic. As lignin degrades, the wood surface becomes more brittle and porous. As a result, the timber absorbs moisture more easily, which accelerates the overall cycle of deterioration. Without protection, a once vibrant cedar shed can begin to appear faded and weathered after only a few seasons.
The Unseen Attack from Insects
In addition to weather-related damage, wood can also be affected by insects. Various wood-boring pests, such as woodworm—the larvae of furniture beetles—pose a real risk to timber. While some wood species have natural resistance, many of the softwoods commonly used in gardens and exterior construction, such as spruce cladding, are more vulnerable.
These insects bore into the wood to feed and lay eggs, creating internal tunnels that gradually weaken the timber’s structure. Early signs may appear minor, such as a few small holes on the surface, but more extensive damage can develop inside the wood over time. Protective treatments help prevent this by creating a chemical barrier that makes the timber unpalatable or harmful to these pests.
To better understand these challenges, it can be useful to view them side by side.
Common UK Wood Threats and Key Solutions
The table below provides a quick overview of the main environmental threats affecting outdoor wood in the UK and the most effective ways to address them.
| Threat | Primary Cause | Visual Signs | Effective Solution |
|---|---|---|---|
| Fungal Rot | Persistent moisture & high humidity | Soft, spongy texture; dark discolouration; crumbling | Wood preservatives, waterproof sealants |
| UV Damage | Direct sunlight exposure | Greying or silvering; faded colour; surface cracking | UV-inhibiting oils, stains, or paints |
| Insect Attack | Wood-boring insects (e.g., woodworm) | Small holes; fine dust (frass); weakened structure | Insecticidal wood treatments & preservatives |
Understanding these core threats is essential. It helps guide every decision you make—from how you prepare the timber to the type of protective finish you apply—ensuring your efforts deliver durable, long-lasting results.
Preparing Wood for a Treatment That Actually Lasts
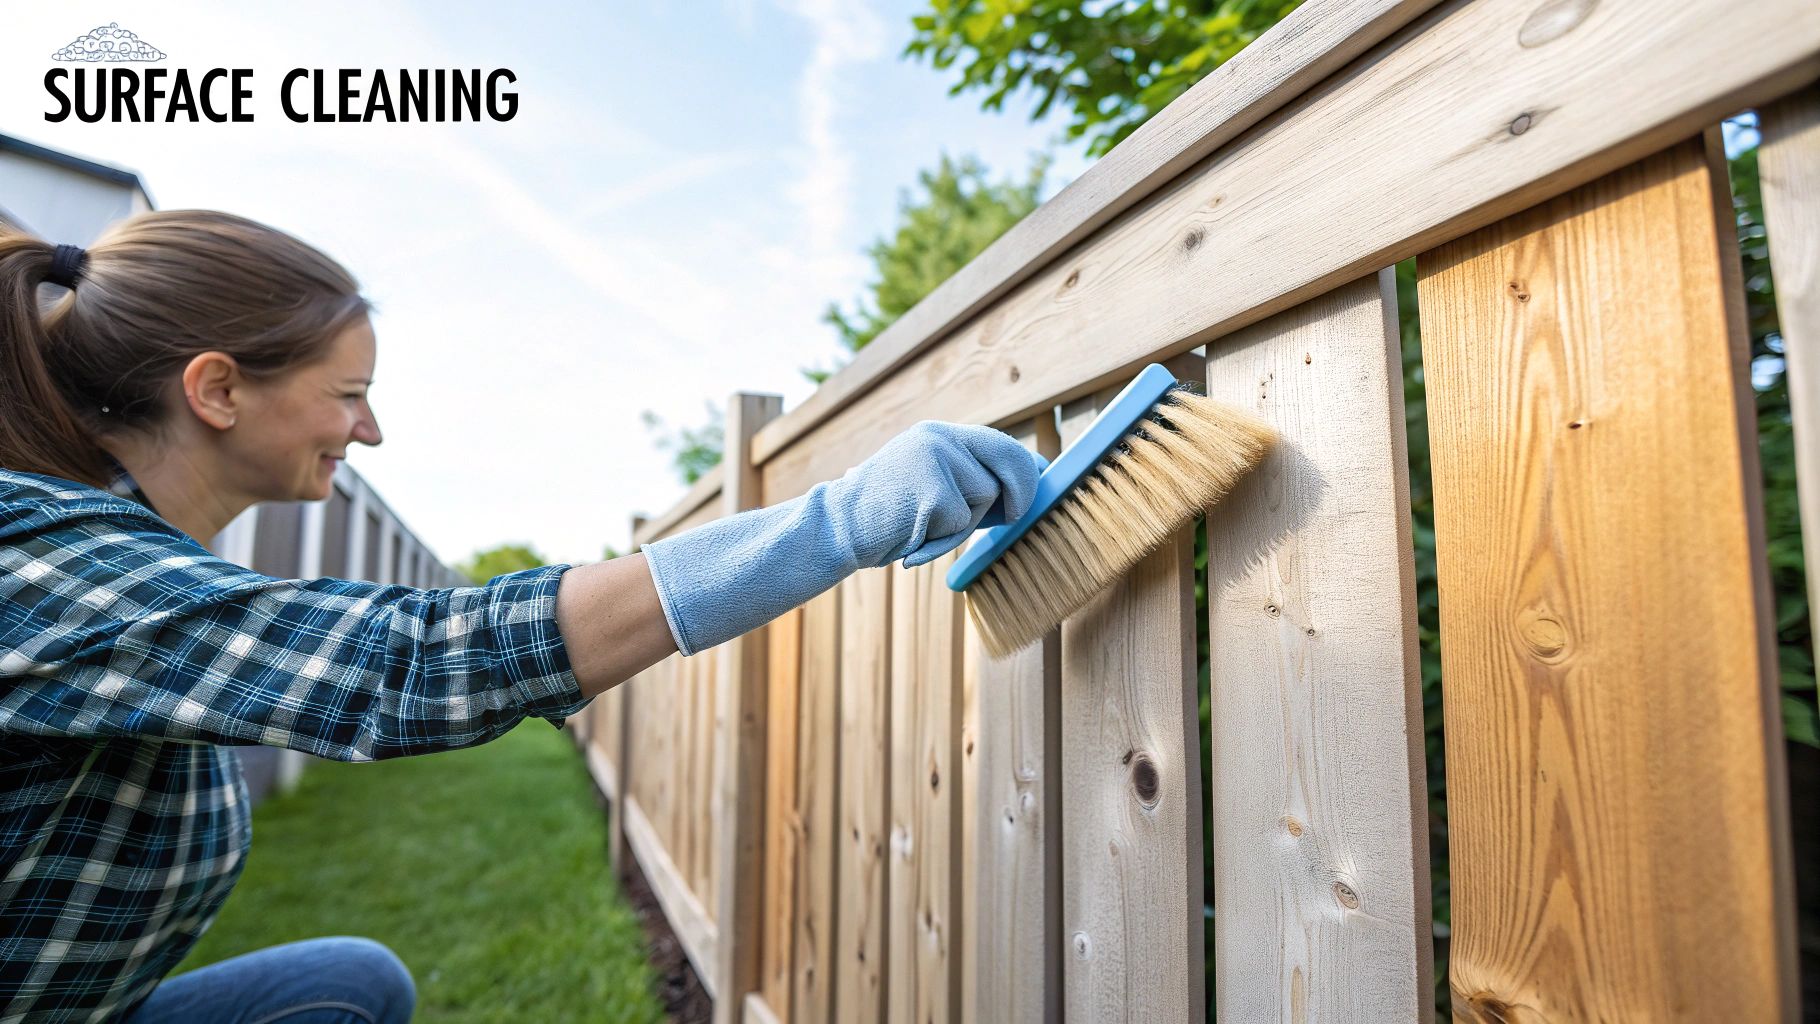
It can be tempting to jump straight to the finishing stage, but rushing the preparation is one of the most common mistakes. Skipping proper prep work often leads to finishes that peel, flake, or fail prematurely, wasting all your effort.
The principle is simple: just as you wouldn’t apply paint to a dirty or damaged wall and expect a smooth result, the same logic applies to wood.
Whether you’re working with brand-new boards or a weathered deck, the goal is the same—to create a clean, stable, and absorbent surface that allows the protective coating to penetrate and perform effectively.
Tackling New Timber First
There is a common misconception that new wood is ready for finishing immediately. In reality, most new timber—especially smooth, planed wood for decking or cladding—has a surface layer known as mill glaze. This hard, slightly shiny layer forms during the milling process and effectively seals the wood’s pores.
Applying a finish directly over mill glaze prevents proper absorption. Because the coating cannot penetrate the timber, it remains on the surface and is far more likely to peel. To solve this, the surface needs to be lightly sanded. A thorough pass with medium-grit sandpaper (around 80–100 grit) is usually enough to open the grain.
New timber also benefits from a short acclimatisation period. Allowing the wood to sit in its installation environment for a few weeks helps stabilize its moisture content, reducing the likelihood of twisting or splitting after the finish has been applied.
Reviving Old and Weathered Wood
Restoring tired, grey timber can be one of the most rewarding maintenance tasks. The process begins with a thorough deep clean. Over time, wood surfaces accumulate layers of dirt, algae, and remnants of previous treatments, all of which must be removed.
A dedicated wood cleaner is usually the best option, as these products are designed to remove grime effectively without damaging the timber. For stubborn patches of green algae, a stiff nylon brush can help lift the build-up. Wire brushes should be avoided, as they can damage the wood fibres and leave permanent scratches.
After cleaning, the timber must be allowed to dry completely. In the UK climate, this typically takes one to two days depending on the weather conditions. Once the wood is fully dry, it becomes much easier to identify any repairs that may be required.
Key takeaway: Preparation is not only about cleaning the surface—it is about making the wood absorbent. A properly prepared surface allows the first coat of oil or stain to penetrate deeply into the timber, providing stronger and longer-lasting protection.
The Importance of Sanding and Repairs
Sanding does more than remove splinters—it creates the ideal surface for a finish to adhere properly. For older wood that has already been cleaned, starting with a coarser grit (around 60–80) helps remove loose fibres and any remaining traces of old finishes. This should be followed with a finer grit (120–150) to produce a smooth and even surface.
This stage is also the right time to address cracks, deep scratches, or old screw holes. Use a high-quality exterior wood filler designed specifically for outdoor conditions. Slightly overfill the damaged area, as most fillers shrink slightly during drying. Once the filler has fully cured, sand it flush with the surrounding wood to create an almost invisible repair.
Of course, choosing the right timber from the beginning can save significant effort later. If you want to maximise natural durability from the start, species such as oak cladding and douglas fir wood cladding are often chosen for exterior projects thanks to their density and natural resistance to decay. You can explore the different species in our guide to weather-resistant hardwood options.
By investing time in these preparation steps, you ensure that your efforts deliver lasting results. Proper preparation helps create a durable, attractive finish that protects the wood for years, not just a single season.
Choosing the Right Armour for Your Wood
Walking into a DIY shop and facing a wall of wood treatments can feel overwhelming. Tins of oils, stains, varnishes, and paints all promise to be the ultimate defence for your timber. But how do you know which one is right for your deck, your fence, or that new garden bench you’ve just built?
The key is understanding that these products aren’t the same. Most fall into two main categories: penetrating finishes, which soak into the wood, and film-forming finishes, which sit on the surface and create a hard protective layer. Choosing between them depends on the look you want, the type of timber you’re working with, and—most importantly—how much time you’re willing to spend on maintenance in the years ahead.
Penetrating Oils for a Natural Look
If you want to preserve the natural beauty of timber, penetrating oils such as tung or linseed oil are an excellent option. These oils act like a deep conditioner for wood, soaking into the fibres and restoring the natural oils that sun and rain gradually remove.
This approach offers several clear advantages:
- Enhances natural grain: Oils highlight the depth and colour of the wood’s grain, creating a rich, natural appearance without a plastic-like surface sheen.
- Simple upkeep: Reapplication is straightforward. Because oils do not peel or flake, maintenance usually involves cleaning the surface and applying another coat.
- Allows the wood to breathe: The finish remains microporous, allowing moisture to escape. This reduces the risk of moisture becoming trapped beneath the surface, which can happen with failing film-forming finishes.
The main trade-off is maintenance frequency. In high-use areas such as decking, penetrating oils typically need to be reapplied every year to maintain both appearance and protection.
Film-Forming Finishes for Maximum Durability
At the other end of the spectrum are film-forming finishes. This category includes exterior varnishes, lacquers, and paints. Instead of soaking into the wood, these products form a tough protective layer on the surface, acting like a waterproof jacket.
A high-quality exterior paint provides one of the strongest barriers against both moisture and UV rays. The pigments in the paint act as an effective sunblock, which is why a well-painted fence can remain in excellent condition for 5–7 years, sometimes even longer. Varnishes create a similar hard protective layer but remain clear, allowing the wood grain to stay visible while still benefiting from that durable surface film.
The trade-off appears when the film eventually starts to fail. Over time it can crack, peel, or blister. Repairing it requires much more effort than simply reapplying oil. In many cases, the surface needs to be scraped and sanded back to bare wood before a new coat can be applied.
My Key Insight: The choice often comes down to a simple question: do you prefer light maintenance every year (oils), or more intensive work every five to seven years (paints)? There is no wrong answer—it simply depends on which maintenance approach suits you best.
Wood Stains: The Versatile Middle Ground
Wood stains offer a practical compromise between oils and paints. They contain pigments that adjust the wood’s colour and provide UV protection, while still penetrating the timber rather than simply forming a layer on the surface.
This approach combines several benefits:
- Colour and protection: Stains allow for a wide range of finishes, from subtle tones that enhance the natural grain to more opaque colours, while helping protect the wood from sun exposure.
- Reduced peeling risk: Because they soak into the wood, they are far less likely to peel or flake compared with paint. This makes future recoating much easier.
The growing demand for durable timber protection in the UK has driven significant innovation in this area. Market research indicates that wood protection coatings are expanding globally at a compound annual growth rate of around 3.6%. As a result, modern products now range from advanced water-based stains to highly durable epoxy-based formulations.
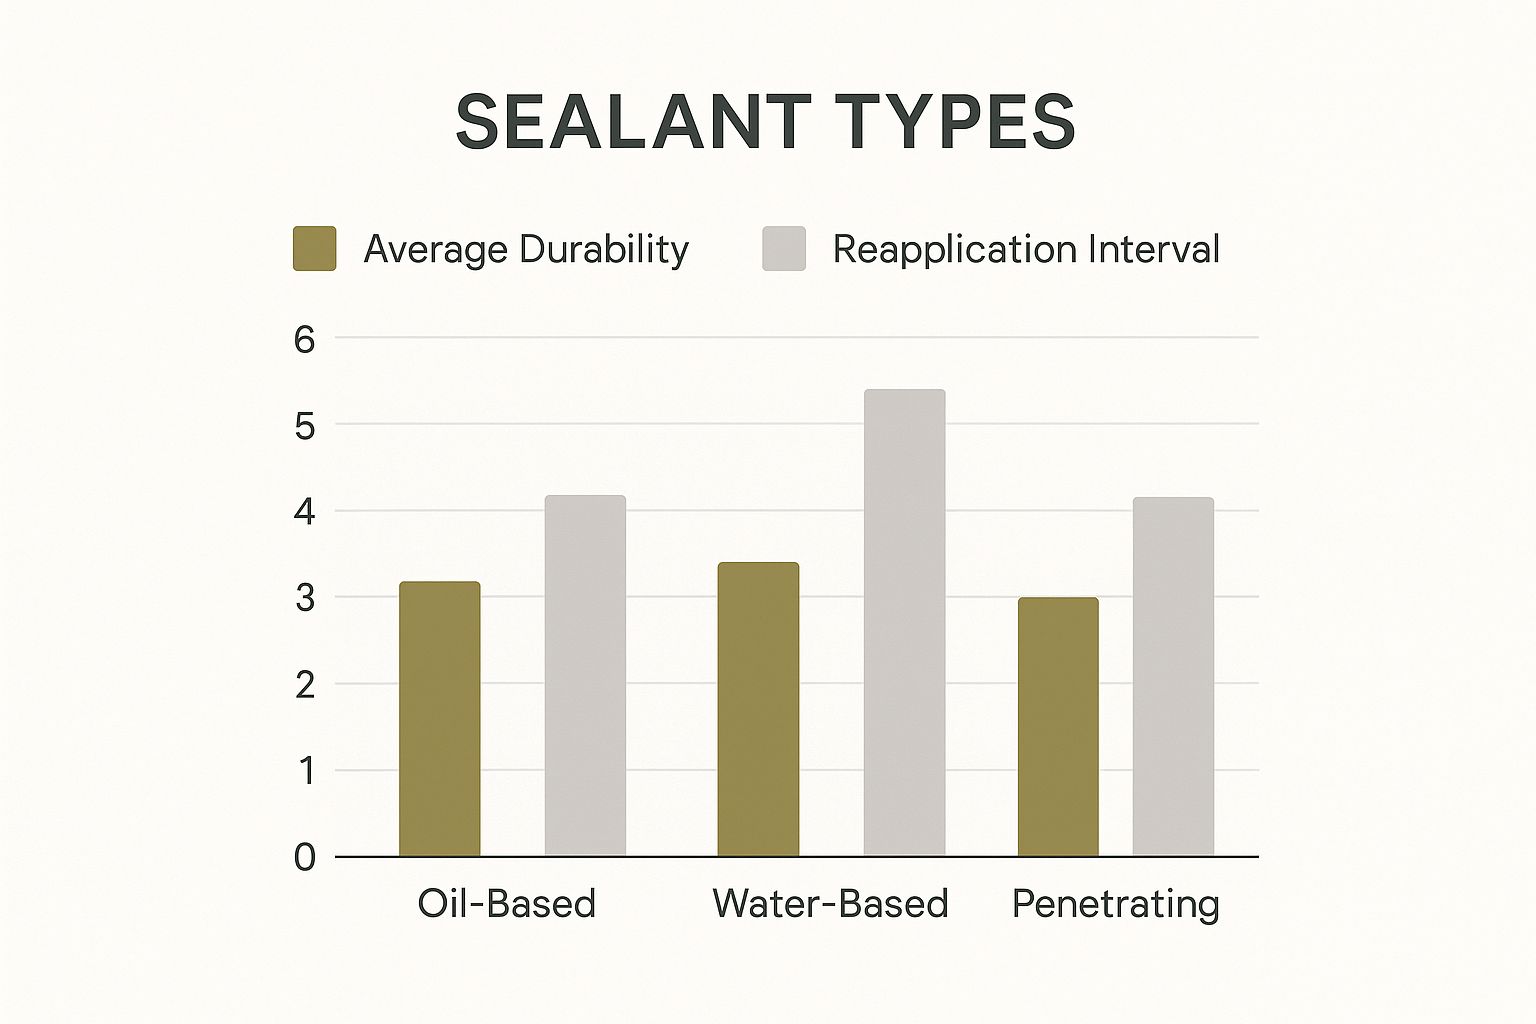
To make the decision easier, the table below compares the most common types of outdoor wood finishes.
Comparing Outdoor Wood Finishes
| Finish Type | Best For | Appearance | Durability | Maintenance Level |
|---|---|---|---|---|
| Penetrating Oil | Decks, benches, natural wood features where the grain is the star. | Enhances natural grain with a matte or satin finish. | 1-2 years | Low effort, but frequent (annual recoating). |
| Wood Stain (Semi-transparent) | Fences, cladding, garden furniture. | Adds colour while still allowing wood grain to show through. | 2-4 years | Moderate. Clean and recoat every few years. |
| Wood Stain (Solid/Opaque) | Siding, fences, or covering imperfections in older wood. | Looks like a flat paint, completely hiding the grain. | 3-5 years | Moderate. Less prone to peeling than paint. |
| Exterior Varnish | Doors, window frames, boat trim. Anywhere a tough, clear film is needed. | High-gloss or satin clear coat. Can yellow over time. | 2-4 years | High. Requires sanding back if it peels or cracks. |
| Exterior Paint | Sheds, fences, window frames, siding. The ultimate protector. | Opaque, solid colour in any shade. Hides wood grain completely. | 5-7+ years | High. Very durable but intensive prep when it fails. |
As the comparison shows, there is a clear trade-off between the initial durability of a finish and how often maintenance is required.
If you are looking for a more distinctive and highly resilient option, it is worth considering traditional techniques that are gaining renewed interest today. One example is charring the surface of wood to create a natural carbonised protective layer. For a deeper look at this sustainable approach, explore our guide on the Shou Sugi Ban technique and see examples of charred douglas fir cladding used in modern exterior architecture. This centuries-old Japanese method enhances wood’s resistance to fire, rot, and pests.
Getting Your Application Technique Just Right
You can use the best finish available and prepare the wood perfectly, but if the application is careless, the results will not last. This is the stage where patience and attention to detail make the biggest difference. A rushed application often leads to premature failure, so taking the time to do it properly is essential.
Knowing how to protect wood outdoors is just as much about the how as it is about the what. Your choice of brush, the way you apply the finish, and the care you take during application all affect how the surface looks and how long the protection lasts. Rushing this step is a mistake that’s difficult to correct later.
Choosing the Right Tools for the Job
First things first: your applicator. It can be tempting to grab a roller when working on a large deck to finish the job quickly, but rollers often struggle to reach the gaps between boards. For grooved decking or detailed timber surfaces, a high-quality natural-bristle brush is usually the best option. It allows you to work the finish into every corner and groove, ensuring complete coverage.
If you are applying a penetrating oil, a simple lint-free cloth can be the most effective tool. Wiping on a thin, even layer and then buffing away any excess helps the oil penetrate deeply into the timber. This method prevents a sticky surface film from forming, which would otherwise attract dirt and dust.
The Art of Applying Thin Coats
One of the most common mistakes is applying a single thick coat to save time.. A thick layer of paint or varnish struggles to cure properly, remaining soft underneath and increasing the risk of drips, runs, and eventual peeling.
A professional approach is to build the finish gradually with several thin coats. This method provides clear advantages:
- Stronger bond: Each thin layer adheres more effectively to the previous one, creating a more durable and unified protective surface.
- Cleaner finish: Thin coats reduce the chance of visible brush marks or uneven textures such as the “orange peel” effect.
- More reliable curing: Thin layers dry and cure evenly, preventing the surface from forming a skin while the material underneath remains wet.
Key takeaway: Apply two or three thin, even coats rather than a single heavy layer. Although it requires more time, this method produces a more professional appearance and significantly improves durability.
Techniques the Pros Swear By
It’s not just about brushing or wiping on a finish. A few extra details can make the difference between an average job and a truly professional result, especially when it comes to protecting the most vulnerable areas of the wood.
First, always keep an eye on the weather. You need a clear, dry window of at least 24–48 hours after applying the final coat. Applying a finish just before rain or during very high humidity can trap moisture beneath the surface. This often leads to clouding, blistering, and sometimes complete failure of the finish.
Second, take the drying times listed on the product tin seriously. They’re not just suggestions. Applying the next coat before the previous one has fully cured weakens the entire system. The result is a finish that won’t stand up properly to outdoor conditions.
The Single Most Important Spot to Protect
Finally—and this is absolutely critical—you need to pay special attention to the end grain. These are the cut ends of timber, such as the ends of decking boards or the tops of fence posts. The structure of end grain resembles a bundle of tiny straws, which makes it extremely effective at drawing water deep into the wood.
In fact, wood can absorb moisture up to 250 times faster through its end grain than through its flat surfaces. For this reason, these areas must be thoroughly saturated with your protective finish. Applying an additional coat or two specifically to the end grain helps build a stronger seal.
This is the area where rot most often begins, so it should never be overlooked. Paying careful attention to the end grain ensures that your work results in a durable, long-lasting barrier capable of withstanding the unpredictable UK weather.
Your Seasonal Wood Care and Maintenance Plan
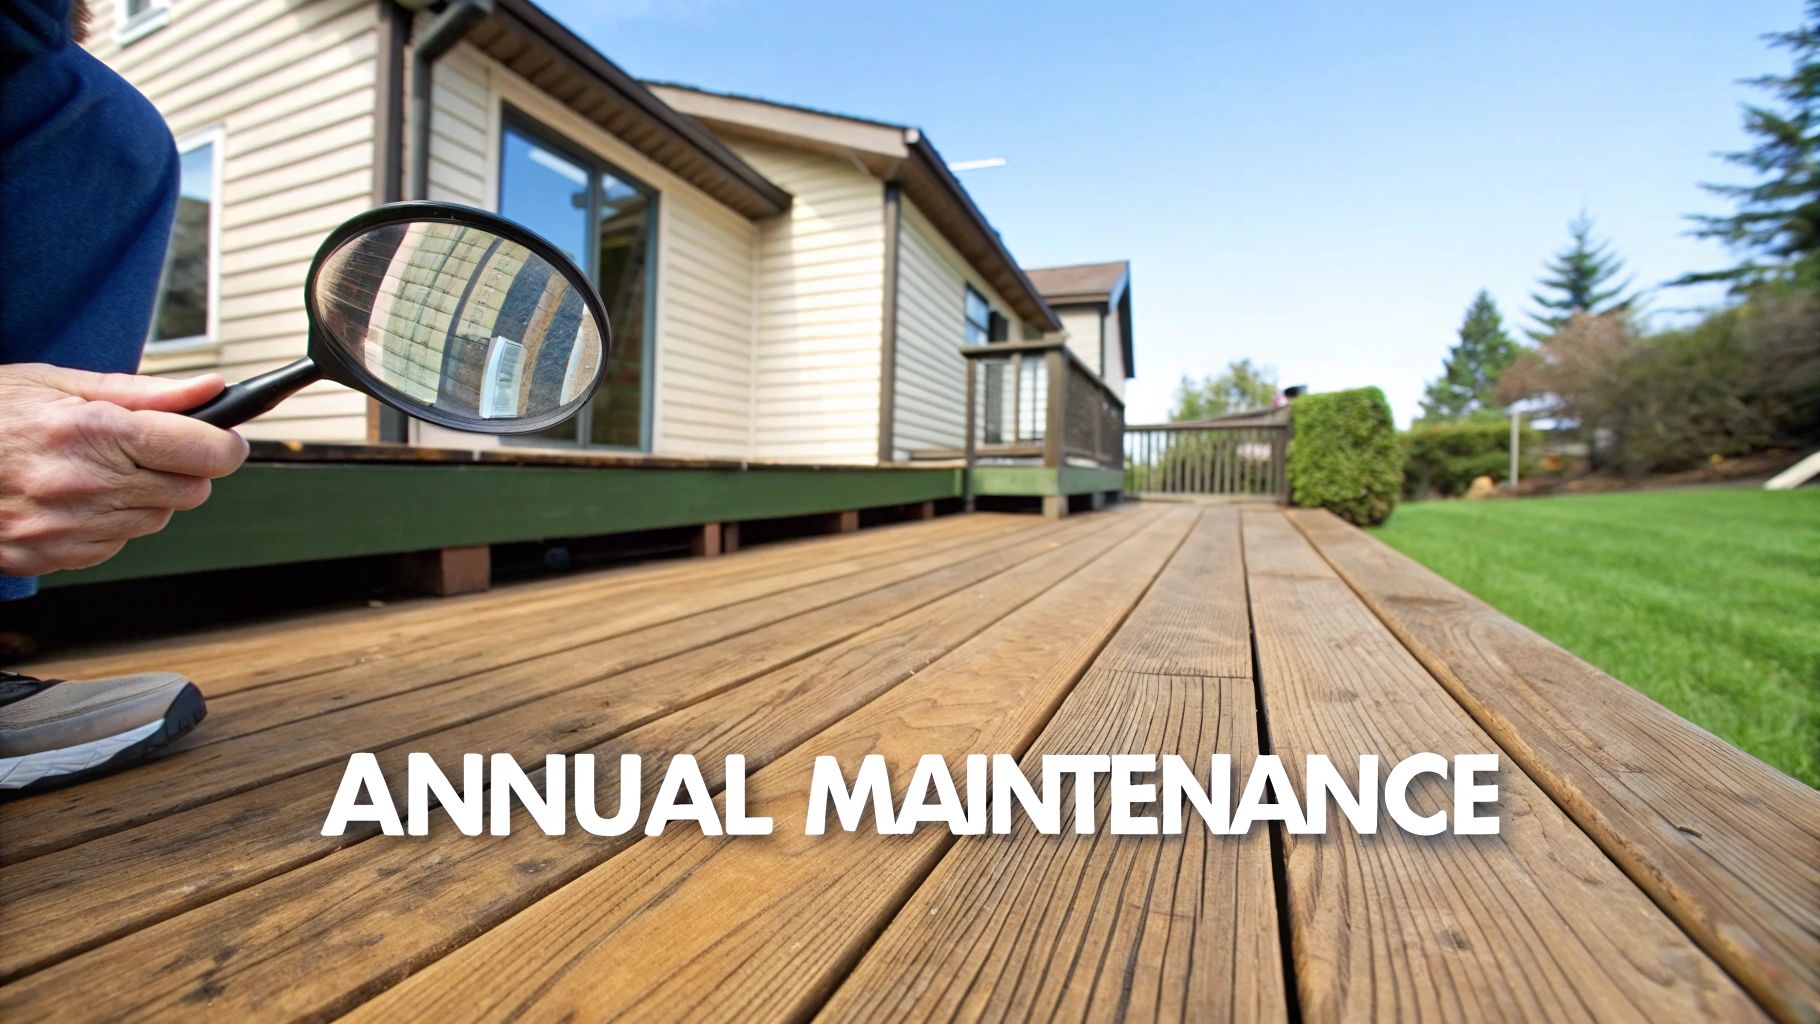
Protecting outdoor timber is not a one-time task; it requires ongoing care that adapts to the changing seasons. Taking a proactive approach helps identify minor issues early, preventing them from developing into larger and more costly repairs. Regular attention keeps timber resilient and maintains its appearance throughout the year.
Organising wood care into a seasonal routine makes maintenance far more manageable. Each season presents different challenges—from autumn moisture to strong summer sunlight—so your maintenance plan should account for these conditions. Following this approach helps extend the lifespan of both the protective finish and the timber itself.
Spring: The Annual Inspection and Clean-Up
Once the worst of winter has passed, it’s time to carry out a thorough inspection and deep clean of your outdoor wood. The cold, damp months often leave behind layers of grime, algae, and debris, so the first step is to wash all surfaces using a dedicated wood cleaner and a stiff-bristled brush.
This annual cleaning does more than improve appearance—it also helps reveal early signs of damage. While inspecting the wood, look for the following:
- Peeling or flaking: Check whether paint or varnish is starting to lift from the surface.
- Faded patches: Noticeable fading often indicates that the UV protection in the finish is beginning to fail.
- Water absorption: After cleaning, observe how the wood reacts to rain. If water soaks in rather than forming droplets on the surface, it’s a clear sign that a new protective coat is needed.
Addressing small repairs or touch-ups during spring—before the heavy-use summer months—helps prevent larger problems later. A common issue during this time is green algae on decking, which can become a slip hazard. For a detailed step-by-step approach, see our complete guide on cleaning algae from decking.
Summer: High-Traffic Checks
Summer brings increased foot traffic on decks and more frequent use of garden furniture. This makes it the ideal time for quick but regular inspections, especially in high-wear areas. Pay close attention to spots such as deck steps, main walkways, and the arms of outdoor chairs.
These areas may benefit from a light mid-season touch-up, particularly if an oil finish has been used. A quick wipe-down followed by a light reapplication of oil can help maintain protection and prevent bare patches from developing. It is also important to avoid allowing water to sit on wooden surfaces, so keep an eye on items like paddling pools or plant pots.
Autumn: Preparing for the Wet Months
In autumn, the focus shifts to preparing your wood for the harsh, wet winter ahead. One of the biggest risks during this season is fallen leaves. When wet leaves remain on decking or outdoor furniture, they trap moisture against the timber, creating ideal conditions for mould, rot, and decay.
Make it a habit to sweep away leaves and other debris every week. Although simple, this is one of the most effective preventative measures you can take. Autumn is also the final opportunity to inspect your timber before winter arrives, so ensure the protective finish is intact and ready to withstand the coming weather.
Expert insight: Long-term wood protection depends on consistency. A quick 15-minute inspection and tidy-up each season is far more effective than dealing with major repairs every five years. It’s all about proactive care, not reactive fixes.
This long-term approach protects both the appearance and structural integrity of your timber while preserving your investment. With the UK government planning to build around 1.5 million new homes, demand for durable timber used in framing and outdoor applications is expected to increase. This will likely encourage further innovation in wood preservation, reinforcing the importance of maintaining the timber already in use. By following a simple seasonal care routine, you can ensure your outdoor wood remains a durable and attractive part of your home for many years.
Your Outdoor Wood Questions, Answered
Even the most seasoned DIYers run into questions when working with exterior timber. To help clear up any confusion, here are answers to some of the most common questions I hear, so you can approach the job with confidence and get it done right.
How Often Should I Re-Treat My Garden Deck in the UK?
In the UK’s damp climate, a garden deck finished with a quality oil or stain will usually need a fresh maintenance coat every 1–2 years. Pay particular attention to high-traffic areas, such as the main walkway from the back door, as these sections may need a quick touch-up each year to remain properly protected.
If you’ve applied a film-forming finish, such as exterior varnish, the protection can last longer—typically 3–5 years. However, this type of finish requires careful monitoring. As soon as you notice cracking or peeling, the protective layer has been compromised and moisture can start penetrating the wood. At that point, repairs should be carried out immediately.
My go-to method is the water bead test. Sprinkle a few drops of water onto the surface of the deck. If the water forms small beads, similar to how it behaves on a freshly waxed car, the protective layer is still performing well. If the water soaks into the wood, it’s a clear sign that the finish needs to be reapplied.
Can I Paint Over Wood That Was Previously Oiled?
The short answer is no, not directly. Painting over an oiled surface almost always leads to problems. Oil that has penetrated the wood’s pores repels paint, preventing it from bonding properly to the surface. As a result, the paint often begins to flake or peel within a single season.
To switch from an oil finish to paint, the wood needs to be returned to bare timber. This usually involves using a chemical wood stripper to break down the existing oil, followed by thorough sanding to remove any remaining residue. Once the surface is clean and fully prepared, you can apply an exterior primer and then finish with the chosen paint.
What Is the Difference Between Pressure-Treated Wood and Applying a Finish?
Pressure-treated wood is timber that has had chemical preservatives forced deep into its cellular structure during an industrial treatment process. This method provides long-lasting protection against rot and insect damage from the inside out. It is commonly used for structural elements that come into direct contact with the ground, such as fence posts or deck joists.
Applying a finish—such as an oil, stain, or paint—works differently. These products create a protective barrier on the surface of the wood. This outer layer acts as a shield against everyday exposure to rain and ultraviolet (UV) radiation from the sun.
For the most reliable protection, many projects combine both methods. Pressure-treated timber is used for structural elements, while a high-quality surface finish adds an extra layer of weather protection. One protects the wood from within, while the other shields it from external conditions.
At TimberSol, we believe the best projects start with resilient materials. Our Yakisugi charred timber offers exceptional natural protection from the outset, creating a durable and visually striking foundation. Explore our range of charred accoya cladding, black charred cladding, decking, and fencing to see the difference for yourself.