Charred Wood Blog
Interior wall wood cladding ideas for stunning spaces

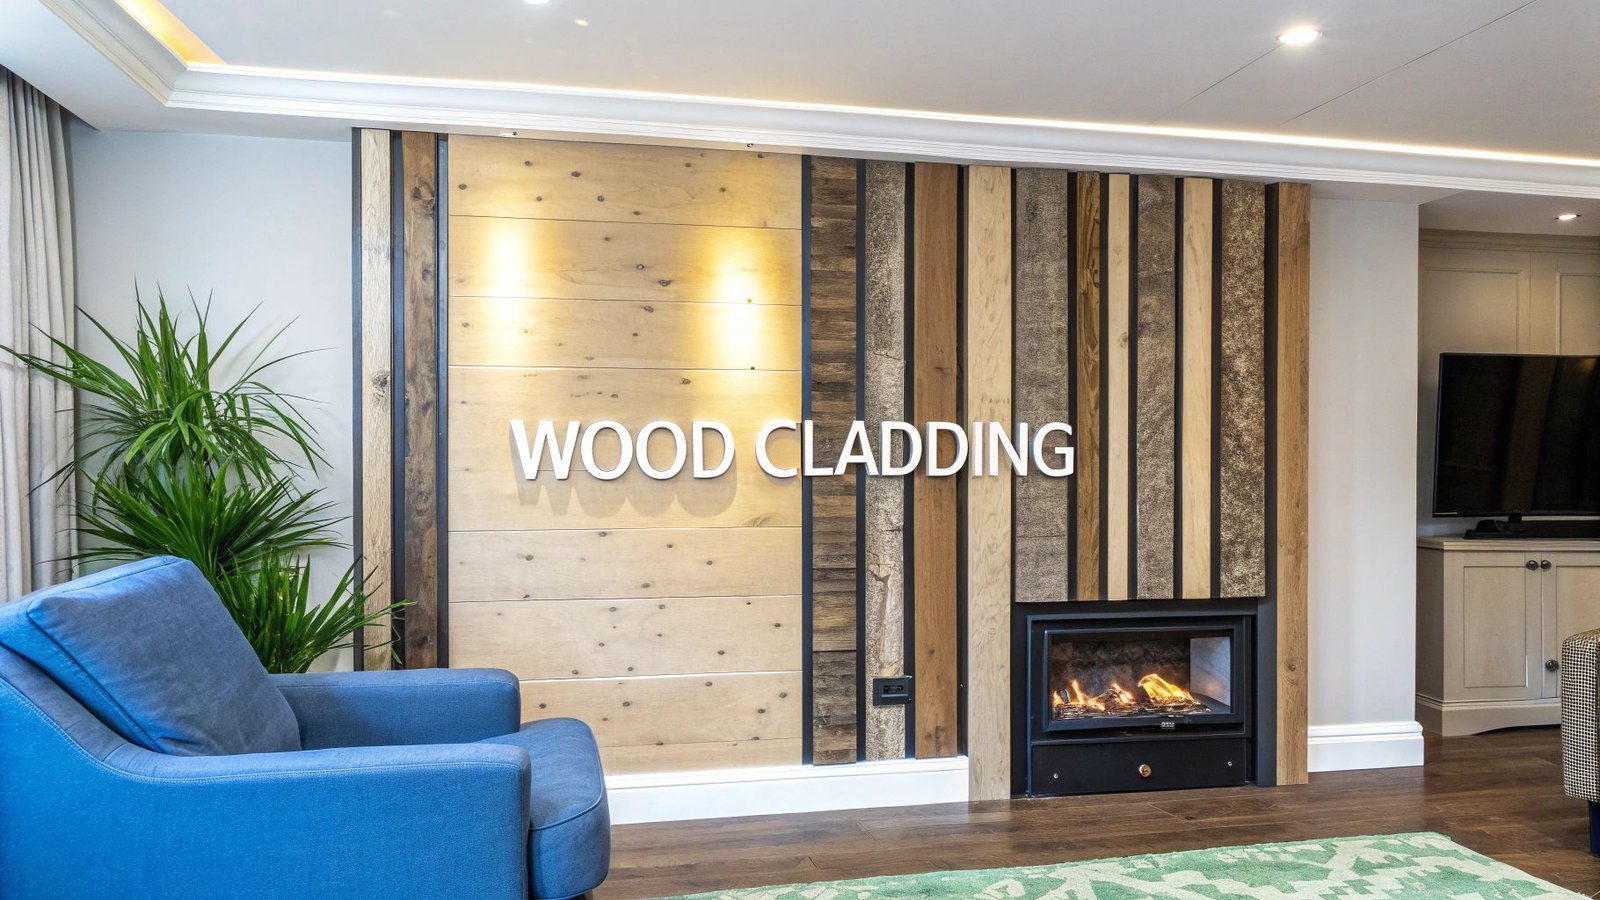
Interior wall wood cladding is the practice of covering an interior wall with timber boards or panels to transform the feel of a room. Instead of relying only on paint or statement wallpaper, wood cladding adds depth, texture, and a genuine connection to the natural world.
Far more than just a decorative finish, it completely changes a room’s atmosphere, capable of creating anything from a rustic, cabin-like retreat to a sharp, contemporary statement piece.
This article discusses interior wall wood cladding, explaining how it enhances rooms with depth, natural texture, improved acoustics, and added insulation. It explores timber options, design styles, installation methods, maintenance requirements, and distinctive finishes such as Yakisugi.
Bringing Natural Texture Indoors with Wood Cladding
There’s a certain feeling you get when you step into a room with interior wall wood cladding. The natural grain, one-of-a-kind knots, and deep, rich tones of the timber instantly catch your attention, turning a plain, forgettable wall into a captivating focal point.
Unlike flat paint or patterned wallpaper, wood brings an authentic piece of the outdoors inside, fostering a calmer, more grounded environment. This idea is at the heart of biophilic design, a philosophy centred on strengthening our connection with nature within the spaces we live and work in.
This design approach is gaining momentum across the United Kingdom. Fuelled by a growing desire for sustainable materials that also look fantastic, the UK timber cladding market is on a steady rise. In 2023, the residential sector accounted for the largest share of revenue, highlighting strong homeowner demand for timber’s unique appeal. Further market insights are available from Spherical Insights.
Why Homeowners Are Choosing Wood
The move towards wood cladding goes beyond aesthetics. It combines practical benefits with visual impact, making it a strong long-term investment for any home.
- Adds Instant Character: A wooden feature wall can anchor an entire room’s style. Light pine creates a cosy, Scandinavian feel, while dark walnut delivers a sophisticated, moody atmosphere.
- Improves Acoustics: Wood acts as a natural sound absorber. It reduces echo and ambient noise in large open-plan living areas, busy home offices, and media rooms.
- Offers Timeless Style: Timber remains a design classic that does not go out of fashion. Its versatility allows it to complement interiors ranging from traditional to ultra-minimalist.
Interior wood cladding functions like furniture for your walls. It adds structure, texture, and personality, fundamentally changing how a space feels.
This guide covers everything you need to know, from selecting the right materials – including distinctive finishes such as charred timber (Yakisugi) – to installation methods and long-term maintenance.
How to Choose the Right Wood for Your Walls
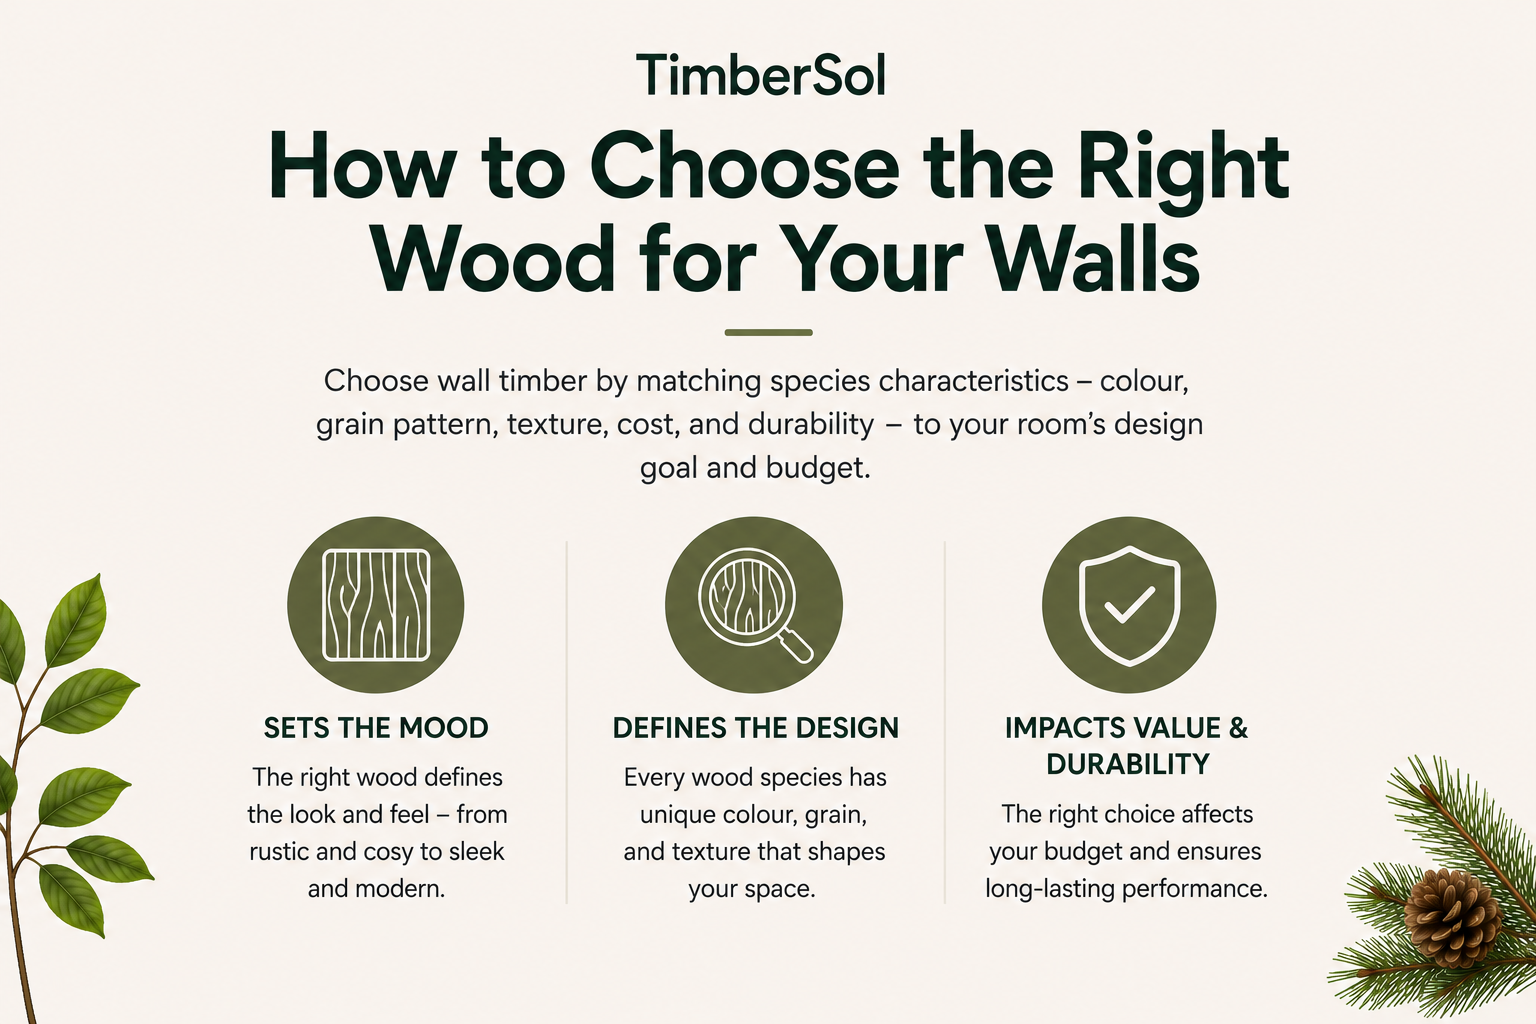
Choose wall timber by matching species characteristics – colour, grain pattern, texture, cost, and durability – to your room’s design goal and budget.
Choosing the right timber is the most critical step in any cladding project. This decision sets the mood of the room, determining whether the space feels rustic and cosy or sleek and modern. The selected wood influences the overall look, budget, and long-term durability of the feature wall.
The timber acts as the foundation of the design. Each wood species has a distinct colour, grain pattern, and texture that defines its character. Understanding these differences is essential for creating interior wall wood cladding that aligns with your vision.
Classic Timbers for Timeless Appeal
Some woods are classics for a reason. Used for centuries, they bring elegance and sturdiness that make them a reliable choice for high-impact feature walls in living rooms, studies, or dining areas.
- Oak: Known for its strength and bold grain, oak gives a room a sense of tradition and permanence. Its warm, honey-hued tones range from light to medium brown, making it versatile for both classic and contemporary interiors.
- Walnut: For a more luxurious aesthetic, walnut delivers a rich, dark chocolate colour and a smooth, often straight grain. The result is a sophisticated and dramatic statement wall.
These hardwoods are valued for durability and visual depth. Another structurally strong and visually warm option is douglas fir wood cladding, valued for its straight grain pattern and dimensional stability in both interior and exterior applications.
A detailed guide to different hardwood species provides further comparison of their unique characteristics.
Lighter Woods for Modern and Minimalist Spaces
For a bright, clean, and airy feel, lighter-toned woods are the most suitable choice. They define Scandinavian and minimalist design, where simplicity and natural light are central priorities.
- Spruce cladding, pine is a budget-friendly option with a pale yellow or whitish colour and distinctive knots that add subtle rustic character. As a softwood, it is easier to cut and install, making it popular for DIY projects. Its light tone can make smaller rooms feel more spacious and open.
- Cedar offers warm reddish-brown tones and a characteristic natural aroma. It is naturally resistant to moisture, which makes it suitable for well-ventilated bathrooms or kitchens when properly sealed.
Choosing a wood species is comparable to selecting an artist’s medium. Softwoods like pine provide a rustic and approachable canvas, while hardwoods such as oak and walnut create a richer and more formal interior palette.
Below is a concise overview of popular timber options.
Comparing Popular Interior Wood Cladding Timbers
| Wood Type | Typical Colour & Grain | Relative Cost | Best For |
|---|---|---|---|
| Oak | Light to medium brown; prominent, strong grain | High | Traditional spaces, high-traffic areas, and creating a sense of permanence. |
| Walnut | Rich, dark brown; smooth, often straight grain | Very High | Luxurious feature walls, sophisticated and modern interiors. |
| Pine | Pale yellow/white; distinctive knots, rustic feel | Low | Budget-friendly projects, DIY installations, and Scandinavian-inspired design. |
| Cedar | Reddish-brown tones; fine, straight grain | Medium | Rooms where a natural aroma is desired; moisture-prone areas (if sealed). |
| Yakisugi | Deep, dramatic black; heavily textured, prominent grain | High | Creating a bold, dramatic statement wall with a unique texture. |
This comparison provides a starting point for evaluating popular timber options for interior wall wood cladding. The final decision should be based on seeing and feeling samples in person to determine which species best aligns with your interior style.
The Unique Beauty of Modified and Reclaimed Woods
If you’re looking for something with more character, modified and reclaimed timbers offer qualities that brand-new wood cannot replicate. These options bring unique history and texture to interior walls.
Reclaimed timber is salvaged from old barns, factories, and other buildings. Each plank carries weathered patina, nail holes, and saw marks that add instant history and rustic charm. It is also a sustainable choice, giving old materials a new purpose.
Yakisugi (also known as shou sugi ban) is a distinctive modified wood technique originating from Japan. The process involves charring the surface of timber to preserve it, creating a deep black, crackled finish that highlights the natural grain. The texture is both dramatic and resilient. This dramatic finish is often seen in black charred wood cladding, where the deep carbon layer enhances both durability and architectural contrast.
This method not only creates a striking appearance but also improves resistance to fire, pests, and rot. Yakisugi combines practical durability with bold design, blending traditional craftsmanship with contemporary interiors. Further information on hardwood properties allows comparison with modified alternatives.
The Hidden Benefits of Interior Wood Cladding
The visual impact of interior wall wood cladding is immediate, but its value extends beyond aesthetics. Timber functions as an active material that improves the living environment, enhancing comfort, well-being, and overall efficiency. This transforms a decorative upgrade into a long-term investment.
Wood cladding also contributes to a quieter home. In large, empty rooms, sound reflects off hard surfaces and creates echo. The natural fibres and porous structure of timber absorb sound waves, reducing echo and lowering ambient noise levels.
This makes wood cladding particularly effective in open-plan living areas, home offices, and media rooms where acoustic clarity is important. Instead of sound reflecting off plasterboard, it is softened by the timber surface, creating a calmer and more controlled atmosphere.
Enhancing Comfort and Efficiency
One of the most practical benefits of adding a layer of wood to your walls is its natural ability to insulate. Wood has low thermal conductivity, meaning it does not transfer heat easily – a key advantage for maintaining a stable indoor temperature throughout the year.
This natural property helps regulate indoor temperature in all seasons.
- In winter, wood cladding acts as an extra insulating layer, trapping warmth inside and reducing pressure on your heating system.
- In summer, it helps block external heat, maintaining a cooler and more comfortable living space.
Improved thermal performance leads to measurable energy savings over time, making your home not only cosier but also more energy-efficient.
Connecting with Nature Through Biophilic Design
One of the most profound benefits of interior wood cladding is its connection to biophilic design – the concept of strengthening our relationship with the natural world inside the buildings where we live and work. Bringing natural materials such as wood indoors has been shown to support both mental and physical health.
The presence of natural wood can help lower stress levels, improve focus, and promote overall well-being. Its organic textures and unique grain patterns create a sense of calm and restoration that synthetic materials cannot replicate.
By incorporating interior wall wood cladding, you aren’t just decorating a room; you’re creating a healthier, more restorative sanctuary. It’s an intentional step towards designing a home that actively supports a better quality of life.
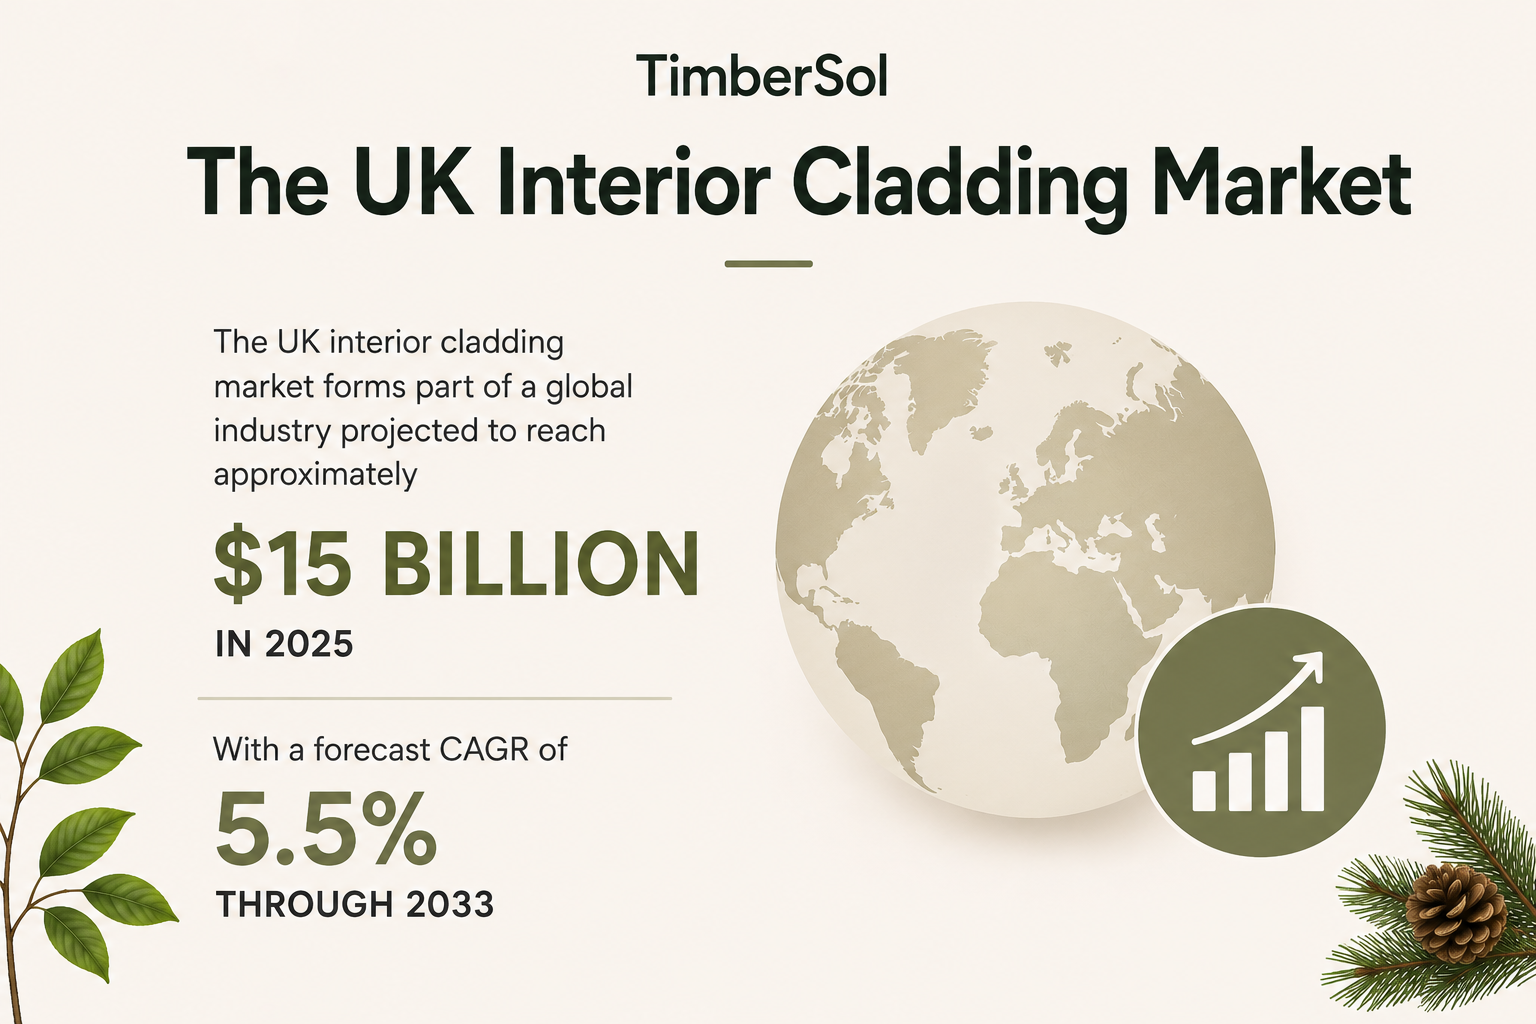
Demand for natural interior materials continues to grow. The UK interior cladding market forms part of a global industry projected to reach approximately $15 billion in 2025, with a forecast compound annual growth rate (CAGR) of 5.5% through 2033. This growth is driven by increasing demand for sustainable and personalised interior spaces.
Modern timber treatments have also significantly improved safety standards. Although wood is combustible, many interior wood cladding products are treated to meet strict fire safety regulations. To learn more, you might find our guide on how fire-resistant ratings work for timber useful. Wood cladding therefore delivers a balanced combination of aesthetics, performance, and well-being.
Inspiring Ways to Style Your Wood Clad Walls
Once you’ve settled on the perfect timber, the real design potential of interior wall wood cladding begins. One of its strongest advantages is versatility – it can be styled to suit virtually any aesthetic, transforming a plain room into a distinctive space. Whether you’re creating a cosy retreat or a bold, modern statement, wood provides a flexible and impactful design foundation.
The way you install and finish the timber – vertically, horizontally, or in a unique pattern – will dramatically influence the final look and feel of your space.
The Power of Direction
The orientation of wood cladding boards is a key design decision because plank direction directly influences how a room’s size and proportions are perceived.
- Vertical installation: It draws the eye upward and creates a stronger sense of height. This approach works especially well in rooms with lower ceilings, such as hallways or loft conversions, where it helps the space feel more open and airy.
- Horizontal installation: It enhances the perception of width and makes a room feel more expansive. This layout suits bedrooms and living rooms particularly well, creating a calm, stable atmosphere that naturally guides the eye across the space.
You are not limited to straight lines. Patterns such as herringbone or chevron introduce a dynamic, contemporary finish, offering extensive creative possibilities.
Creating a Stunning Feature Wall
One of the most popular ways to use interior wood cladding is by designing a feature wall. A single accented wall becomes the room’s centrepiece, adding depth and texture without overwhelming the space. Positioned behind a bed, it can function as a warm, inviting headboard. In a living room, it creates a striking backdrop for a television or fireplace.
The choice of wood plays a decisive role in the final impact. Dark, rich timber such as walnut or charred wood like Yakisugi creates a bold, sophisticated statement. Lighter options such as pine or cedar establish a bright, Scandi-inspired focal point with a fresh, modern feel. The same finish is increasingly specified for adjoining surfaces such as black charred wood decking, creating seamless indoor-outdoor continuity. Exploring feature wall design ideas can help refine the concept and maximise visual impact.
A feature wall should function like large-scale art: it draws attention, adds character, and defines the tone of the entire room’s design.
Matching Wood Cladding to Your Interior Style
The strength of timber lies in its ability to complement a wide range of interior design styles. Wood cladding is not limited to rustic settings; with the right finish and profile, it integrates seamlessly into minimalist or industrial interiors. The key is ensuring that the wood cladding aligns with your existing décor.
Here’s a look at some popular interior design styles and how wood cladding can enhance each one:
| Interior Style | Recommended Wood & Finish | Why It Works |
|---|---|---|
| Minimalist | Light-coloured woods like pine or ash with a smooth, clean finish. Narrow, evenly spaced vertical slats create a sleek look. | The clean lines and natural texture add warmth and interest without creating clutter, staying true to minimalist principles. |
| Industrial | Reclaimed timber with visible knots and imperfections, or dark-stained woods paired with metal accents. | The raw, rugged texture of the wood provides a beautiful contrast to exposed brick, concrete, and metal. |
| Scandinavian | Pale woods like birch or light pine, often left natural or given a simple whitewash finish. | This style is all about natural light and materials. Light wood reflects brightness and adds a cosy, organic feel. |
| Traditional/Rustic | Oak or reclaimed timber with a warm stain or oil finish. Wider, tongue-and-groove boards enhance the classic, cosy vibe. | These woods have a timeless quality that brings a sense of history, comfort, and authenticity into the space. |
This adaptability ensures that, regardless of personal taste, there is a wood cladding solution capable of enhancing your home’s character. Whether used as a subtle backdrop or a bold centrepiece, correct styling determines the overall visual impact.
For properties extending timber design outdoors, complementary elements such as charred black wood fencing reinforce a cohesive architectural identity across interior and exterior spaces.
A Practical Guide to Wood Cladding Installation
A high-quality interior wall wood cladding finish depends directly on proper installation. Whether you are a DIY enthusiast planning a weekend project or hiring a professional installer, understanding the core steps is essential to achieve a great result. This guide outlines the fundamentals required to avoid common installation mistakes and ensure your feature wall maintains its appearance for years.
Wood cladding installation is not simply about fixing boards to a surface. The process must protect timber stability and long-term performance. Skipping critical steps such as wall preparation or wood acclimatisation increases the risk of warping, board separation, and uneven finishes. Following these foundational steps from the outset protects the visual quality of your investment.
Preparing for a Flawless Finish
Before installing interior wood cladding, the wall must be clean, dry, and completely flat. Fill any cracks or holes with a suitable filler, then sand down high spots to create a smooth surface. It is also important to check for underlying damp issues, as moisture is a natural enemy of wood.
Once the wall is properly prepared, the next critical stage is acclimatisation. Wood is a natural material that expands and contracts in response to temperature and humidity changes.
Acclimatising your cladding is essential. Leave the timber in the room where it will be installed for at least 48 – 72 hours so it can adjust to the specific indoor conditions. This step significantly reduces the risk of movement, shrinking, swelling after installation.
The Core Installation Process
Once the wall is prepared the main installation process can begin. This visual guide outlines the three essential stages of any installation.
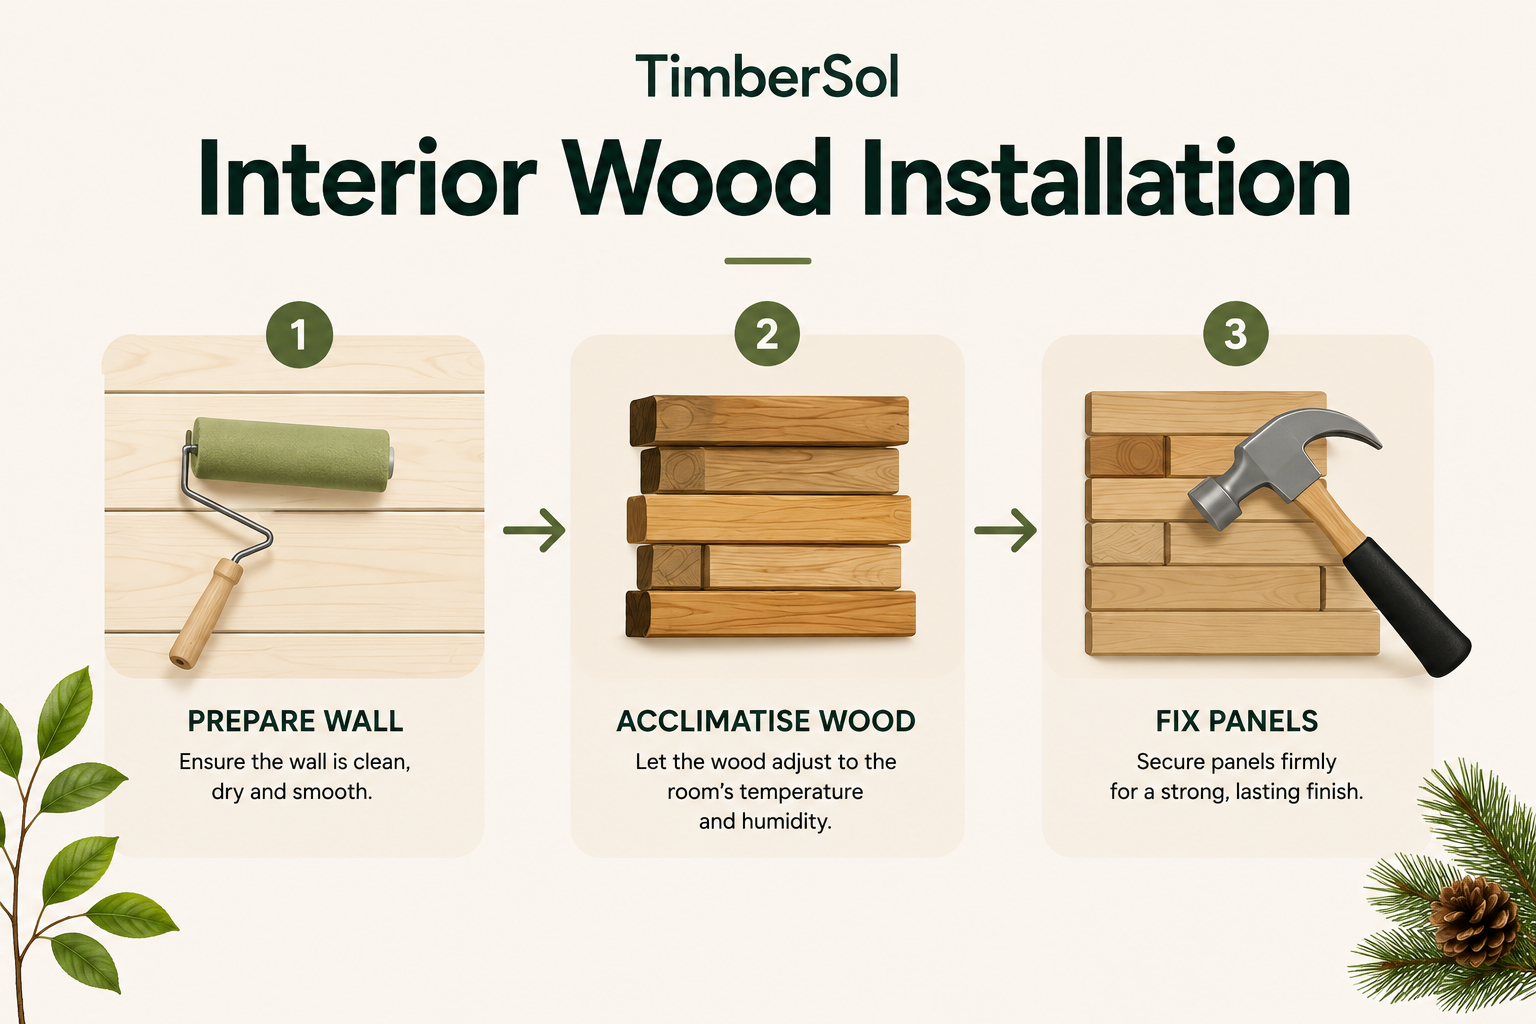
It presents the logical progression from preparing the space through to the final fixings, forming the structural backbone of a successful cladding project.
Fixing Methods and Best Practices
The method used to attach interior wood cladding depends on the product type and wall condition. On a perfectly flat plasterboard wall, strong grab adhesive may be suitable for very lightweight panels. For most installations – particularly solid wood boards or uneven walls – fixing cladding to timber battens provides a more reliable solution.
Battens are small wooden strips fixed horizontally across the wall, creating a solid and level framework for the cladding. This method provides two major advantages:
- A Secure Fixing Point: Battens are fixed directly to wall studs, ensuring the cladding is anchored securely to the structural framework of the house rather than just plasterboard.
- Creates an Air Gap: The space behind the cladding allows air circulation, helping to prevent moisture from becoming trapped.
For a clean, professional finish, secret nailing is commonly used with tongue-and-groove boards. A nail is driven at an angle through the tongue, and the nail head is concealed when the next board slots into place, resulting in a seamless appearance with no visible fixings.
Demand for high-quality, sustainable interior materials continues to grow in the UK. The UK wooden cladding panel market, which includes interior applications, is projected to grow at a compound annual growth rate (CAGR) of around 6.5% through 2033. This growth is driven by increasing demand for materials that combine strong visual appeal with environmental responsibility – a combination that wood cladding delivers effectively. You can find detailed wooden cladding panel insights on Market Report Analytics to explore these market trends further. By following these practical installation steps, you can confidently create a durable and visually striking wood cladding feature in your own home.
How to Maintain Your Interior Wood Cladding
Keeping timber surfaces looking excellent for years requires only gentle, routine care. Unlike painted walls that often need regular touch-ups, a properly finished wood surface is built for long-term durability.
The main factor behind its longevity is consistency. Regular light cleaning prevents dust and grime from building up, ensuring the wood’s natural grain and rich colour remain visually prominent. This simple care routine protects your investment and maintains the appearance of your interior wood cladding from installation onward.
Routine Cleaning and Dusting
The foundation of wood cladding maintenance is keeping the surface dust-free. Like any interior surface, interior wood cladding naturally attracts dust. A weekly wipe with a soft, dry microfibre cloth or feather duster is usually sufficient to maintain a clean, fresh appearance.
For slightly more stubborn dirt or light smudges, use a lightly dampened cloth that has been thoroughly wrung out before wiping. Immediately follow with a dry cloth to remove any remaining moisture, as standing water can damage wood surfaces.
Avoid harsh chemical cleaners, scouring pads, and general-purpose household sprays. Many of these products contain solvents that can strip the protective finish from the timber, leaving the surface dull and more vulnerable to long-term damage.
Dealing with Minor Scuffs and Scratches
Minor scuffs and light scratches are common, particularly in high-traffic areas such as hallways or family rooms. In most cases, these surface imperfections can be addressed easily, although the correct approach depends on the finish applied to the interior wood cladding.
- Oiled Finishes: These are generally the most forgiving. Light scratches can often be treated by rubbing a small amount of the original finishing oil into the affected area using a clean cloth. The fresh oil blends into the surface, helping the mark disappear.
- Lacquered or Varnished Finishes: These finishes form a hard protective layer over the wood, making repairs slightly more complex. Very light scuffs can often be concealed using a wax repair stick that matches the wood colour. Deeper scratches may require light sanding followed by a new coat of lacquer, a task often best handled by a professional.
The Role of Protective Finishes
The finish on interior wood cladding acts as its primary protective barrier. Beyond enhancing the timber’s natural appearance, it seals the surface against dust, moisture, and everyday wear. Over time, especially in rooms exposed to strong direct sunlight, this protective layer can gradually fade.
Reapplying a fresh coat of finish every few years helps restore appearance and strengthen protection. Natural oils are particularly easy to reapply and help nourish the timber while restoring its depth and lustre. Maintaining a strong, intact finish is especially important in higher-humidity areas such as kitchens or bathrooms, where moisture exposure is more likely. Understanding the fundamentals of timber protection is essential, particularly when considering waterproofing methods.
Maintenance requirements vary depending on the wood species and finish type. A dark Yakisugi wall offers natural resilience and may require little more than routine dusting. In contrast, softer pale pine with a natural oil finish benefits from more regular care to maintain its appearance. Adapting maintenance to the specific material ensures interior wood cladding remains a visually striking and low-maintenance feature over the long term.
Your Wood Cladding Questions, Answered
Considering interior wood cladding for your home is a significant design decision, as it can dramatically transform the look and atmosphere of a room. It is natural to have practical questions before moving forward. Below are clear, straightforward answers to some of the most common queries.
Understanding key practical factors – including fire safety and application in more complex spaces – is essential to ensuring a successful and well-informed wood cladding project.
Is Interior Wood Cladding a Fire Hazard in the UK?
Wood is a combustible material, but many modern interior wood cladding products are treated with fire-retardant chemicals to comply with UK Building Regulations. The critical step is to check the official fire rating of the specific product before installation.
For a standard feature wall in a living room or bedroom, untreated timber is often acceptable. However, confirming suitability with the supplier is recommended. When installing cladding over large surface areas or within commercial properties, consulting a local building control officer provides additional assurance and regulatory clarity.
Can I Install Wood Cladding in a Bathroom or Kitchen?
Yes, interior wood cladding can be installed in bathrooms and kitchens, but it requires appropriate materials and careful preparation. In high-humidity environments, select timber species with natural moisture resistance, such as Cedar, or consider thermally modified timber designed for improved dimensional stability.
Thorough preparation is essential. Each board must be sealed on all sides with a high-quality waterproof finish before installation. Adequate room ventilation is also critical to prevent trapped moisture, which can lead to warping or mould over time. Natural wood should not be installed in direct splash zones, including areas directly behind sinks or inside showers.
In bathrooms, wood cladding works best as a controlled design accent rather than full wall coverage. Strategic placement combined with comprehensive sealing ensures long-term durability and consistent performance.
How Much Does Interior Wall Wood Cladding Cost in the UK?
The cost of interior wall wood cladding in the UK varies depending on three main factors: the wood species, the panel profile, and the finish applied.
As a general guide, material prices per square metre fall into the following ranges:
- Budget-Friendly: Basic softwood pine cladding typically starts at around £20 – £30 per m².
- Mid-Range: Options such as oak or timber with specialist finishes generally range from £50 – £90 per m².
- Premium: High-end materials, including reclaimed timber or authentic Yakisugi, can cost £100 per m² or more.
These figures reflect material costs only. Professional installation fees should also be included when calculating the total project budget.
Ready to create a dramatic and timeless feature wall? At TimberSol, we specialise in high-quality charred timber, including charred accoya cladding and charred douglas fir cladding, crafted using the ancient Yakisugi technique, offering unparalleled beauty and durability for your interior design projects. Explore our collection of Yakisugi finishes and discover the ideal solution for your space at https://timbersol-backup.elnoirstudio.com.