How to Weatherproof Wood for Your Garden

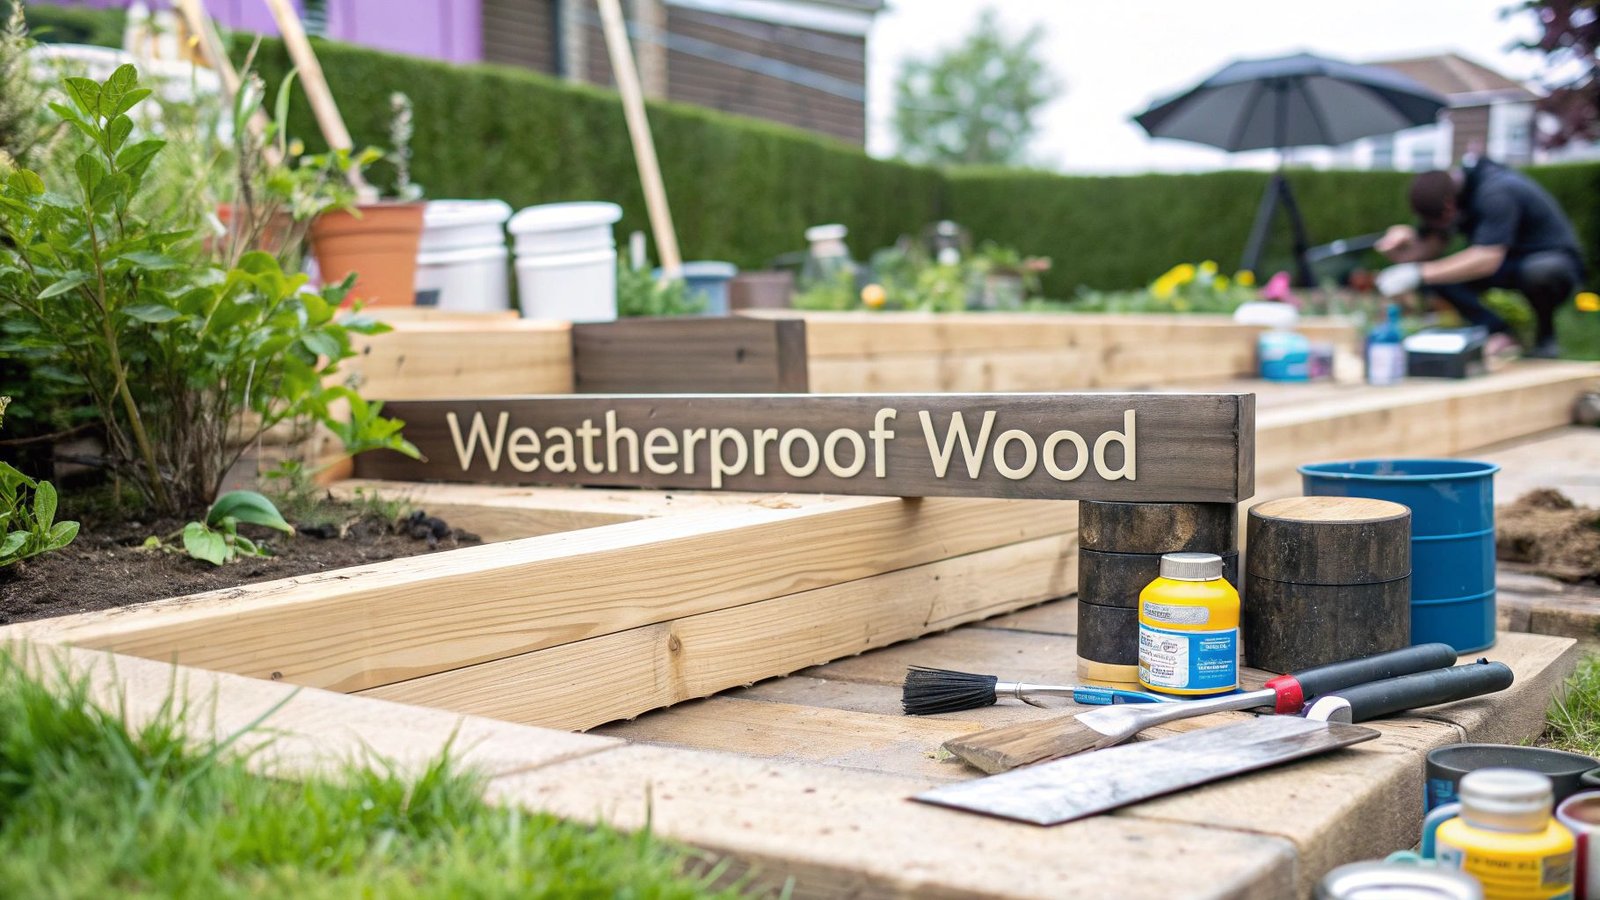
If you want to weatherproof wood properly, it’s about more than just slapping on a coat of something. You need to pick the right treatment, get the surface ready, and then apply a quality sealant or oil. This is the only way to shield your timber from moisture, sun damage, and rot, making sure your garden furniture, decking, and fences last for years, not just a single season.
Why You Must Weatherproof Wood in the UK
Leaving outdoor wood untreated in the UK is asking for trouble. Our famously damp and unpredictable climate is absolutely relentless, and it can turn a brand-new garden bench into a weathered, grey wreck in what feels like no time at all. Getting your head around this is the first step to doing the job right.
The main enemies are moisture, frost, and UV radiation. Constant rain soaks into the wood fibres, making them swell up. Then, when the temperature plummets, that trapped water freezes and expands, forcing the wood apart and creating tiny cracks and splits from the inside. This endless cycle of swelling and shrinking is what leads to warped boards and a seriously weakened structure.
The Unseen Damage From Sun and Rain
It’s not just the rain, either. Even on the rare sunny day, UV rays are breaking down the lignin in the wood – that’s the natural glue holding all the fibres together. This is what causes that familiar silvery-grey fading, but it also weakens the surface, leaving it wide open for moisture to get in and rot to take hold.
This combination of wet and sun creates the perfect breeding ground for mould, mildew, and fungi, which literally eat the wood away. An untreated softwood fence might look a bit sorry for itself after one winter, but it could start to properly rot within just a few years.
Weatherproofing isn’t just a cosmetic touch-up; it’s essential preservation. It protects the money you’ve spent, saving you from costly repairs or having to replace things far too soon, and it keeps your garden looking its best.
Extending the Life of Your Timber
The difference a good treatment makes is massive. When you’re planning something new, like a garden fence install, factoring in weatherproofing from the very beginning is a game-changer for its lifespan.
In parts of the UK that can get an average of 1,200 mm of rain every year, you simply can’t skip this step. Think about it: pressure-treated decking can last for 30 years or more with the right care, but the same wood left untreated might fail in as little as 5-10 years.
Here’s a quick rundown of the most common approaches to help you decide.
Quick Guide to Wood Weatherproofing Methods
| Method | Best For | Protection Level (Rain/UV/Rot) | Typical Lifespan |
|---|---|---|---|
| Penetrating Oils | Decking, furniture, hardwoods (e.g., teak, oak). Enhances natural grain. | Good / Good / Good | 1-2 years |
| Film-Forming Sealants | Fences, sheds, softwoods (e.g., pine). Creates a physical barrier. | Excellent / Excellent / Excellent | 3-5 years |
| Wood Stains (with sealant) | Cladding, fences, pergolas. Adds colour and protection. | Very Good / Very Good / Very Good | 2-4 years |
| Exterior Paint | Sheds, doors, window frames. Offers maximum protection and colour choice. | Excellent / Excellent / Excellent | 5-8+ years |
Each method has its place, and choosing the right one depends entirely on what you’re protecting and the look you’re after.
For a deeper dive into specific products and techniques, our comprehensive guide on https://timbersol-backup.elnoirstudio.com/blog/how-to-protect-wood-outdoors/ covers these strategies in much more detail. The importance of these measures is even recognised at a national level; the government’s roadmap for timber in construction makes it clear how vital protective treatments are for sustainability. You can see the official findings on sustainable timber use on GOV.UK.
Choosing the Right Wood Treatment
Once you’ve got your head around why weatherproofing is so important, the next challenge is standing in the aisle of a DIY shop, faced with a wall of tins all promising to be the best. It’s easy to get lost. The real trick is to match the treatment to the type of wood you’re using, what the project is for, and, of course, the final look you’re after.
Let’s cut through the noise and break down the main options. What you choose here will make a huge difference not just to how your project looks, but also how long it lasts and how much work you’ll have to put in down the line.
Penetrating Oils: For a Natural Look and Feel
If you want to keep the natural beauty of the timber, penetrating oils are your best bet. Products like Tung oil or Danish oil don’t just sit on the surface; they soak deep into the wood fibres. This process nourishes the wood from the inside out, stopping it from drying out and cracking, all while offering a decent level of water resistance.
The big win with oils is the gorgeous, authentic finish. They bring out the depth of the wood’s grain and colour, leaving a rich, matte or satin sheen that still feels like real wood, not a sheet of plastic. They’re a brilliant choice for hardwoods like oak or teak, especially on garden furniture where you want to appreciate that tactile quality.
The trade-off? Oils offer less UV protection than their film-forming cousins, and you’ll likely need to apply a fresh coat every year or two to keep them topped up. If you’re keen on non-toxic solutions, you can find more information about how to preserve wood naturally, which is perfect for things like veggie planters or kids’ play areas.
Film-Forming Sealants: For a Tough-as-Nails Barrier
On the other end of the spectrum, you have film-forming sealants. Think varnishes, polyurethane, and good-quality exterior paints. These create a hard, protective layer right on the surface of the wood. This film acts as a physical shield, effectively blocking water, UV rays, and general wear and tear.
Picture a softwood fence or a garden shed that takes a real beating from the British weather. A durable exterior paint or a high-quality varnish will give you the strongest defence possible, often lasting three to five years (sometimes more) before it needs looking at.
The downside is that this tough shell can hide the wood’s natural texture. And when it eventually starts to fail, it can crack and peel. That means you’re in for a much bigger job of stripping and sanding everything back before you can recoat, which is far more hassle than just wiping on another layer of oil.
The choice really comes down to a balance: Do you prioritise a natural look and easier maintenance (oils), or are you after maximum protection and longevity, even if it means more intensive prep work later on (sealants)?
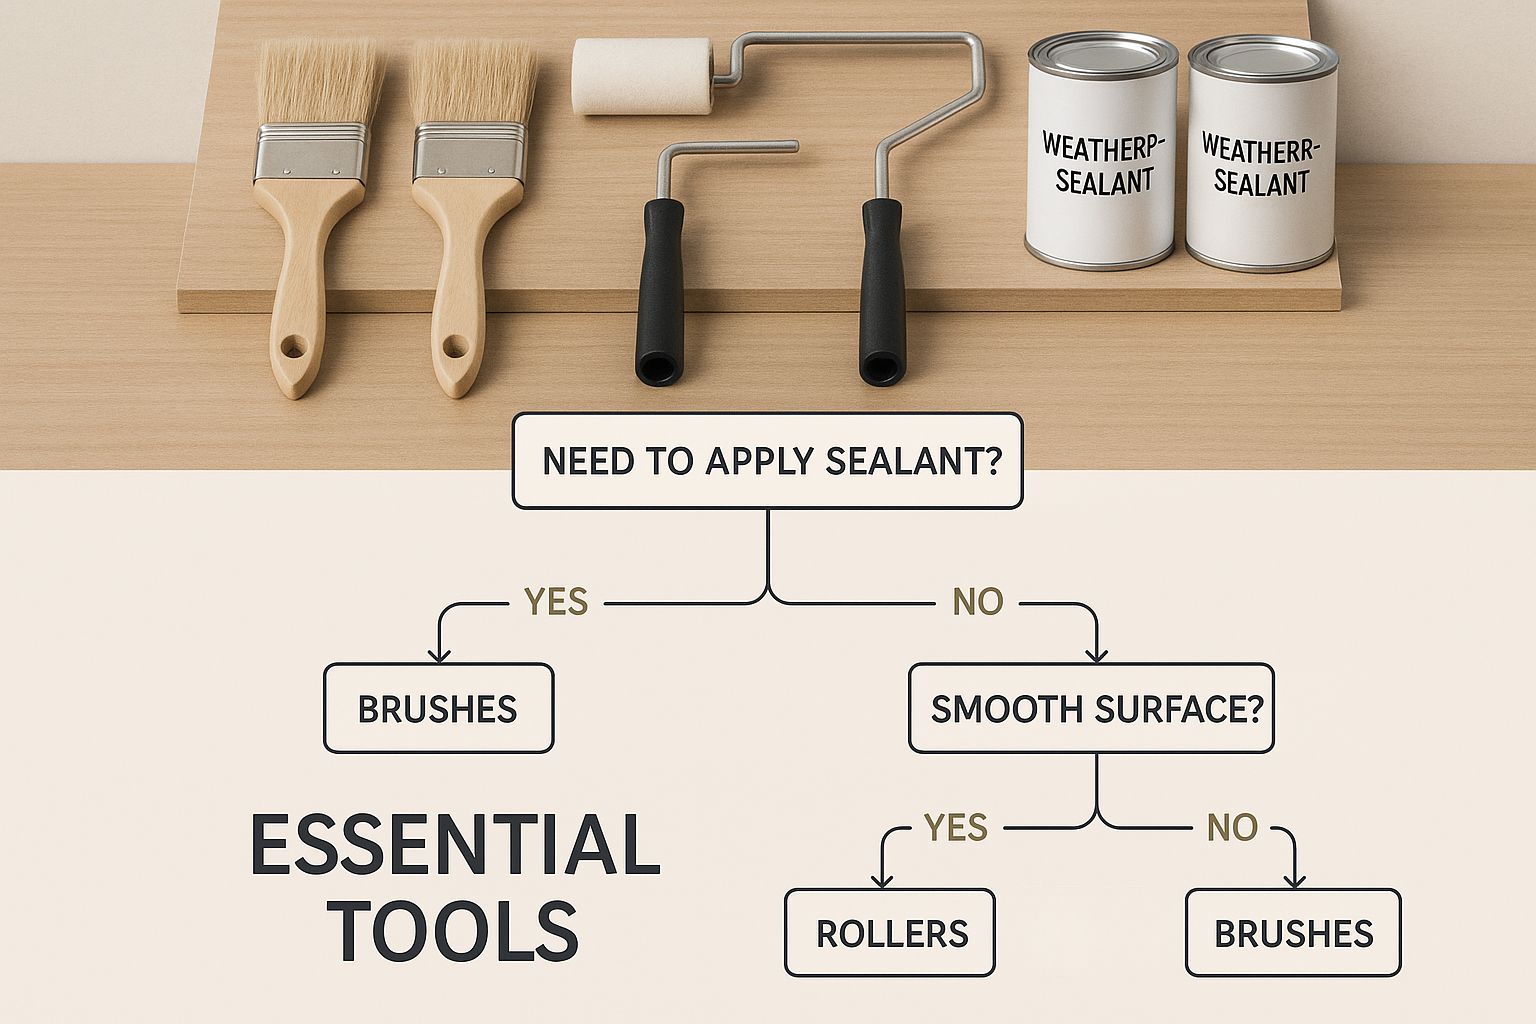
Comparing Common Wood Weatherproofing Treatments
To help you visualise the trade-offs, this table breaks down the key differences between the most common types of wood treatments. Use it to quickly compare how each one performs and decide which is best suited for your project.
| Treatment Type | Appearance | UV Protection | Water Resistance | Reapplication Frequency |
|---|---|---|---|---|
| Penetrating Oil | Natural, matte/satin finish. Enhances wood grain. | Low to Moderate | Good | 1-2 years |
| Film-Forming Sealant | Glossy or satin finish. Forms a surface layer. | Excellent | Excellent | 3-5+ years |
| Wood Stain | Semi-transparent to opaque colour. Can show grain. | Good to Excellent | Good | 2-4 years |
Ultimately, the best choice depends on what you value most—be it the natural aesthetic of oil on a beautiful piece of oak furniture, or the bomb-proof protection of a sealant on a hard-working garden gate.
Wood Stains: The Best of Both Worlds?
Wood stains often manage to find a happy middle ground. Many modern exterior stains are smart formulas, containing both pigments for colour and sealants for protection. They work by soaking into the wood a little to add colour, while also forming a thin protective film on top.
This makes them incredibly versatile for all sorts of jobs, from decking to cladding. You can get a semi-transparent finish that lets the wood grain shine through, or go for an opaque one that has more of a painted look. Thanks to their pigments, they give you better UV protection than a simple oil, and they’re usually easier to reapply than a thick varnish. It’s no surprise they’re such a popular, well-balanced option for so many outdoor projects.
How to Prepare Wood for a Flawless Finish
Here’s a secret that might surprise you: the biggest factor in a durable, professional-looking weatherproof finish has almost nothing to do with the final coat. The real magic happens before you even pry open a tin of sealant. Proper preparation is everything, and skipping it is the single most common reason a finish peels, flakes, and fails within just one season.
Think of it like painting a wall. You wouldn’t just slap a fresh coat over dirt and flaky old paint and expect a good result, would you? The same principle applies here. Your goal is to create a clean, stable, and slightly absorbent surface that allows the new treatment to properly grip the wood and do its job.
Cleaning Away Years of Grime
First things first, you’ve got to get the wood thoroughly clean. Whether you’re working with a brand-new piece of timber or restoring an old garden bench, the surface is covered in things you can’t always see. Dust, pollen, and even natural oils can form a barrier, preventing your treatment from soaking in properly.
For older pieces, the challenge is even greater. You’re likely dealing with built-up dirt, green algae, mildew, and quite possibly the sad, flaky remains of a previous finish.
Here’s how to tackle it:
- For light dirt: Often, a bucket of warm, soapy water and a stiff-bristled brush is all you need. Scrub with the grain, give it a good rinse with clean water, and let it dry completely.
- For stubborn grime & mildew: A specialised wood cleaner is your best friend here. These products are formulated to kill off mildew spores and lift ingrained dirt without being too harsh on the timber.
- For old, failing finishes: If you’re faced with peeling varnish or paint, it has to go. A paint scraper, heat gun, or a chemical stripper will be necessary before you can even think about cleaning.
Let’s say you’re trying to revive a grey, weathered garden table that’s seen better days. That silvery colour isn’t just a patina; it’s a layer of dead wood fibres fried by UV damage. Before you do anything else, you absolutely must get rid of this unstable surface.
The Critical Role of Sanding
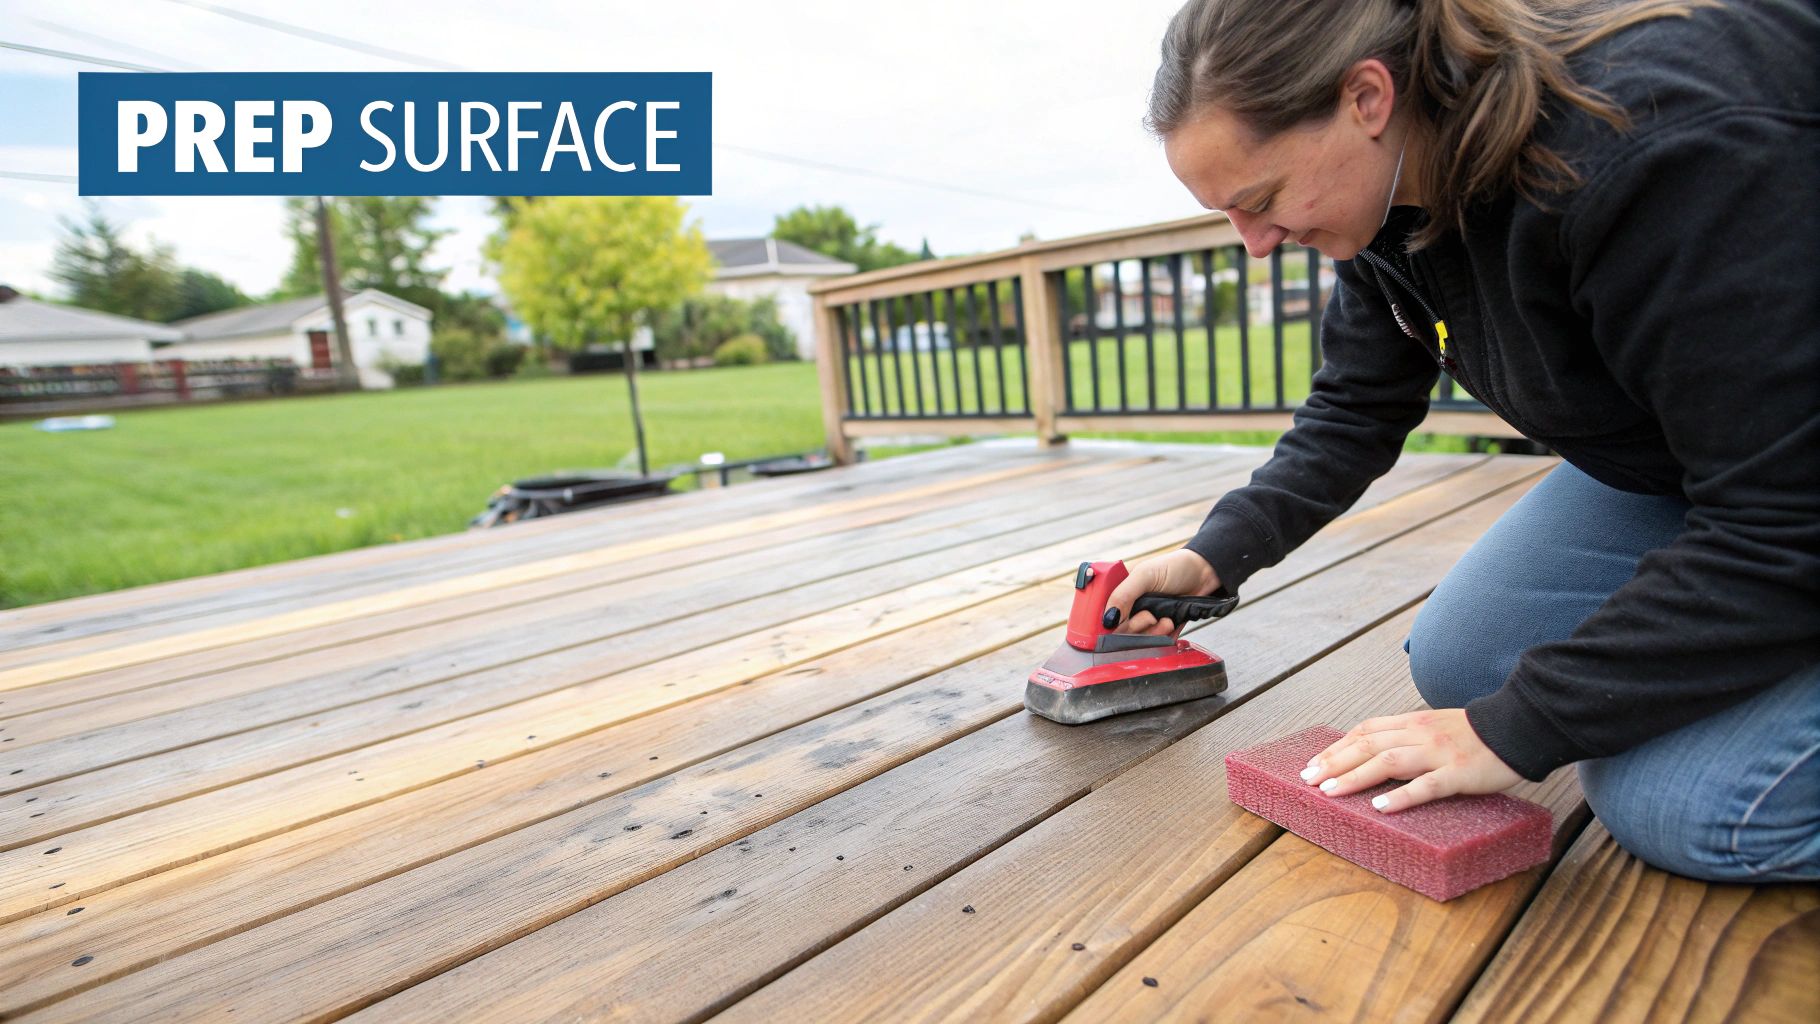
Once your wood is clean and bone dry—and I mean properly dry, so give it at least 24-48 hours after washing—it’s time to sand. This step isn’t just about making the wood feel smooth. It’s about creating the perfect texture for the new treatment to physically bond with. Sanding removes that dead grey layer and opens up the wood’s pores, making it receptive.
The grit of sandpaper you use really matters. You need something coarse enough to be effective but not so rough that it leaves deep, ugly scratches.
Start with a medium-grit paper, like an 80-grit, to power through the weathered layer and any stubborn bits of old finish. Once that’s done, switch to a finer 120-grit paper to smooth everything out. This two-stage process creates the ideal surface for maximum adhesion.
Always sand in the direction of the wood grain to avoid cross-grain scratching. When you’re finished, wipe away every last particle of dust with a tack cloth or a slightly damp rag. Any dust left behind will mix with your finish and create a gritty, uneven result. Taking your time with this prep work is what guarantees a flawless, long-lasting finish that truly protects the wood.
Mastering Your Application Technique
With your wood perfectly prepped, it’s time for the most satisfying part: applying the treatment. This is where your efforts truly come to life, transforming the timber and locking in that all-important protection. The right technique is crucial for a smooth, even coat that performs as it should, without drips, sticky patches, or weak spots.
The method you choose really comes down to the product you’re using. For penetrating oils and stains, I find a good brush or even just a lint-free cloth does the job perfectly. On the other hand, if you’re using film-forming sealants like varnish, a high-quality brush is non-negotiable for achieving a flawless, streak-free finish.
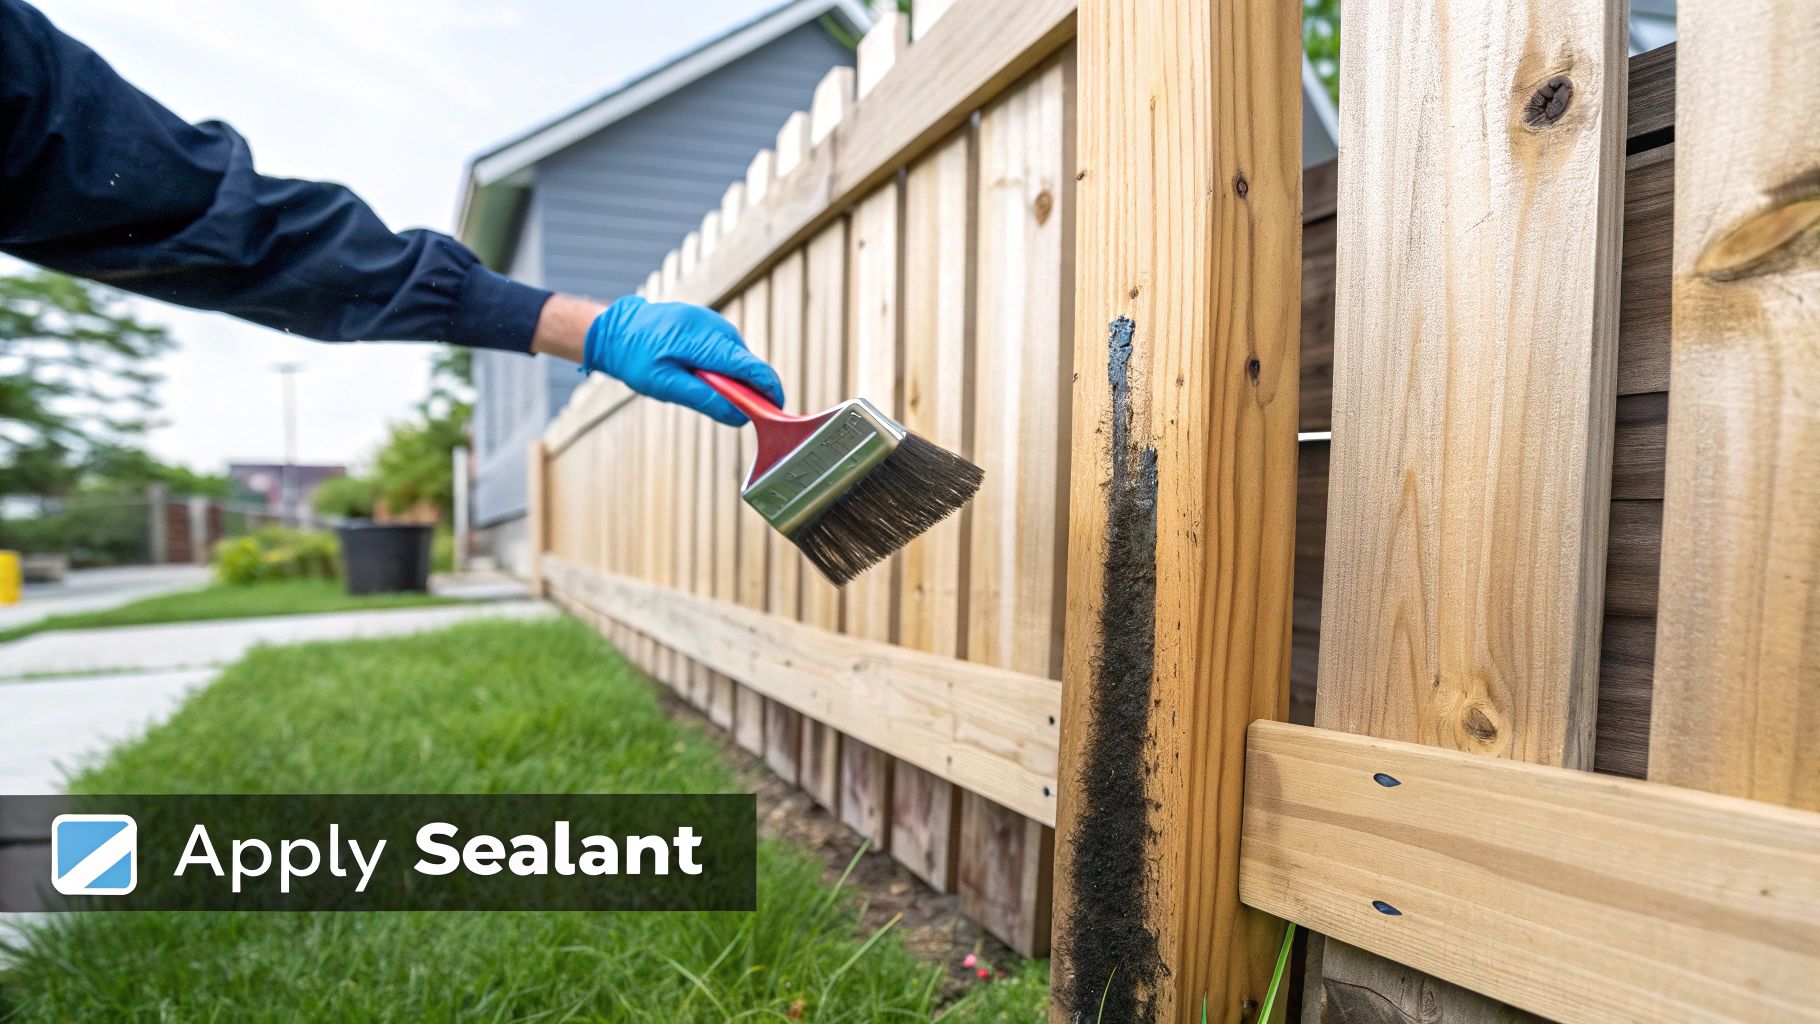
Applying Oils and Sealants for a Perfect Finish
When you’re working with any liquid treatment, the golden rule is to always apply it in the direction of the wood grain. This isn’t just for looks; it helps the product penetrate evenly and gives a much cleaner, more professional result.
Load your brush or cloth with a moderate amount of product—too little and you’ll get dry patches, but too much and you’ll be fighting drips all afternoon. Apply a thin, even coat, working in long, smooth strokes. Your aim is to cover the surface without letting the product pool anywhere.
Pay special attention to the end grain—the cut ends of the boards. This is where wood is most absorbent and, consequently, most vulnerable to moisture, so give it a little extra care.
Knowing when to apply a second coat is also key. Most products will specify a recoating time on the tin, but a good rule of thumb is to wait until the first coat is touch-dry but not fully cured. This allows the second coat to bond chemically with the first, creating a much stronger, more unified layer of protection.
Don’t be tempted to rush it. Applying a second coat too soon can cause the first one to lift, while waiting too long can prevent the layers from bonding properly. A bit of patience here pays real dividends in durability.
Exploring the Ancient Art of Yakisugi
Beyond modern tins and treatments, there’s a timeless and strikingly beautiful method for weatherproofing wood known as Yakisugi. This traditional Japanese technique, also known as shou sugi ban, involves carefully charring the surface of the timber with fire.
It might sound counterintuitive, but this controlled burning process creates a carbonised layer that is naturally resistant to water, rot, and insects. The charring transforms the wood’s cellular structure, making it less palatable to pests and less permeable to moisture. The result is a stunning, durable material with a deep, silvery-black finish that can last for decades with minimal upkeep.
This ancient practice highlights a deep understanding of natural materials. In fact, sustainable timber management is a core principle in modern forestry. Data from 2022 reveals that 44% of UK woodland is certified under sustainable schemes, which mandate practices like proper weatherproofing to ensure the longevity of harvested timber. With over 1.42 million hectares managed this way, the wood produced meets high standards for durability against our challenging UK climate. You can discover more about the UK’s sustainable woodland management and its impact on timber quality.
A Safe Introduction to Charring Wood
While large-scale Yakisugi is a job for the pros, you can absolutely experiment with this technique on a smaller project. For most people, a propane torch is the most accessible tool for the job.
If you want to give it a go, here’s a simple, safety-first guide:
- Set up in a safe, open area, well away from anything flammable. Keep a fire extinguisher or a bucket of water handy, just in case.
- Apply heat evenly with the torch, moving slowly across the wood surface. You’re aiming for an even, “alligator skin” texture, not to actually set the wood ablaze.
- Brush the surface with a stiff-bristled wire brush. This removes the loose, sooty char, and the amount you brush off will determine the final texture and colour.
- Clean and seal the wood. Simply rinse it with water, let it dry completely, and then apply a natural oil like Tung oil to seal the finish and enrich the colour.
This technique offers a powerful, chemical-free way to weatherproof wood, connecting your modern project with an ancient and beautiful craft.
Long-Term Care for Lasting Protection
You’ve done the hard work of weatherproofing your wood, which is a brilliant achievement. But the job isn’t quite over once that final coat dries. To get years of performance out of your outdoor timber, a little ongoing care goes a very long way. It’s less of a chore and more of a simple maintenance plan to keep everything looking fantastic and fully protected, season after season.
This proactive approach doesn’t need to be complicated. It all starts with training your eye to spot the early signs of wear and tear. After a rain shower, for instance, does the water still bead up nicely and roll off? Or has it started to soak in, darkening the wood? If it’s the latter, your protective barrier is beginning to fade. Another tell-tale sign is the colour; if that rich, vibrant stain now looks a bit washed-out or patchy, you know the UV rays are starting to win.
Your Seasonal Maintenance Checklist
A quick seasonal check-up can make a world of difference. By timing your inspections with the changing seasons, you can stay one step ahead of problems before they have a chance to turn into serious damage.
- The Spring MOT: After a long, potentially harsh winter, spring is the perfect time for a thorough look. Keep an eye out for any new cracks, peeling finishes, or signs of mildew that might have crept in during the damp months. A gentle clean with a mild wood cleaner will shift the winter grime and give you a clear view of its condition.
- Autumn Prep: As the colder, wetter months approach, it’s smart to give your wood one last check. Make sure there are no spots where water can pool. If you’ve used an oil finish, this is often the ideal time for a quick top-up coat to boost its defences before winter arrives.
This seasonal rhythm is especially important here in the UK. Our climate really puts natural materials through their paces, a fact consistently highlighted in weather assessments. Looking after our timber properly contributes to its resilience, which is vital when you consider that woodland covered 13.5% of the UK in 2024, according to the Woodland Trust. You can discover more insights about the state of UK woods and trees on their website.
Tailoring Care to Your Treatment
Of course, your long-term care plan will depend entirely on the type of finish you used in the first place. Re-oiling a deck, for example, is a quick and satisfying job. It usually just involves a good clean before wiping on a fresh coat.
Recoating a painted or varnished surface, however, is a bit more involved. If the old finish is peeling or flaking, you’ll have to sand it right back before applying anything new. Wood that’s already painted needs specific products and techniques for proper long-term protection. This comprehensive painted wood waterproofing guide has some excellent advice for these situations.
The key takeaway here is to be proactive. Catching a small patch of wear early and sorting it out is infinitely easier than stripping everything back for a full restoration project down the line. That vigilance is what prevents bigger issues from ever taking hold.
Ultimately, a small amount of regular maintenance ensures your hard work lasts indefinitely. It’s the best way to stop moisture from getting in, which is what causes decay in the first place. For more on this, you might be interested in our detailed article on how to prevent wood rot.
Got Questions About Weatherproofing Wood?
Even with a solid plan, a few questions always pop up when you’re learning how to weatherproof wood. Getting these sorted is the key to avoiding those little mistakes that can spoil a project. Let’s run through some of the most common queries I hear.
When Is the Best Time to Apply a Finish?
Timing is everything. You’re looking for a mild, dry day to get the job done right. The sweet spot for temperature is somewhere between 10°C and 25°C. Whatever you do, try to stay out of the direct, hot sun. If the wood is too warm, the finish can dry almost instantly, leaving you with ugly brush marks and a patchy result.
Before you start, have a quick look at the weather forecast. You’ll want a guaranteed dry spell for at least 24 hours after you’ve finished. The last thing you need is a sudden downpour washing away all your hard work before it has a chance to cure properly.
Can I Just Put a New Coat Over an Old One?
This is a big one. People often ask if they can just slap a new coat of sealant over the old one. Well, it depends entirely on the state of the existing finish.
If the old coat is still looking solid—no peeling, no flaking—and you’re using the exact same product, then yes, you can often get away with a thorough clean before reapplying.
However, if the finish is cracked or peeling, you’ve got to strip it back. Putting a new layer over a failing one is just asking for trouble. It won’t stick properly, and you’ll be back to square one in no time. Penetrating oils are a bit more forgiving; a good clean is usually all you need before topping them up.
Here’s a simple trick I use to check if it’s time to reapply: just sprinkle a little water on the wood. If it beads up nicely on the surface, your protection is still doing its job. If the water soaks in and darkens the wood, it’s time for a fresh coat.
For most gardens here in the UK, a quick inspection every spring is a great habit to get into. Decks and other high-traffic areas treated with oil might need a top-up every year. A good quality stain or sealant, on the other hand, could last two to three years before needing attention. Staying on top of it is the real secret to making your timber last.
For a finish that’s not just durable but also genuinely stunning, you might want to look into the charred timber options from TimberSol. Check out our range of Yakisugi cladding, decking, and fencing at our official TimberSol website.