How to Preserve Wood Naturally a UK Guide

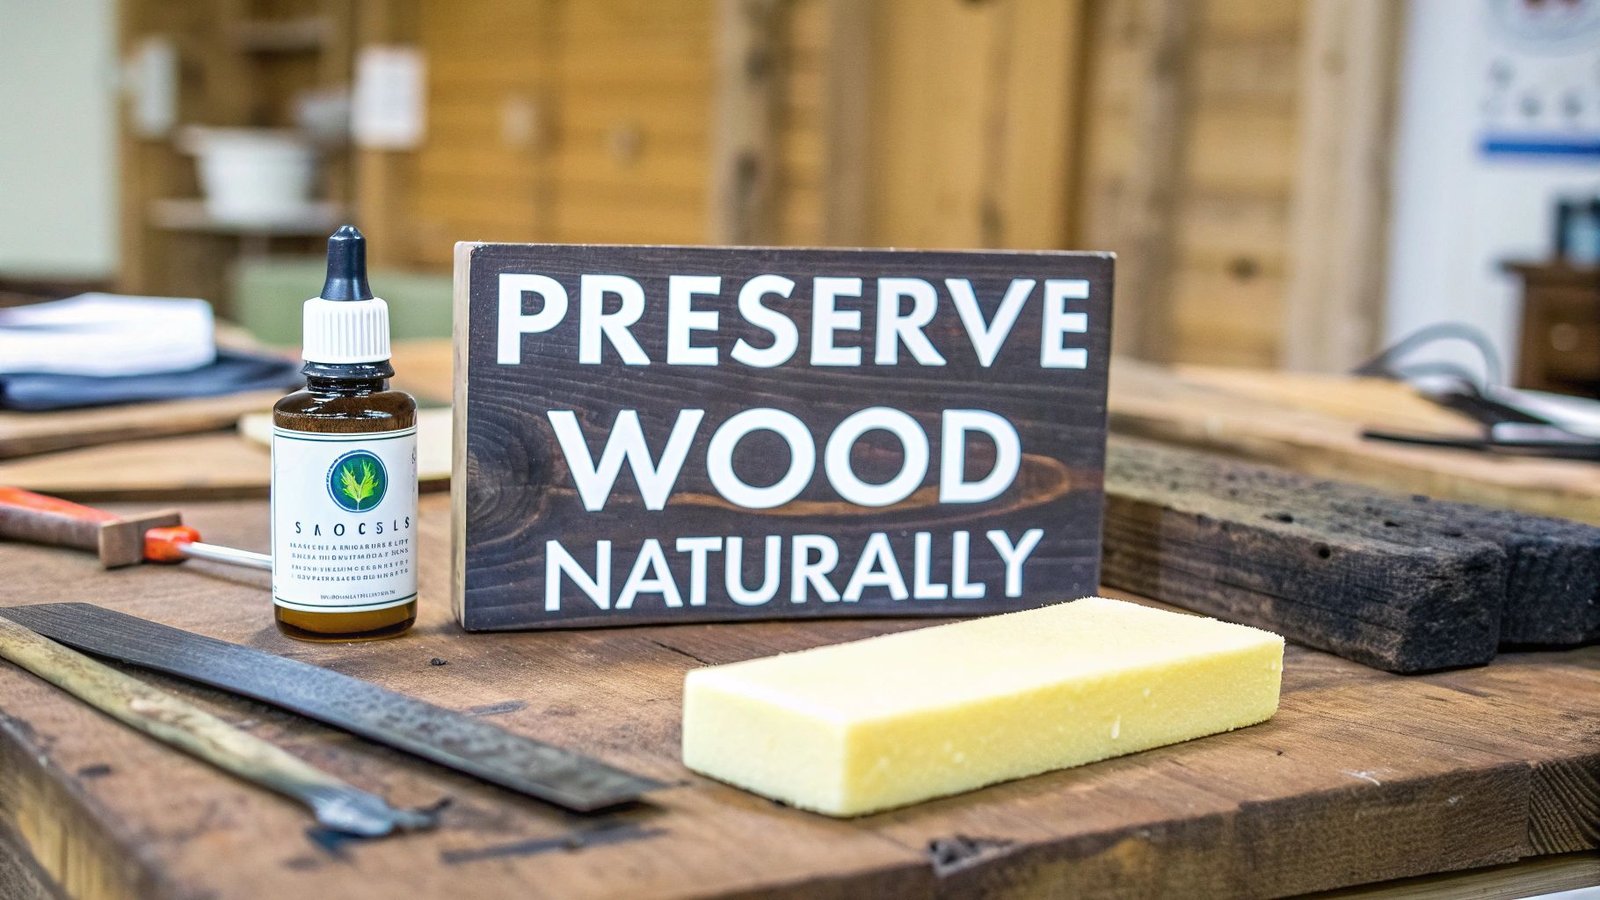
When you’re looking to protect wood, going the natural route means tapping into techniques that use non-toxic, plant-based oils, waxes, and even fire. The most popular methods today involve applying penetrating oils like linseed or tung oil, finishing with a beeswax polish, or trying the ancient Japanese art of Yakisugi, charring the wood to create a durable, chemical-free barrier.
Why Bother with Natural Wood Preservation?
Preserving wood naturally is a conscious decision because it’s safer for your home, your garden, and the environment. Here in the UK timber battles moisture, which leads to rot and decay.
Conventional chemical treatments contain volatile organic compounds (VOCs) and harsh preservatives. These can be harmful to people, pets, and the local wildlife based on mdpi.com data.
Natural methods, however, offer a healthier alternative. They enhance wood’s natural beauty and character. Instead of sealing the surface under a plastic-like film, natural oils soak into the fibres, nourishing the timber from the inside out and still allowing it to breathe. This is crucial because it prevents trapped moisture, which causes rot under synthetic sealants.
A Long Tradition of Natural Protection
The UK has a rich history of using plant-based preservatives to protect timber. Linseed oil is one of the most famous plant-based preservatives which is pressed from flax seeds and has waterproofing qualities, it has been used since at least the 17th century. It’s not just folklore; historical data suggests wood treated with linseed oil can last up to 50% longer in typical British weather. It’s fascinating to see how these methods are part of the UK’s historic forestry practices.
The Real Advantages of Going Natural
Opting for a natural approach brings clear benefits to any project, whether you’re building garden furniture or restoring indoor beams.
- It’s safer for your health. Non-toxic finishes are free from nasty chemicals, suitable for items that come into contact with skin or food.
- It genuinely enhances the wood’s beauty. They make the wood grain pop. They add a warmth and depth that synthetic finishes cover up.
- It’s better for the planet. These methods rely on renewable resources and are biodegradable, which minimises your project’s environmental footprint.
Laying the Groundwork for Lasting Protection
Any lasting finish begins with proper preparation. If there’s one thing I’ve learned over the years, it’s that proper preparation is the most important part of preserving wood naturally. It’s also the step most people rush. Getting this stage right ensures your efforts aren’t wasted and timber remains protected.
The journey starts with the wood itself. Trying to treat damp, or ‘green’, timber is a recipe for failure. All that moisture inside the wood prevents natural oils from soaking into the fibres. Instead, it leads to rot from the inside out.
Expert Tip: The wood’s moisture content must be below 20%. It stops fungal growth and ensures the finish penetrates deep for lasting protection.
Start with Seasoned Timber
Using properly seasoned wood is your best line of defence from the get-go. Here in the UK, air-drying is one of the oldest and most reliable methods for preparing timber. It’s a technique where timber is carefully stacked, allowing air to circulate freely all around it. This process reduces timber’s moisture slowly and naturally, making the wood stable and less appealing to decay and insects.
A digital moisture meter is a small investment that pays for itself. If your timber reads above that crucial 20% mark, it’ll need more time to dry in a sheltered, well-ventilated spot.
Cleaning and Sanding for a Perfect Finish
Once you’re sure the wood is dry enough, it’s time to create the perfect surface for the treatment. Give the timber a thorough clean to remove dirt, grime, or mildew. A stiff brush and soapy water cleans surface dirt. For anything more stubborn, white vinegar and water work well on stubborn buildup.
If wood is completely dry after cleaning, then you can get to sanding. Sanding opens up the wood’s pores, which helps natural oils penetrate deeply.
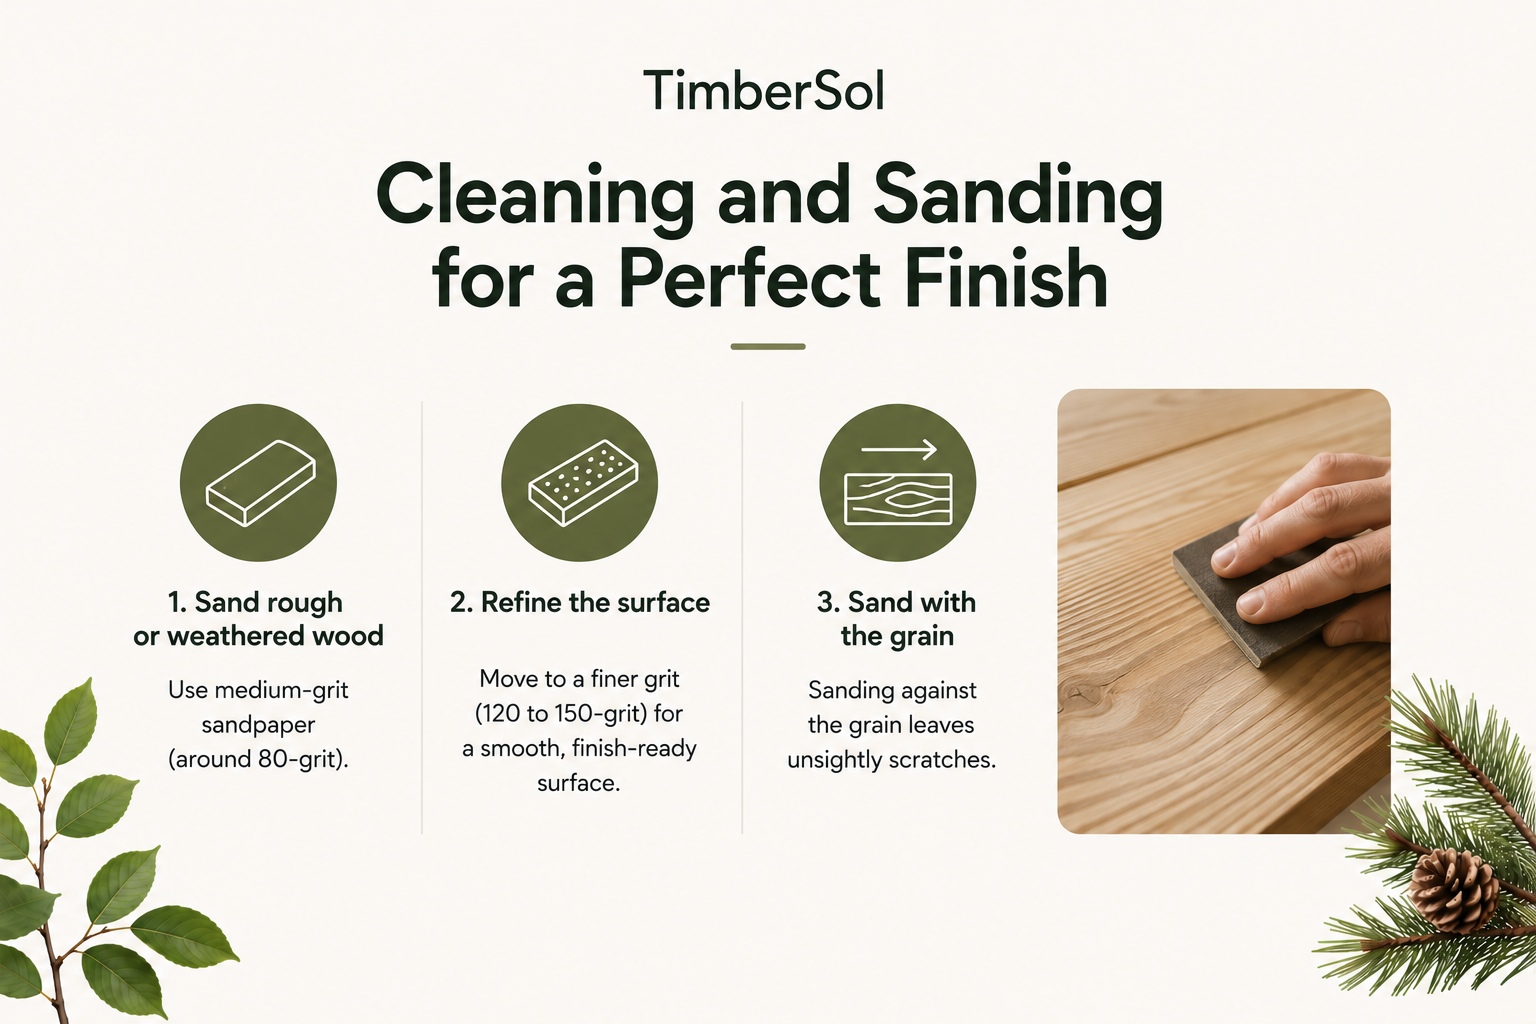
- Rough or weathered wood should be sanded with medium-grit sandpaper (around 80 – grit).
- Then, move on to a finer grit (120 to 150-grit) to create a perfectly smooth surface that’s ready to soak up the finish.
- And always sand with the grain because sanding against the grain leaves unsightly scratches.
This careful prep creates a clean, absorbent canvas. If you’re looking for more advice on safeguarding outdoor timber, our detailed guide on how to protect wood outdoors has plenty of extra tips. By taking your time with these steps, you guarantee your natural finish will bond properly, giving your project the robust, long-lasting protection.
The Yakisugi Method: Charring Wood for Durability
Yakisugi (Shou Sugi Ban) is an ancient Japanese art for preserving wood naturally. This isn’t about damaging the wood; it’s about transforming it. By carefully charring the timber surface, you create a resilient protective layer.
What’s the secret? It all comes down to the carbon layer created by the flame. Burning the wood’s surface incinerates soft cellulose, the stuff that attracts insects and fungi. What’s left behind is a hydrophobic carbon exterior that repels water and deters wood-boring pests.
The result is a finish that has a deep, rich alligator-skin-like texture. It’s no wonder Yakisugi is popular in modern UK architecture that is used for building, cladding and garden fences.
Preparing for the Charring Process
Safety is first. Working with open flame requires a well-ventilated outdoor space, which should be far from anything flammable. A gravel drive or a paved patio is an ideal location. Make sure you have a fire extinguisher or garden hose on hand before lighting the torch.
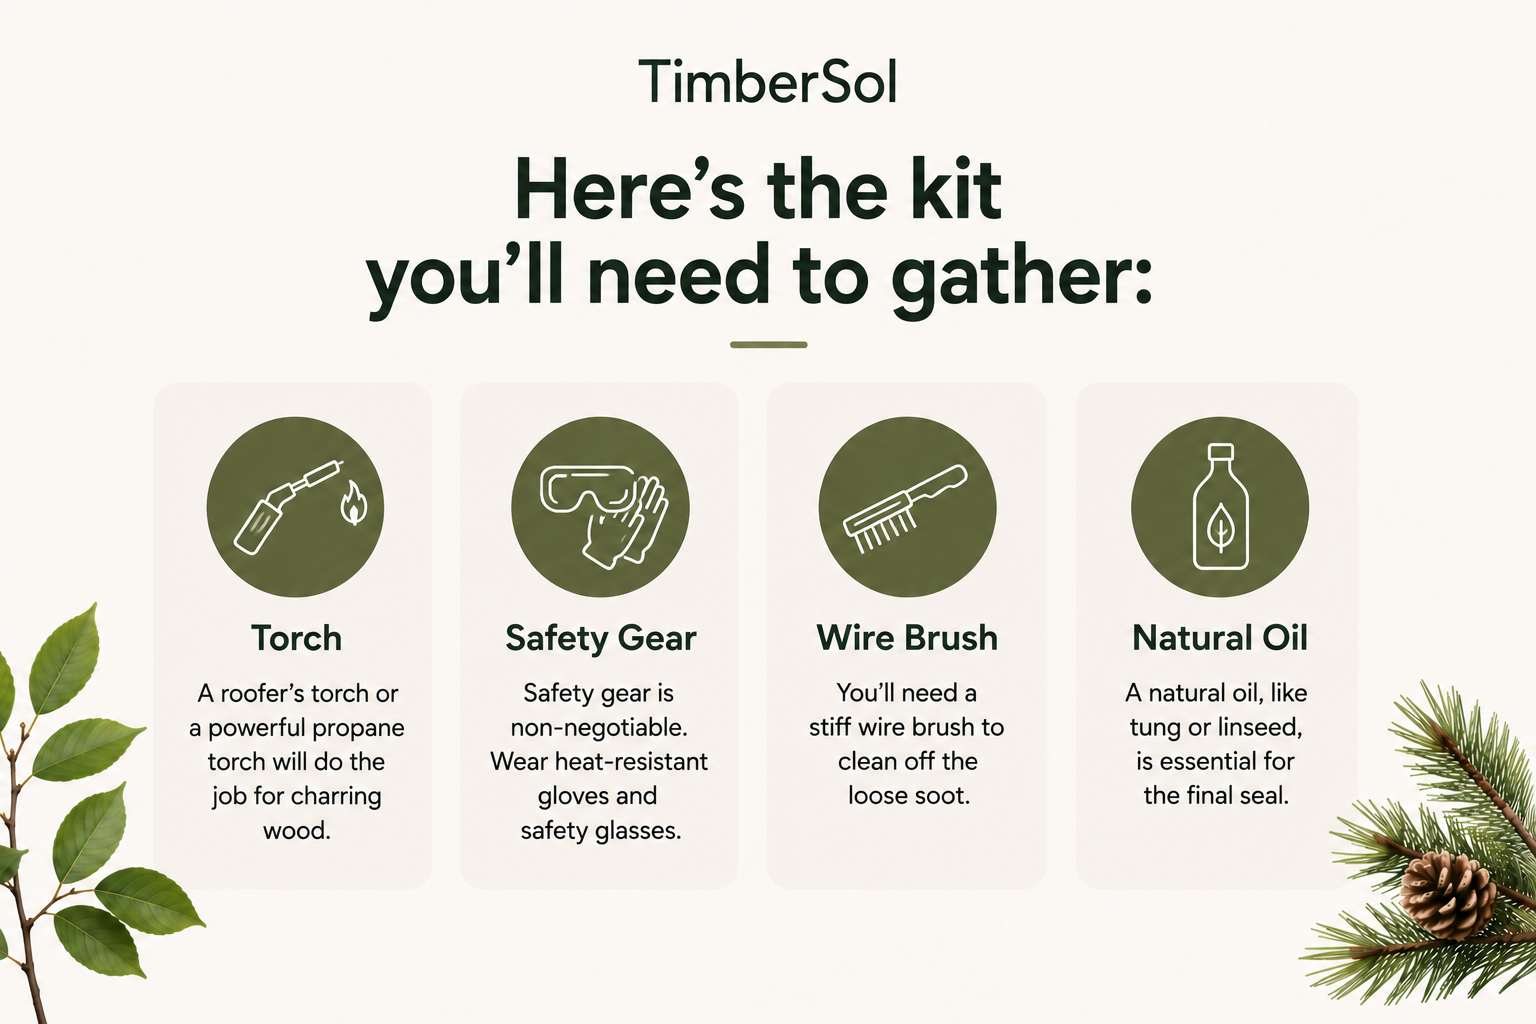
Here’s the kit you’ll need to gather:
- A roofer’s torch or a powerful propane torch will do the job for charring wood.
- Safety gear is non-negotiable. You should wear heat-resistant gloves and safety glasses.
- You’ll need a stiff wire brush, which is used to clean off the loose soot.
- A natural oil, like tung or linseed, is essential for the final seal.
Yakisugi technique works best on certain timbers. Softwoods with a pronounced grain pattern, such as Cedar, Larch, and Pine, are fantastic choices for charring because the charring process accentuates the natural texture of softwoods.
Choosing pre-charred boards makes results more predictable and installation faster. TimberSol supplies Yakisugi cladding across multiple timber species, including Charred Spruce Cladding for lightweight projects, Charred Douglas Fir Cladding for bold grain definition, Charred Accoya Cladding for maximum dimensional stability, and Charred Thermowood Cladding for thermally enhanced stability and low maintenance.
Achieving the Perfect Char
Your goal is an even, consistent char across the entire board. Hold the torch about 15 – 20 cm from the wood, moving it slowly and steadily along the grain. The surface of the wood should turn deep, uniform black and start to develop a cracked or “alligator skin” pattern. Don’t rush it.
Once a section is properly charred, you need to cool it down immediately. The best way to cool it down is to give it a quick spray with a hose. This halts the burning process instantly, preventing the char from penetrating too deeply into the wood.
After the timber has cooled down completely, it should be brushed with a wire brush, it removes the soft, flaky outer layer of soot and reveals the stable, handsome char beneath. The amount of brushing affects final appearance; a light brush creates a stark, heavily textured finish, while more vigorous brushing reveals hints of the wood grain.
The final step is sealing the charred wood with natural penetrating oil. Oil should be applied generously with a lint-free cloth, give it time to soak in, and then wipe off any excess. This locks in the finish, deepens its colour and adds another layer of water repellency.
Yakisugi technique has seen a resurgence in the UK, and for good reason. Recent British research shows that charred timber can extend wood life by 60% or more. For a much deeper dive into the whole process, have a look at our comprehensive guide on the Shou Sugi Ban technique.
Choosing The Right Natural Oils And Waxes
Picking the right natural finish for your timber is like choosing the right coat for the weather, not all natural oils and waxes are created equal. The best choice depends on the project type, wood type and weather exposure.
You’ve got rich, penetrating oils that nourish the wood from the inside out, and then you have robust waxes that form a tough shield on the surface. Each finish type balances looks, durability, and upkeep. Understanding differences is the key to a long-lasting and attractive finish.
This guide will help you find the perfect match.
Penetrating Oils For Deep Protection
Penetrating oils are the workhorses of natural wood preservation. Instead of sitting on top like a varnish, they soak into the wood fibres. As they cure, they harden from within, creating a durable, water-resistant barrier.
This is a huge advantage because it allows the wood to breathe. It prevents trapped moisture that causes rot.
Linseed oil and tung oil are two of the most reliable penetrating oils.
- Linseed Oil: Linseed oil has been the go-to for protecting wood for centuries. It comes from flax seeds and enhances natural warmth and grain of the timber based on mdpi.com data. It’s a bit slow to cure and has less water resistance than other oils, so outdoor projects require more frequent reapplication of linseed oil.
- Tung Oil: Pressed from the tung tree nuts. Pure tung oil is completely food-safe once it’s fully cured. It also creates a tougher, more waterproof finish than linseed oil, offering better protection against the elements.
Here’s how I think about it: linseed oil is perfect for a rustic indoor picture frame because it provides a gentle, warm finish. But for a garden bench exposed to year-round rain, the superior water resistance of tung oil makes it the only sensible choice.
Waxes For A Protective Surface Sheen
While oils get deep into the wood, waxes sit on the wood’s surface. They create a physical barrier that protects against minor scuffs and knocks. They’re ideal for use over an oil finish or on indoor furniture because it provides a soft, satin sheen.
Beeswax is by far the most common natural wax for wood finishing. It’s non-toxic, pleasantly scented, and easy to work with. Once buffed, it gives a soft lustre and water-repellent surface. It’s perfect for sealing wooden toys, bowls, and low-wear furniture.
Comparing Natural Wood Finishes For UK Weather
Choosing the right finish can feel overwhelming, but a simple side-by-side comparison makes the decision much clearer. This table breaks down the key differences between the most common natural oils and waxes, looking at their ideal uses, toughness, and how they look, helping you match the right product to your project.
| Finish Type | Best For | Durability | Appearance | Reapplication |
|---|---|---|---|---|
| Linseed Oil | Indoor furniture, decorative items | Low | Warm, amber tint that deepens grain | Every 1-2 years outdoors |
| Tung Oil | Outdoor furniture, worktops, decking | High | Clear, matte to satin finish | Every 2-3 years outdoors |
| Beeswax | Indoor furniture, toys, over an oil finish | Low | Soft, satin sheen | As needed when water stops beading |
Ultimately, the best finish is the one that fits the job. If you’re treating a garden table, a fantastic approach is to start with several coats of tung oil and a layer of beeswax that adds extra water repellency. On the other hand, for an indoor oak bookshelf, a linseed oil finish is probably all you need to enhance its natural beauty.
By thinking about the wood’s purpose first, you’ll ensure it stays healthy and looks its best for years.
Getting a Professional Finish: Application is Everything
The real secret to a stunning, long-lasting natural finish is the application. A bit of patience and the right technique will take your project from looking like a DIY job to a professional craftsmanship. The idea is to work with the wood, not just slap a coating on top of it.
For penetrating oils like linseed or tung,‘Wipe on, wipe off’ method is the best bet for applying. It’s a process that ensures the oil soaks deep into the timber fibres, proper technique prevents sticky, dust-attracting mess on the surface. Honestly, rushing this stage is the biggest mistake people make.
How to Apply Natural Oils for Deep Penetration
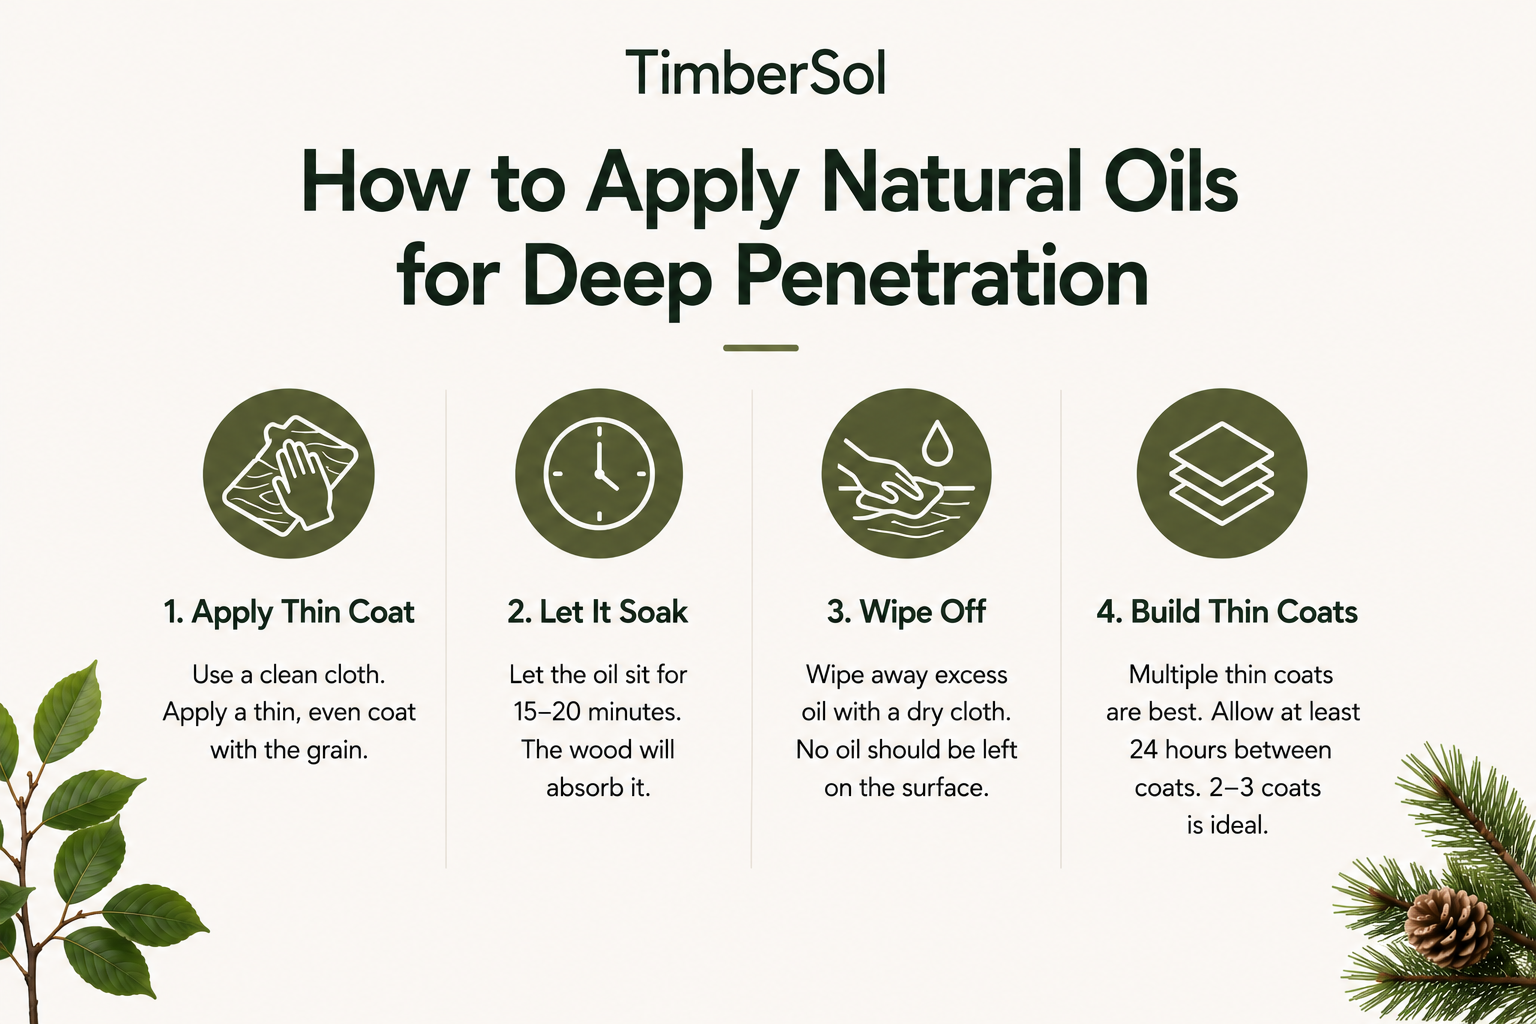
A clean, lint-free cloth is ideal for applying oil. Apply oil in a very thin, even coat, following the direction of the wood grain. Try to think of it less like painting and more like massaging the oil right into the wood.
Let the oil sit for 15 – 20 minutes. You’ll see how wood drinks up the oil. After that time is up, excess oil must be wiped away with a dry cloth. If you leave any oil on the surface, it’ll result in a tacky, gummy layer, which is a nightmare to fix.
My Golden Rule: The aim is to get the oil in the wood, not on it. If the surface feels oily after you’ve wiped it down, then you haven’t wiped enough. The wood should feel nourished but dry to the touch.
Multiple thin coats are better than one thick one. Give the oil at least 24 hours to start curing before the next coat. For most projects, two or three coats is the sweet spot.
Buffing Waxes for a Protective Sheen
Applying a natural wax finish is a different game, it creates a protective surface layer. This technique requires elbow grease, but the beautiful, subtle sheen it delivers is surprisingly brilliant at repelling water.
Apply the wax sparingly in a circular motion. Work it into the wood in small, manageable sections. You really don’t need a lot; a little goes a long way. Let the wax sit for about an hour, or until it looks hazy.
Now for the rewarding part: the buffing. Buffing melts the wax just enough to form a hard-wearing barrier, also it makes the surface silky smooth. A properly buffed surface has a gentle, uniform lustre and water beading up. This final buffing step protects the timber and enhances depth in colour and grain.
Maintaining Your Naturally Preserved Wood
Natural finishes aren’t a ‘set it and forget it’ solution. Unlike a thick plastic coating that sits on top, oils and waxes penetrate the timber and work with it. This means they need a bit of attention to stay effective.
The good news? Maintenance is straightforward and doesn’t involve stripping back to bare wood.
A well-oiled surface will make water bead up and roll off. When you notice that water is soaking into the surface that’s a signal it’s time for a top-up based on sciencedirect.com data.
Your Annual Maintenance Plan
For most outdoor projects, a regular check-up is all you need to keep your timber in top shape for years. A little effort now saves you from major headaches later.
- Routine Cleaning: Wood should be cleaned at least twice a year, give the wood a gentle clean with a soft brush and mild, soapy water are perfect for shifting any dirt, algae, or grime that could trap moisture and weaken the finish.
- Annual Reapplication: A fresh maintenance coat of your chosen oil or wax should be applied once a year. I find spring is the best time, as it prepares the wood for the sun and rain of the seasons ahead. For high-traffic areas like decking or garden furniture, you might need to do this a bit more often.
Just remember, a maintenance coat is a light coat, not a full refinish. One thin, well-applied layer is usually enough to refresh the protection and restore lustre.
This proactive approach is easier than sanding back neglected, weather timber. Proper upkeep keeps your wood looking fantastic and extends its life, especially for certain types of weather-resistant hardwood that thrive with these natural treatments.
Dealing with Minor Repairs
Minor scratches or small patches of wear are inevitable over time. This is where the beauty of a natural oil finish really shines, it makes small imperfections easy to fix.
Fixing small damage doesn’t require stripping the entire surface. Just give the affected area a light rub-down with fine-grit sandpaper in the direction of the grain.
Once it’s smooth, wipe away the dust. Then, apply a thin coat of your original oil to the patch, feathering the edges into the surrounding area. When it cures, the repair should blend in seamlessly, leaving your timber looking as good as new.
Got Questions About Natural Wood Care?
It’s completely normal to have a few questions before a project. I’ve been working with wood for years and these are some of the queries that pop up time and time again. Here are some straightforward answers to help you get started with confidence.
How Long Do Natural Finishes Really Last Outdoors?
The answer is: it varies. A lot. If you’ve put a couple of good coats of tung oil on a garden bench that gets a bit of weather, it can last 2 – 3 years. On the other hand, a basic linseed oil finish may look thirsty after one season.
Longevity of finish depends on wood type, weather exposure, and usage. The best advice I can give is to learn to read the wood. When you see that water is starting to soak in it’s a signal that it’s time for a maintenance coat.
Are These Natural Preservatives Genuinely Safe for My Veggie Patch?
Yes, they absolutely can be, but you have to be selective. Pure, 100% natural oils come from plants. Properly cured tung or linseed oil is non-toxic and food-safe. The same is true for a simple beeswax and mineral oil paste.
A word of caution: always read the tin. “Boiled linseed oil” and additives should be avoided when planning to grow food because it includes metallic salts and chemical drying agents. For total peace of mind, stick with the pure, unadulterated stuff.
Can I Just Slap Some Natural Oil on Top of Old Varnish?
It’s a definite no. Natural oils need to soak into the wood grain to be effective. Old paint, varnish, or sealers creates a plastic-like barrier that blocks the oil penetration.
If you’re set on making the switch to an oil finish, you’ve got to take it back to the bare state. That means stripping and sanding is the only way to ensure protection with an oil finish, because improperly applied oil will flake off if not absorbed into raw wood.
What’s the Best Natural Finish for Something That Gets a Lot of Wear, Like a Deck?
For a high-traffic area like decking, you need to think in layers. You want something that handles footfall and the elements. From my experience, the most durable natural approach is a two-part system: a deeply penetrating oil followed by a hard-wearing wax.
- First, lay down several thin coats of pure tung oil. It offers better water resistance and cures harder than linseed oil, making it the clear winner for demanding jobs.
- Then, top it off with a hardwax-oil blend. This creates a tough, repairable surface that resists scuffs and scratches. The best part is that worn areas can be patched locally without sanding the entire deck. This combination of oil and wax gives a deep protection and durable surface.
At TimberSol, we’re passionate about the enduring strength and beauty of wood that’s been preserved the right way. Explore our range of expertly crafted charred timber products – a finish that delivers a stunning aesthetic with incredible durability. Find the perfect material for your next project at https://timbersol-backup.elnoirstudio.com.