How to Stop Decking Being Slippery | UK Guide to Safer Decks

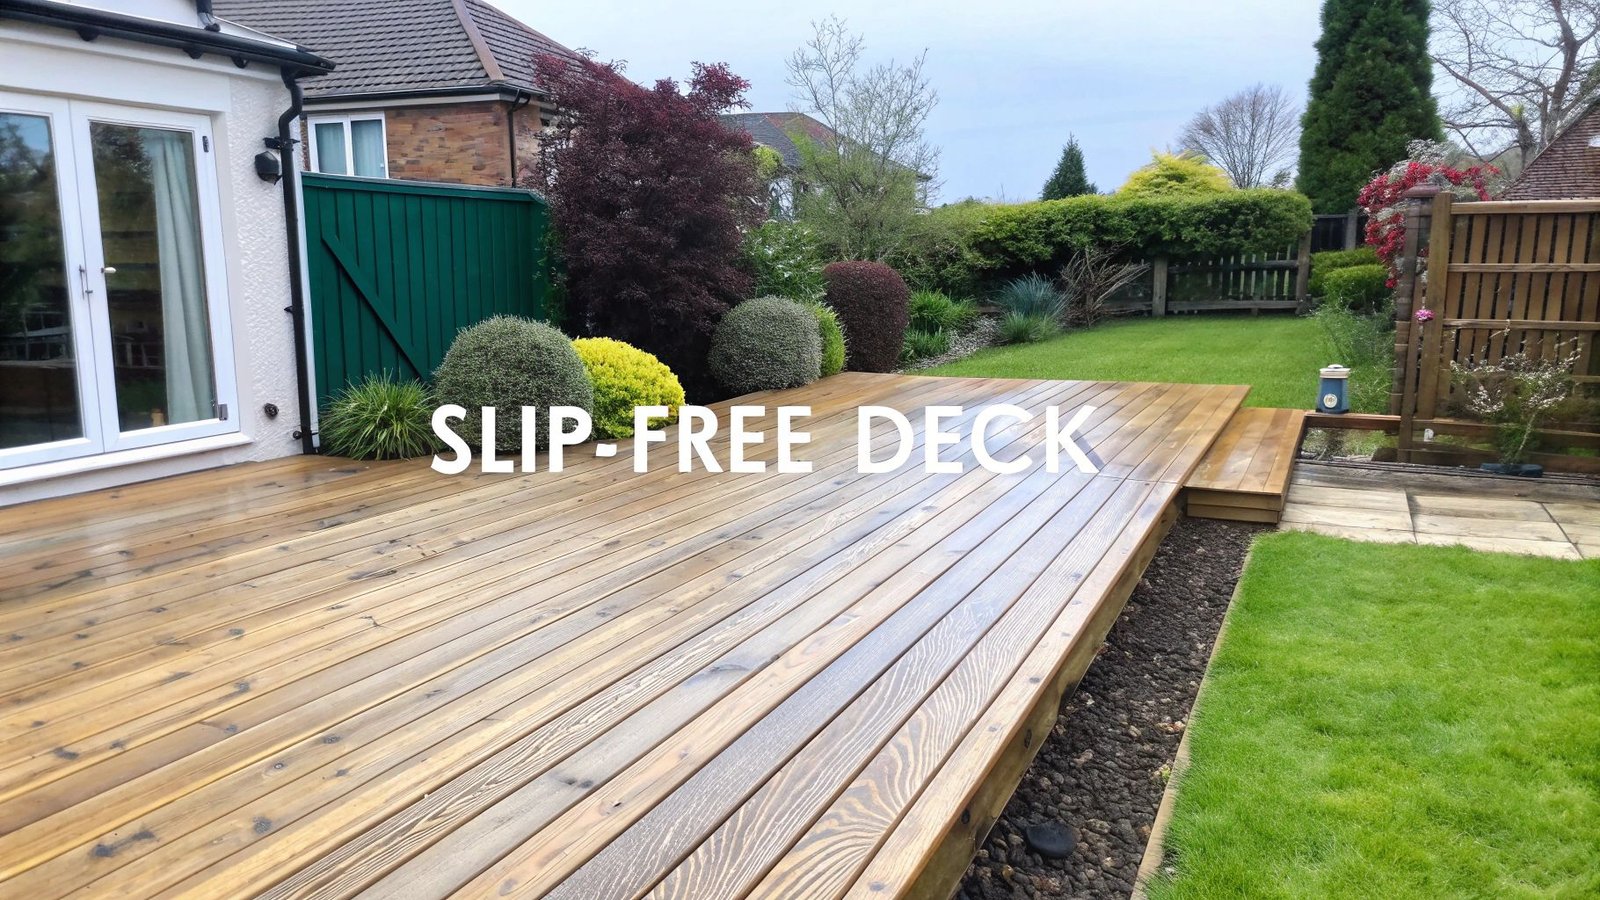
To stop decking from being slippery, it’s important to address the root cause: algae, moss, and mould. These growths form a slimy biofilm on the surface, which becomes a serious slip hazard when wet. A thorough deep clean followed by a suitable anti-slip treatment is the most effective way to manage this problem over the long term.
Slippery decking is usually caused by algae, moss, and mould that form a slick biofilm on the surface. This article explains how to clean decking properly, choose the right anti-slip solution, and maintain the surface throughout the year to keep it safe and durable.
Why Your Deck Is a Slippery Hazard
Decking becomes slippery when algae, moss, and mildew grow on the surface in damp conditions. These organisms create a thin film that reduces traction and makes the boards unsafe to walk on.
It’s a situation many homeowners in the UK know well. You step outside to enjoy some fresh air, only to find yourself struggling to keep your balance on a deck that suddenly feels like an ice rink. This isn’t just inconvenient—it can be a genuine safety risk.
In most cases, the decking material itself isn’t the problem, whether it’s traditional timber, such as douglas fir wood cladding or modern composite boards. The real issue is the biological growth that develops on the surface. The UK’s damp and mild climate creates ideal conditions for all sorts of biological growth, and this build-up is what makes decking surfaces dangerously slippery—especially on exterior timber surfaces such as black charred wood cladding and other natural wood finishes if they are not maintained properly.
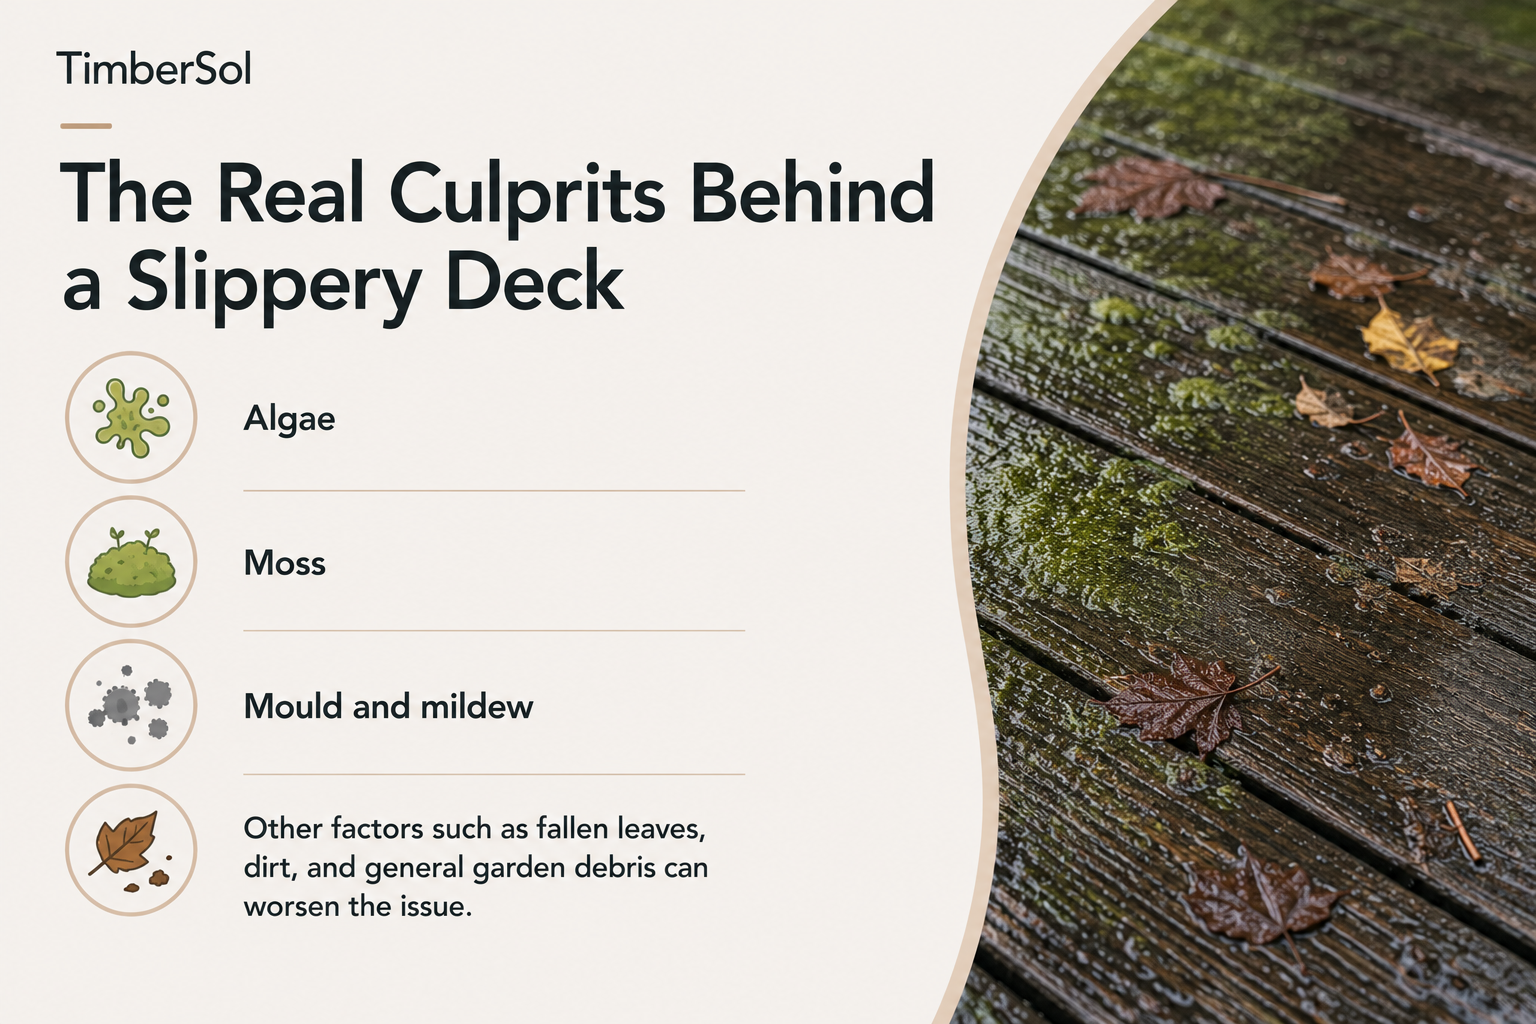
The Real Culprits Behind a Slippery Deck
It’s easy to blame the rain, but moisture is only part of the problem. The real cause is a thin layer of biofilm that forms on the deck’s surface. This slippery coating is essentially a living ecosystem made up of tiny organisms.
This organic growth thrives in damp, shaded areas, feeding on the natural components of timber or the thin layer of organic dust that often settles on composite decking, particularly on softer exterior timbers such as spruce cladding.
- Algae: The most common cause. It appears as a green or black film that becomes extremely slippery when even slightly wet.
- Moss: Often grows between deck boards but can spread across the surface. Moss acts like a sponge, holding moisture against the decking.
- Mould and mildew: These fungi usually appear as dark patches or spots. In addition to increasing slipperiness, they can also contribute to the gradual decay of wooden decking.
Other factors such as fallen leaves, dirt, and general garden debris can worsen the issue. These materials trap moisture on the deck surface, creating constantly damp areas where algae and mould can grow even more easily.
Understanding what causes the slipperiness is the most important first step. A quick blast with a pressure washer might make the deck look clean for a week or two, but if the underlying biological growth isn’t properly treated, the slippery surface will return quickly.
This issue isn’t limited to garden spaces either. Health and Safety Executive (HSE) statistics for 2023/24 showed that falls from height—including incidents such as slips on raised decks—resulted in 50 worker deaths, representing a 22% increase compared with the previous year. You can read more about these workplace safety findings and how they relate to hazardous surfaces. It’s a sobering reminder of just how serious a slippery surface can be.
Before you can determine how to stop your decking from being slippery, it’s important to understand exactly what is causing the problem in the first place.
Getting Your Deck Ready for Treatment
Before applying any anti-slip product, the deck must be properly prepared. Skipping or rushing this stage often leads to treatments that peel, fail, or lose effectiveness within a year. Applying a product to a dirty, damp, or algae-covered surface is similar to painting over rust—it wastes both time and money.
A thorough clean is the non-negotiable first step. This goes far beyond a quick sweep; you need to remove every trace of grime and biological growth that caused the deck to become slippery in the first place. Proper preparation ensures that your chosen treatment can bond effectively with the timber and deliver the lasting grip you’re looking for.
Choosing Your Cleaning Method
When it comes to cleaning your deck, you generally have two effective options: using a specialist decking cleaner or a simple homemade solution. The right choice depends on how severe the build-up of algae, moss, or dirt is.
- Specialist decking cleaners: If your deck has stubborn green or black patches, these products are usually the most effective option. They are designed to penetrate the wood grain and eliminate algae, mould, and moss spores that cause slippery surfaces.
- Homemade solutions: For decks that are only lightly dirty or have a thin green film, a simple mixture of 50% white vinegar and 50% water can work well. The acetic acid in vinegar helps break down early-stage algae without relying on stronger chemicals.
Whichever option you choose, the process remains the same. Apply the solution with a garden sprayer, allow it to sit for a short period, and then scrub the surface using a stiff-bristled brush. Always scrub along the grain of the wood to avoid damaging the timber. If algae is the main issue, it’s worth a look at our guide on https://timbersol-backup.elnoirstudio.com/blog/cleaning-algae-from-decking/ for a more detailed approach.
Using a Pressure Washer Correctly
A pressure washer can be a fantastic tool for this job, but it’s also one of the easiest ways to damage your deck if used incorrectly. Too much pressure can blast away the softer wood fibres, leaving behind a fuzzy, splintered surface that absorbs water like a sponge—creating ideal conditions for algae to return.
The goal is to clean the surface, not carve into it. Start with the lowest pressure setting and use a wide fan nozzle, ideally around a 40-degree angle. Keep the nozzle moving at all times and hold it roughly 30–45 cm away from the boards.
If you’re worried about damaging the timber, there’s nothing wrong with calling in professionals. A professional pressure washing service can clean the deck safely and effectively.
Once all the scrubbing and rinsing is finished, the most important step is letting the deck dry—and it must be completely dry. This usually takes 24–48 hours, and sometimes longer in damp weather. Applying a coating to damp timber traps moisture underneath, almost guaranteeing the finish will fail. A little patience at this stage makes a huge difference, ensuring a safe, non-slip result that actually lasts.
Choosing The Right Anti-Slip Decking Solution
Once your deck is clean and completely dry, it’s time to move from a temporary improvement to a long-term solution for the slippery surface. Cleaning alone helps, but applying the right anti-slip treatment provides reliable protection, particularly during the damp conditions common in the UK. The goal at this stage is to add a textured, physical barrier that improves grip underfoot.
There are several options available, ranging from specialist coatings that create a subtle textured surface to more heavy-duty solutions such as anti-slip strips or grip tape. The most suitable option depends on the type of decking material, the level of foot traffic, and the appearance you want to maintain.
Anti-Slip Coatings: Oils, Stains, and Paints
One of the most popular ways to make a deck less treacherous is by using a specialised coating. These aren’t your everyday decking treatments; they contain a fine, gritty material called an aggregate mixed in. This could be anything from fine sand to tiny plastic beads suspended within the product.
When you roll or brush the coating onto the deck, the aggregate spreads evenly across the boards. Once it dries, it leaves a lightly textured surface that provides much better grip underfoot, making a noticeable difference in wet conditions.
- Anti-Slip Decking Oils: A great option if you want to preserve and enhance the natural grain of your timber. The oil penetrates deep into the wood to protect it, while the aggregate creates a subtle textured surface. Perfect for those who love the authentic look of their wood.
- Anti-Slip Stains: These work similarly to oils by penetrating the timber, but they also add colour. This gives you more flexibility in appearance, with a wide range of shades available to complement the style of your garden.
- Anti-Slip Paints: For the most durable and opaque finish, paint is often the preferred choice. It forms a thick protective layer over the decking, delivering strong weather protection and a solid, uniform colour. This makes it a practical solution for older or worn decks where you may want to cover minor imperfections.
Choosing between these options often depends on the material of your decking. To better understand which solution works best, you can explore our detailed comparison of composite decking vs wood.
Physical Grip Enhancers: Strips and Tape
If you need an immediate and highly effective solution for specific slippery areas, physical grip additions are often the best option. These are particularly useful on steps, ramps, or busy walkways that can become dangerous in wet conditions.
Anti-slip decking strips provide a durable, long-term solution. They are typically made from fibreglass with a very coarse, textured surface and are fixed directly onto decking boards with screws. This creates a high-traction surface that can last for many years. Their reliability is the reason they are commonly used in commercial environments where safety is critical.
For a more temporary or budget-friendly option, anti-slip tape is also widely used. This product works like heavy-duty adhesive tape but features an abrasive, textured surface. It is applied by peeling off the backing and sticking it onto clean, dry decking boards. While it does not last as long as screw-fixed strips, it is an effective way to add grip quickly in targeted areas.
These solutions are not only about convenience—they are important safety measures. According to the UK Health and Safety Executive, approximately 29,000 non-fatal workplace injuries resulted from falls during 2020/21, with slippery surfaces being a major contributing factor. Experts believe that properly applied anti-slip treatments can reduce accident rates by up to 85%, highlighting how effective these simple additions can be in preventing slips and falls.
Comparison of Anti-Slip Decking Solutions
With several solutions available, choosing the right one can feel challenging. This table outlines the main options, helping you compare their advantages and limitations in terms of durability, cost, and ease of application.
| Solution Type | Best For | Durability | Application Difficulty | Estimated Cost |
|---|---|---|---|---|
| Anti-Slip Oils | Preserving the natural look of timber decking. | Moderate | Easy (DIY) | £ – ££ |
| Anti-Slip Stains | Adding colour while maintaining some wood grain visibility. | Moderate | Easy (DIY) | ££ |
| Anti-Slip Paints | High-traffic areas, older decks, or achieving a solid colour finish. | High | Moderate (DIY) | ££ – £££ |
| Anti-Slip Strips | Steps, ramps, and commercial spaces requiring maximum grip. | Very High | Moderate (DIY) | £££ |
| Anti-Slip Tape | Quick fixes for specific problem spots, low-traffic areas, or on a budget. | Low to Moderate | Very Easy (DIY) | £ |
Ultimately, the best solution depends on your decking material, your budget, and how much maintenance you are willing to carry out. For many homeowners, a high-quality anti-slip oil or stain provides an effective balance between appearance, protection, and safety. In higher-risk areas such as stairs, combining a protective coating with dedicated anti-slip strips is often the most reliable approach.
Applying Anti-Slip Coatings Like a Pro
With a perfectly prepped deck, you’re onto the most satisfying part of the job: applying the coating that will finally deal with that slippery surface. How you apply it is just as important as the product you’ve chosen. A rushed or careless job won’t only look uneven; it can also reduce the effectiveness and lifespan of the finish you’re trying to achieve.
The key is to work methodically. This is how you achieve a professional, even finish that provides consistent grip across the entire deck. It really comes down to paying attention to your tools, using the right technique, and carefully following the instructions on the product tin.
The Right Tools for a Flawless Finish
The tools you use can make a significant difference to the final result. It might be tempting to grab any brush available, but using the correct applicator helps ensure the product—and the anti-slip aggregate within it—is applied evenly across the surface.
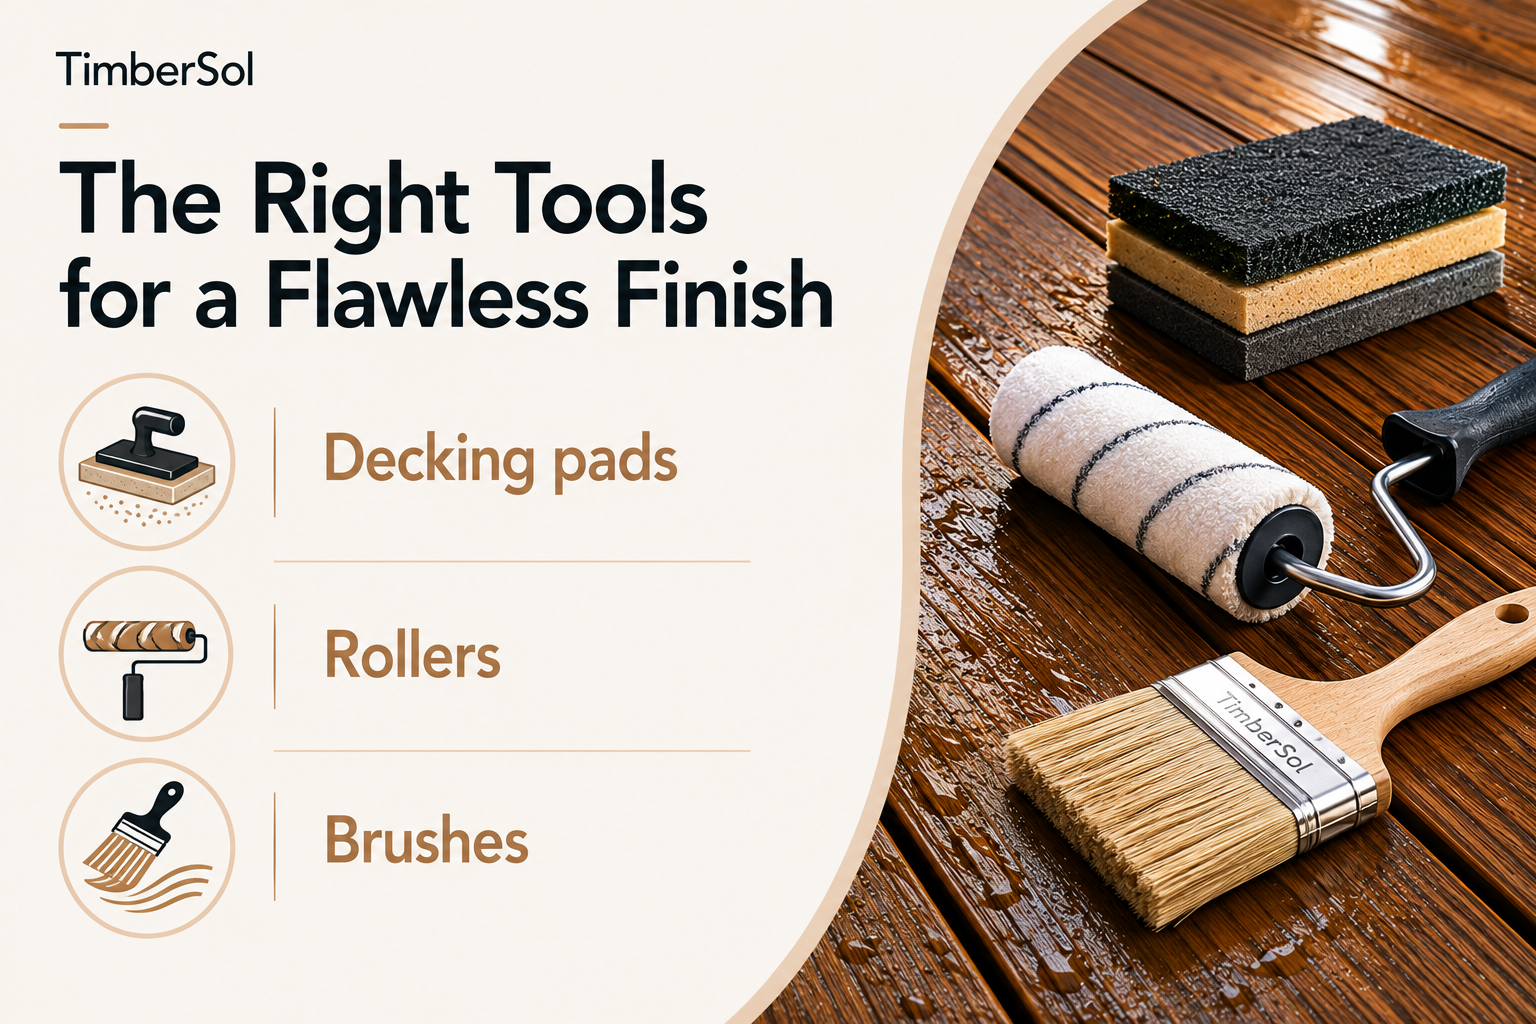
- Decking pads: These are often your best bet. They work like a sponge attached to a handle, allowing you to spread thin, even coats with minimal splashing. Decking pads are particularly well suited for applying oils and stains.
- Rollers: For covering larger areas quickly, especially when using anti-slip paints, a medium-pile roller works well, though extra care is needed to work the product into the gaps between boards.
- Brushes: A high-quality synthetic-bristle brush is essential for detailed work. It is ideal for cutting in along edges and reaching corners or tight areas where pads and rollers cannot apply the coating effectively.
One thing to avoid is using a paint sprayer, especially with products that contain an aggregate. These sprayers clog easily and struggle to distribute the gritty particles evenly, which defeats the purpose of an anti-slip coating.
Another common mistake is not stirring the product thoroughly. The anti-slip aggregate is heavy and quickly settles at the bottom of the tin. It’s essential to stir the product well before starting and then again every 10–15 minutes during application. This keeps the particles evenly suspended and ensures a consistent, textured finish across the deck.
Nailing the Application Technique
Right, you’ve got your tools. Now it’s time to focus on the technique. The goal is to apply thin layers, gradually building up the protection and texture. Applying a thick coat might seem quicker, but it’s a false economy. Heavy layers take much longer to dry, can remain tacky for days, and are far more likely to peel or flake over time.
Always start at the point furthest from your exit and work backwards—otherwise you risk painting yourself into a corner. It’s usually easiest to focus on two or three boards at a time, working along their full length. This simple approach helps prevent “lap marks,” those visible lines that appear where wet and drying edges meet.
Applying the first coat is fairly straightforward. Load your pad or roller so it’s well coated but not dripping, then apply the product using long, smooth strokes that follow the grain of the wood. Take your time to work the coating into the grooves and textured surfaces of the boards.
Once the first coat is applied, patience becomes essential. Check the manufacturer’s instructions for the recommended drying time between coats—this can range from 4 to 24 hours depending on the product. Applying the second coat too soon can disturb the first layer, leaving an uneven finish and a weak bond with the timber.
The second coat should be applied in exactly the same way. It will deepen the colour if you’re using a stain or paint and, more importantly, add another layer of anti-slip texture. Once finished, allow the coating to fully cure before walking on the deck or returning furniture to the surface. Proper curing ensures maximum durability and helps keep your deck safe and slip-resistant for years to come.
Year-Round Maintenance for a Safe Deck
Applying an anti-slip treatment to your deck is an excellent first step, but it isn’t a one-time solution. If you want to know how to stop your decking from being slippery, the key is maintaining a simple and consistent care routine. Much like servicing a car, regular checks and small maintenance tasks help keep everything in good condition and prevent larger problems from developing.
A year-round maintenance plan helps ensure your deck remains a safe and welcoming space, regardless of the changing British weather. By dividing the work into manageable seasonal tasks, it becomes much easier to stay ahead of the algae and moss growth that often cause slippery surfaces in the first place.
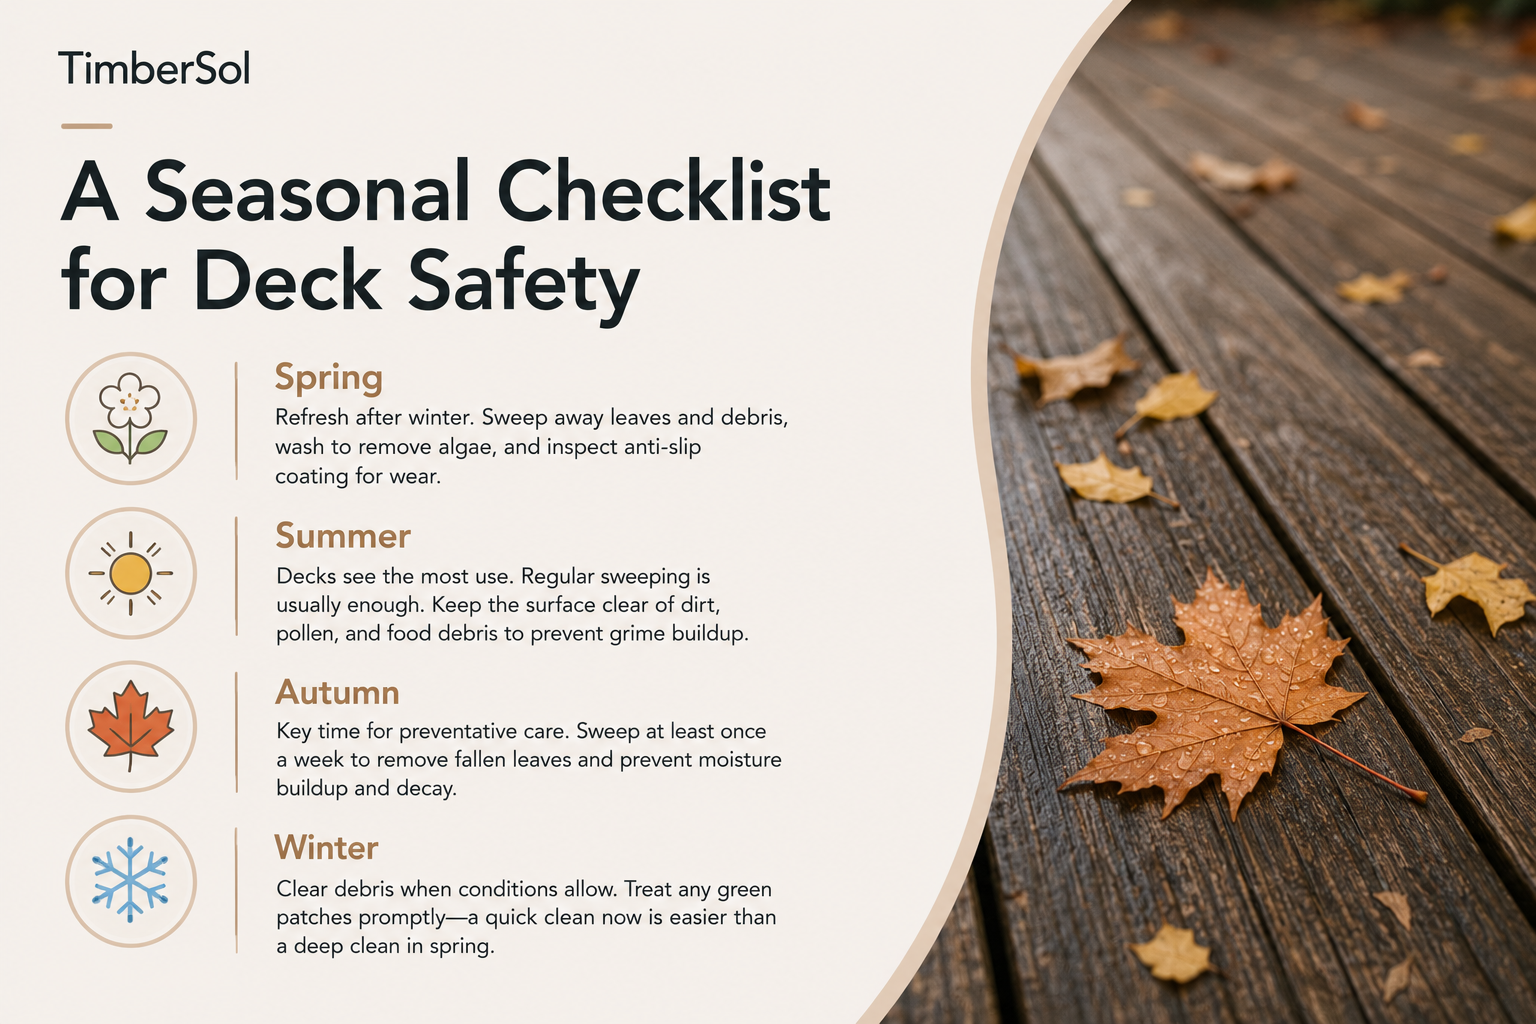
A Seasonal Checklist for Deck Safety
You don’t need to spend hours every weekend maintaining your deck. A small amount of attention each season goes a long way and helps prevent potential hazards before they develop.
- Spring: After a long, damp winter, your deck will usually need a refresh. Start by sweeping away leaves and debris that have built up. Follow this with a gentle wash using a proper decking cleaner or a simple solution of soap and water to remove any new algae growth. Spring is also the ideal time to inspect your anti-slip coating and check for any areas showing signs of wear.
- Summer: During summer, decks typically see the most use, but the maintenance required is relatively light. Regular sweeping is usually enough. Keeping the surface clear of dirt, pollen, and food debris from outdoor gatherings helps prevent grime from building up—conditions that algae and mould thrive on later in the year.
- Autumn: This is one of the most important seasons for preventative care. Falling leaves can trap moisture against the wood, creating slippery conditions. Sweeping the deck at least once a week helps prevent damp, decaying layers from forming on the surface.
- Winter: Continue clearing debris whenever weather conditions allow. If any small green patches begin to appear, deal with them promptly. A quick spot clean during a mild winter day is far easier than tackling a full deep clean in spring.
Keeping on top of your deck isn’t just about preventing slips; it’s also a key part of protecting the wood itself. Regular maintenance helps extend the lifespan of the timber while keeping it looking its best. For more detailed advice, take a look at our guide on how to protect wood outdoors.
Knowing When to Reapply Coatings
Let’s be realistic—no anti-slip coating will last forever. High-traffic areas such as the main path to the back door or the tops of steps naturally experience more wear and will show signs of deterioration sooner than quieter parts of the deck.
A good habit is to inspect the surface every spring. Look for areas where the textured finish has become smooth or where water begins to soak into the wood instead of forming droplets on the surface. These are clear signs that the protective layer is wearing down. In most cases, high-quality anti-slip oils and stains will need a maintenance coat every 2–3 years to keep their grip and protective performance at their best.
While reviewing deck safety, it’s also worth considering visibility. Installing outdoor lighting around steps and deck edges can make a significant difference after dark, adding another important layer to your deck safety plan.
Of course, here is the rewritten section, crafted to sound like it’s from a seasoned expert.
Still Got Questions About Deck Safety?
Even after doing all the prep work, it’s completely normal to have a few lingering questions. It’s something I get asked about all the time. Let’s go through some of the most common queries from homeowners across the UK to clear things up and give you complete confidence in your project.
Will Anti-Slip Treatments Ruin My Deck’s Look?
The short answer is no, not anymore.
In the past, some anti-slip products could look clunky, but modern solutions are much more refined. Many high-quality anti-slip oils and stains are available in clear finishes that allow the natural wood grain to remain visible. Others come in a wide range of tints designed to enhance the colour and character of the timber. The tiny bits of aggregate that create the grip are often so fine you’d barely notice they’re there.
Can I Treat an Old Deck?
Absolutely. You don’t need a brand-new deck to improve safety. Older timber decks—and even composite decking—can usually be retrofitted to provide better grip. The key, as mentioned earlier, is proper preparation. Start with a thorough deep clean to remove all the gunk, then allow the deck to dry completely, and it becomes an ideal base for applying an anti-slip coating or installing grip strips.
A Quick Expert Tip: If you’re building a new deck, it’s worth thinking about safety from the very beginning. Choosing materials with natural anti-slip characteristics can save maintenance effort later. For instance, charred timber created using the traditional Japanese Yakisugi (Shou Sugi Ban) technique naturally develops a textured surface that provides grip from the start and is widely used for exterior features such as charred black wood fencing.
How Long Will the Anti-Slip Coating Last?
The lifespan of an anti-slip coating mainly depends on two factors: the quality of the product used and the level of foot traffic the deck receives.
As a general guideline, a good-quality coating that has been applied correctly will typically last around 2–3 years.
However, high-traffic areas tend to wear down faster. Steps, the main walkway from the back door, and areas around patio furniture often experience more frequent use. These sections may require a light maintenance coat every year to maintain their effectiveness. Just give your deck a quick once-over each spring, and you’ll easily spot any areas that need a bit of attention. It’s a small job that makes a huge difference.
FAQ Quick Answers
Here’s a quick-glance table designed to help answer the most common questions about preventing your decking from becoming a slip hazard.
| Question | Answer |
|---|---|
| Can I make my old decking non-slip? | Yes, you absolutely can. The key is to deep clean and properly prepare the surface before applying an anti-slip coating, strips, or paint. |
| Will an anti-slip finish ruin the look of my wood? | Not at all. Modern products include clear oils and a wide range of tints that enhance the wood’s natural grain while adding a subtle, barely visible texture for grip. |
| How often do I need to reapply an anti-slip coating? | A good-quality coating typically lasts for 2-3 years. High-traffic areas, like steps, may need a refresh annually to maintain maximum grip. |
| Are some decking materials naturally less slippery? | Yes. Materials with a textured surface, like grooved boards or charred timber (Yakisugi), offer better inherent grip than smooth decking surfaces. |
Hopefully, these quick answers help you feel ready to tackle your project and enjoy your outdoor space safely, whatever the weather.
At TimberSol, we’re experts in creating beautiful and highly durable charred timber. Our Yakisugi decking offers a stunning finish with a naturally textured surface that enhances grip. Explore our range of charred cladding, including douglas fir cladding, oak cladding, and accoya cladding, to create a stylish and secure foundation for your garden.