Charred Wood Blog
How to Make Decking Non Slip in the UK

A slippery deck isn’t just an annoyance; it’s a genuine hazard waiting to cause an accident. The good news is that making your decking non-slip is entirely achievable. The process always starts with a deep clean, followed by applying a solution like an anti-slip coating, specialist grip tape, or even installing purpose-built abrasive strips. These methods add texture and create a high-friction surface, dramatically cutting the risk of falls, which is especially important in the UK’s often damp and frosty weather.
Why a Slippery Deck Is a Serious Hazard
That beautiful deck you love can quickly turn from a garden oasis into a real liability. Here in the UK, we’re no strangers to rain, morning dew, and winter frost, all of which create the perfect conditions for a treacherous surface. But it’s not just the water. The real culprits are often the invisible biofilms, algae, and moss that flourish in damp environments, turning even the best timber or composite boards into something akin to an ice rink.
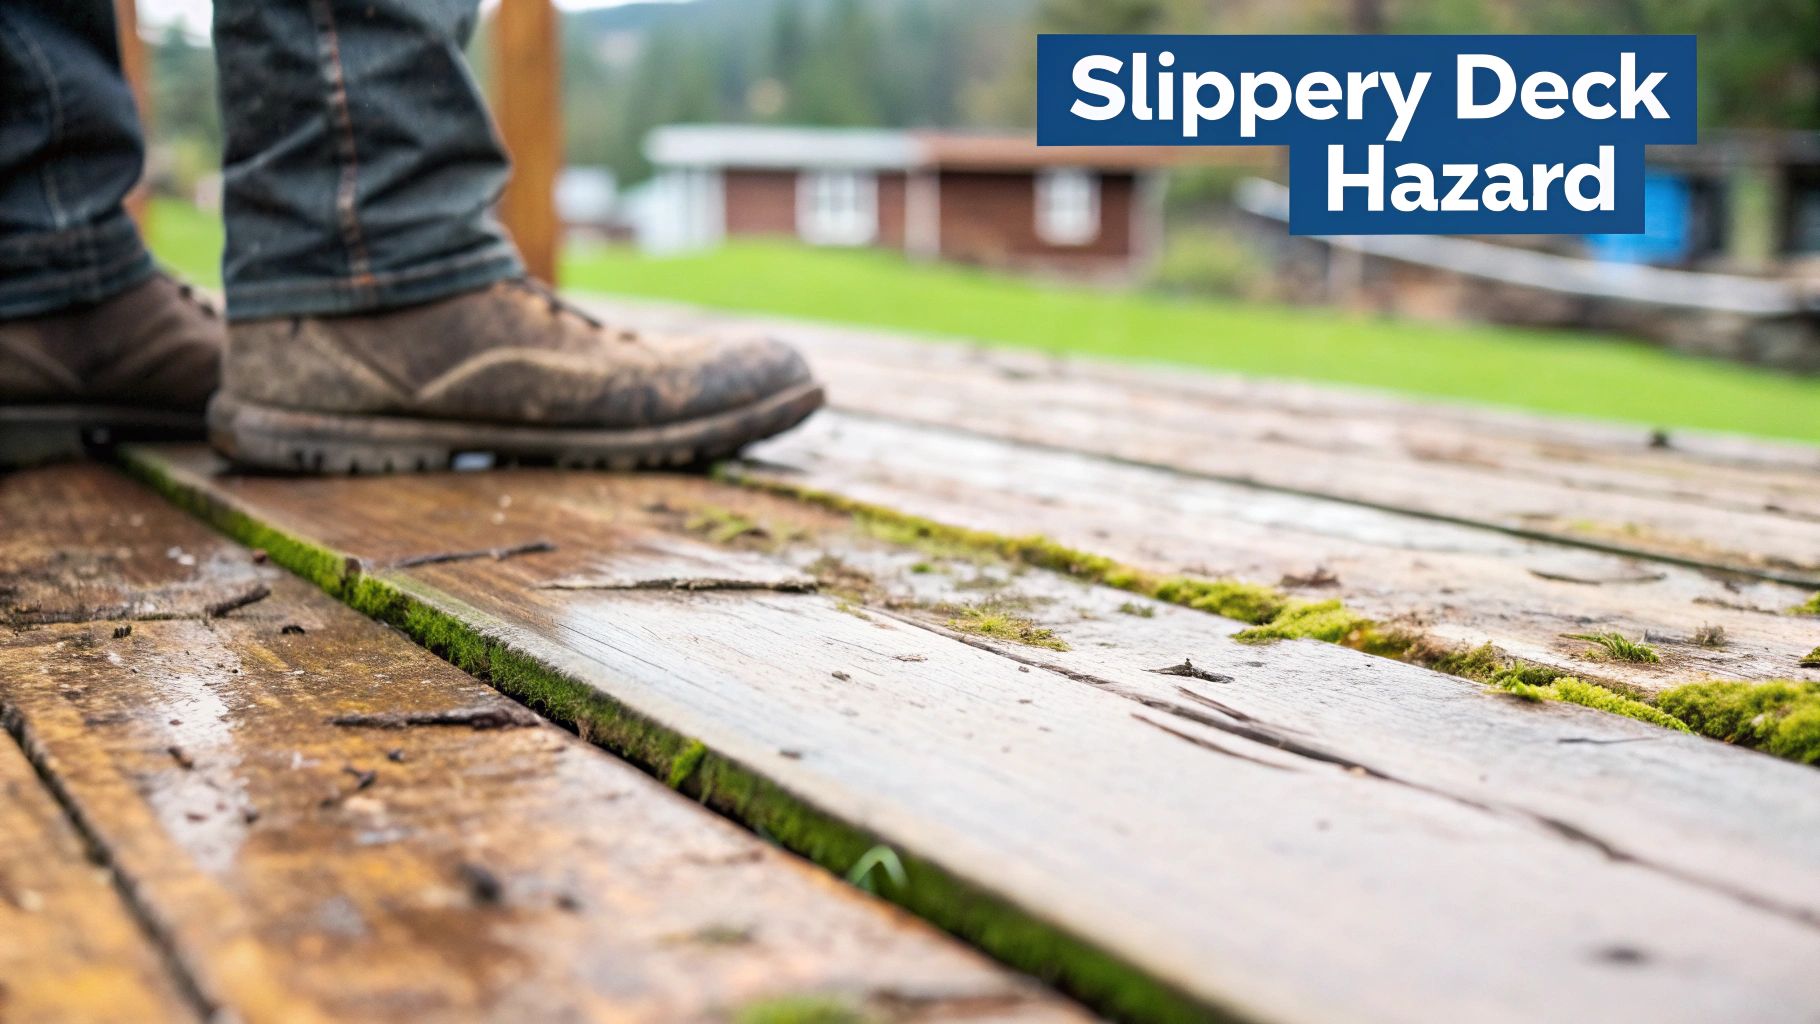
This goes far beyond a minor inconvenience—it’s a serious safety issue. One sudden slip can easily lead to nasty injuries like sprains and fractures, or even more severe head and back injuries. The danger is particularly acute for young children who love to run around outside or for older family members who might not be as steady on their feet. Getting to grips with the basic construction and qualities of different decking materials is key to tackling these safety concerns effectively. You can learn more about decks and pergolas to build up that foundational knowledge.
The Real Dangers Hiding on Your Decking
You only need to look at the statistics around slips and falls to see how serious this is. Even in professional settings, these incidents are a leading cause of workplace injuries. According to the Health and Safety Executive (HSE), falls are a major cause of fatal injuries in the UK construction industry, and many of these accidents happen on surfaces just like untreated decking.
The proof is in the prevention. Implementing proper anti-slip measures can reduce slip-related incidents by as much as 40-60% in certain environments, which really shows how effective these solutions are.
Taking a proactive approach is the only sensible way to keep your outdoor space safe for everyone. A slippery deck isn’t just a risk; it’s an accident waiting to happen. Prioritising grip transforms your deck from a hazard zone back into the relaxing retreat it was always meant to be.
To help you decide on the best path forward, here’s a quick overview of the most common anti-slip solutions.
Overview of Deck Anti-Slip Solutions
| Solution | Effectiveness | Typical Cost | Application Difficulty |
|---|---|---|---|
| Anti-Slip Coatings & Stains | High | Medium | Easy to Moderate |
| Grip Tapes & Strips | High | Low to Medium | Easy |
| Rubber or PVC Matting | High | Medium to High | Easy |
| Pressure Washing & Cleaning | Low (Temporary) | Low | Easy |
Each of these options offers a different balance of cost, effort, and longevity. Luckily, there are several reliable methods out there, from straightforward DIY fixes to more permanent installations. You’ve got options to suit every budget and skill level. This guide will walk you through the most effective approaches to make sure your deck is safe to enjoy, no matter what the British weather throws at it.
Preparing Your Deck for a Lasting Grip
If you want any anti-slip treatment to last, you absolutely have to get the prep work right. This is where most people go wrong. You just can’t slap a new coating over a dirty, mouldy, or damaged deck and expect it to stick.
Think of it like painting a wall – you wouldn’t just paint over dirt and flaky patches, would you? The same logic applies here. The success of any non-slip product, whether it’s a paint, oil, or tape, hangs entirely on how well it bonds to the timber. Getting this stage right means your hard work will pay off for years; cutting corners here is a false economy that will have you re-doing the job next season.
First, Clear and Clean the Surface
Before you can get down to the nitty-gritty, you need a completely clear workspace. Haul off all the furniture, planters, the barbecue—everything. You need full, unobstructed access to every single board.
Once it’s clear, grab a stiff-bristled brush and give the whole area a really good sweep. Don’t forget to get into the gaps between the boards. This is where leaves, soil, and all sorts of gunk get trapped, creating a perfect breeding ground for the algae and moss that make decks so treacherous in the first place.
A clean, dry, and sound surface is non-negotiable. Any leftover dirt, algae, or loose wood fibres will stop your anti-slip coating from gripping properly, causing it to peel and fail way too soon.
With the loose debris gone, it’s time for a proper deep clean. A good-quality decking cleaner and a bit of elbow grease can work wonders on general grime. But let’s be honest, for the stubborn green slime and ingrained dirt that’s so common in UK gardens, a pressure washer is your best friend. Just be sure to use a fan-tip nozzle and keep it moving constantly to avoid gouging the timber, especially if you have a softer wood deck.
Next, Inspect for Damage and Make Repairs
Now that your deck is sparkling clean, you can finally see what you’re working with. Take a slow walk across the entire surface and feel for any movement or listen for creaks. Keep a keen eye out for:
- Loose Boards: Do any of the boards feel a bit spongy or wobbly underfoot?
- Protruding Screws or Nails: Run your hand (carefully!) over the surface to find any fixings that have popped up and need hammering down or replacing.
- Signs of Rot: Use a screwdriver to probe any dark, discoloured, or soft-looking spots. If the tip sinks in easily, you’ve likely got rot that needs cutting out and repairing.
Fixing these little things now stops them from turning into big, expensive problems down the line. A structurally sound deck is just as crucial for safety as a grippy surface. Of course, knowing how different timbers stand up to the elements helps a lot; our guide on the best hardwoods for decking has some great insights on durability. Taking the time for these small repairs gives your anti-slip treatment a solid, stable foundation to bond to, ensuring your deck stays safe for a long, long time.
Choosing the Right Anti-Slip Coating
Once your deck is properly prepped—clean, dry, and solid—it’s time for the crucial step: choosing the finish. This isn’t just about looks; this is the layer that provides the grip you need underfoot, turning a slippery surface into a safe, usable outdoor space.
Honestly, the sheer number of anti-slip paints, stains, and oils on the market can feel a bit overwhelming. You’ve got heavy-duty paints with grit already mixed in, clear coats where you add your own, and everything in between. The best choice really boils down to your deck’s material, its current condition, and the final look you’re after.
Before you even think about opening a tin, double-check that your deck is truly ready. This quick visual guide walks you through those essential first checks.
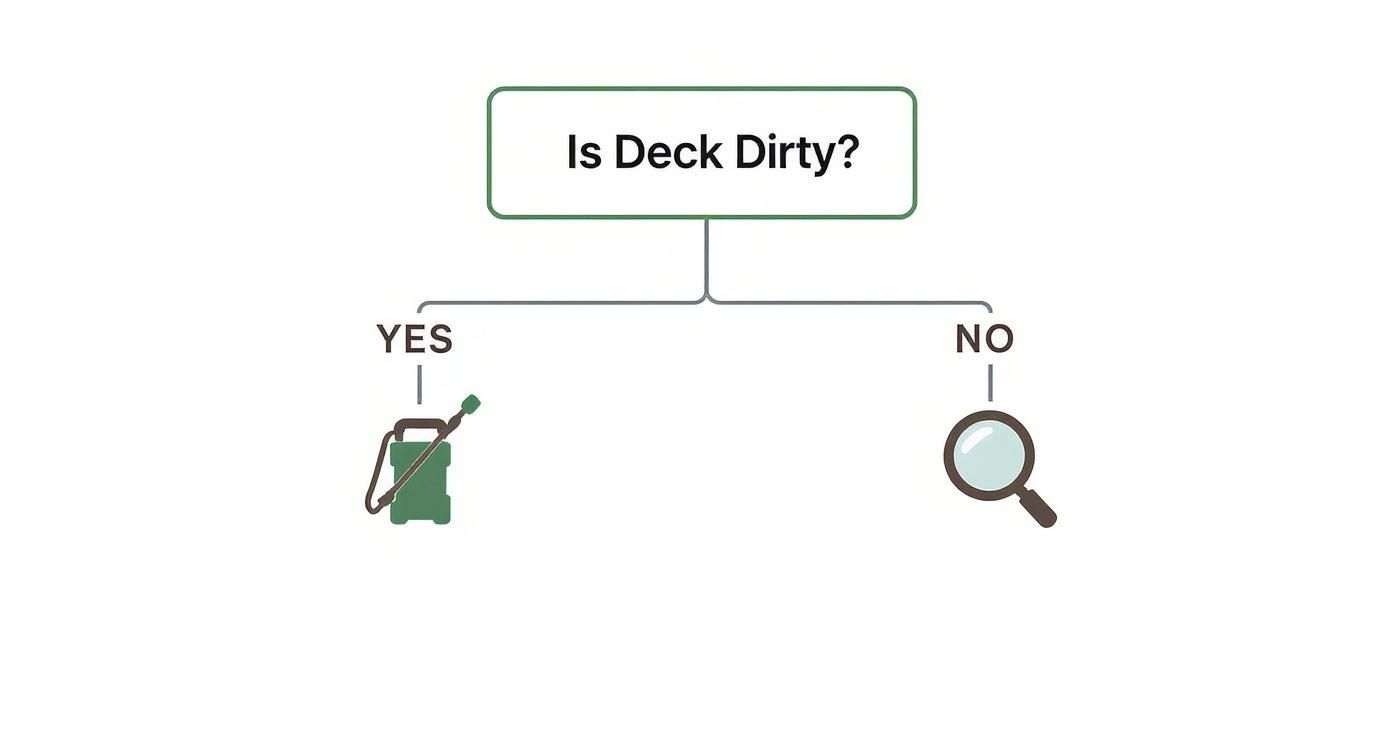
It’s simple, really. A clean, sound surface is the foundation for any coating. Skip this, and you’re just wasting your time and money on a finish that won’t last.
Paints Versus Stains and Oils
Your first big decision is whether to go with a paint that sits on top of the wood or an oil/stain that soaks into it. They both get the job done but in very different ways.
- Anti-Slip Paints: These create a solid, opaque film over the timber. Most come with aggregates (think tiny sand or rubber particles) mixed in, giving them some of the best grip you can get. They’re fantastic for older decks because they cover up imperfections and give everything a fresh, uniform colour.
- Anti-Slip Stains and Oils: Instead of forming a film, these products penetrate the wood fibres. This means you still see the natural grain and character of the timber. They use finer aggregates to create a subtle, textured finish that’s much safer than bare wood but less aggressive than paint. Perfect if you love the natural look of your new or well-maintained deck.
The difference these products make is genuinely massive. In the UK, untreated wet timber decking often fails to meet the recommended safety standard, which is a Pendulum Test Value (PTV) of 36 or more. A good anti-slip coating can change that dramatically. In fact, studies show that treated decks have a 45%-60% lower rate of slipping incidents in the rain. When you consider that nearly 50% of all decking accidents happen in damp conditions, that’s a statistic worth paying attention to.
To help you weigh the pros and cons, here’s a quick comparison of the most common treatments.
Comparing Anti-Slip Decking Treatments
| Treatment Type | Best For | Durability | Aesthetic Impact | Maintenance |
|---|---|---|---|---|
| Anti-Slip Paint | High-traffic areas, older decks, covering imperfections | High (2-4 years) | Opaque, solid colour, hides wood grain | May require touch-ups; can peel if not prepped well |
| Anti-Slip Stain/Oil | Newer decks, preserving the natural wood look | Moderate (1-2 years) | Translucent, enhances wood grain | Requires regular reapplication to maintain protection |
| Anti-Slip Additives | Customising existing paints or sealers for a specific texture | Varies | Can be mixed into clear or coloured coatings | Dependant on the base product it’s mixed with |
| Grit Tapes/Strips | Specific problem areas like stairs, ramps, and walkways | Moderate (1-3 years) | Very visible, functional appearance | Can peel at the edges over time |
This table gives a good starting point, but the final decision is a personal one based on how you use your space and what you want it to look like.
Key Factors for Your Decision
Think about your own situation. A busy family deck used for kids’ parties and barbecues has completely different demands from a quiet, sheltered balcony that only sees occasional use.
Don’t forget the aesthetics. A solid paint colour can create a sharp, modern feel, whereas a translucent stain really brings out the timber’s natural character. The right product won’t just make your deck safer; it’ll pull your whole garden design together.
If you’re focused on keeping the wood itself in top condition, learning how to protect wood outdoors provides some great background knowledge. And for those who like to explore all the options, reading up on advanced technologies like Graphene Coatings VS Ceramic Coatings can offer some interesting insights. Whatever you choose, the secret to a great finish is applying thin, even coats. Take your time, use the right tools, and you’ll end up with a deck that’s durable, beautiful, and safe for everyone.
Using Tapes and Strips for Instant Safety
Don’t have the time or energy for a full-scale recoating project? Sometimes you just need a fast, effective fix for a known trouble spot. This is where anti-slip tapes and strips really shine. They provide immediate grip exactly where it’s needed most—think stairs, ramps, or the well-trodden path from your back door to the garden.
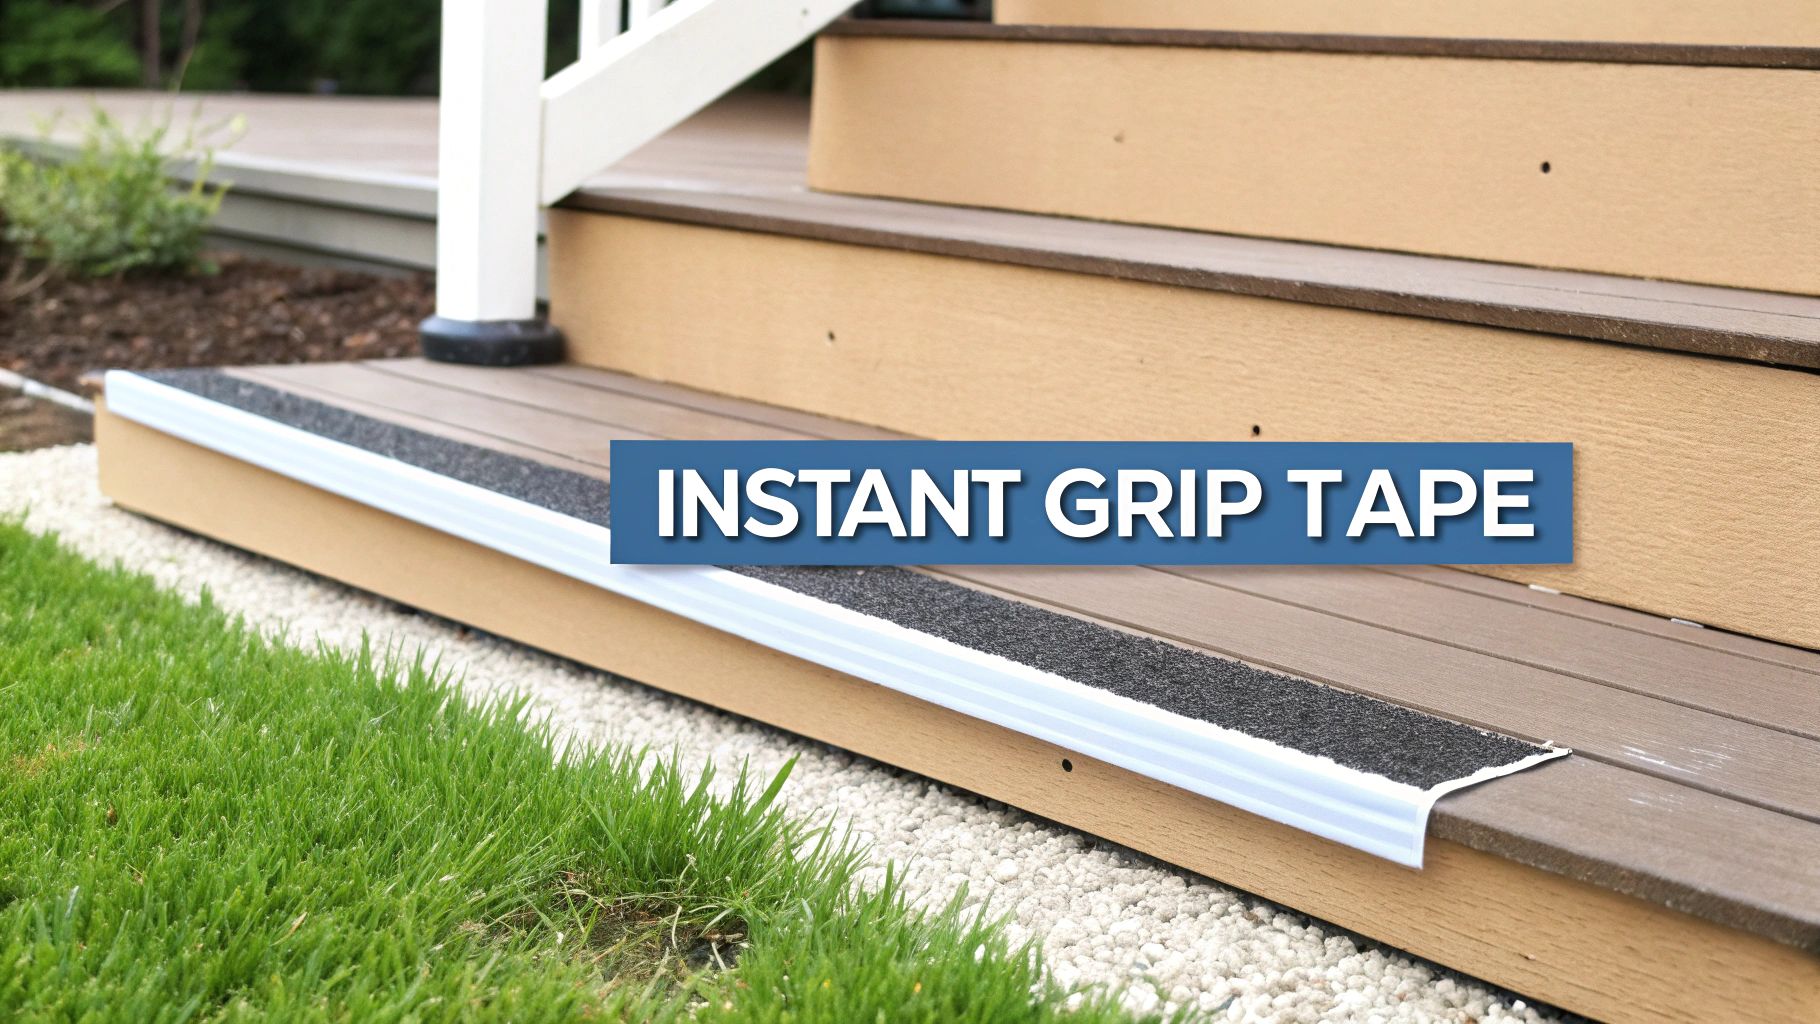
This is all about targeted safety. Instead of treating the entire deck, you can zero in on the high-risk zones. It’s a cost-effective approach that’s also incredibly quick, letting you turn a hazardous patch into a secure walkway in less than an hour.
Quick Fixes with Self-Adhesive Tapes
For the simplest way to add grip, look no further than self-adhesive anti-slip tapes. They work just like a roll of heavy-duty tape, featuring a gritty, high-friction top surface and a strong peel-and-stick backing. You can cut them to any length, which makes them perfect for custom-fitting stair treads or laying down safe pathways across your deck.
Putting them on is dead simple, but don’t skimp on the prep work. The decking absolutely must be clean and, crucially, bone dry for the adhesive to grab hold properly. Just cut your tape to size, peel off the backing, and press it down firmly. I always start from the centre and work my way out to smooth over any air bubbles.
Here’s a pro tip: grab a small rubber roller (a J-roller or seam roller works great) and go over the tape with it. Applying that even pressure ensures a solid bond and really helps stop the edges from peeling up over time, which is a common problem in our damp UK climate.
Heavy-Duty GRP Strips for a Permanent Solution
If you’re after something more robust and permanent, consider screw-down GRP (Glass Reinforced Plastic) strips. These are rigid, pre-formed strips with an incredibly durable, gritty surface that offers fantastic grip, rain or shine. Because you’re fixing them down with screws, there’s no chance of them peeling or lifting.
This makes them the go-to choice for high-traffic areas, commercial properties, or any deck where you want a fit-and-forget solution. I find they work particularly well on grooved decking, as adhesive tapes can sometimes struggle to get a completely flat surface to stick to.
Installation takes a little more effort, but it’s still a straightforward DIY job.
- Positioning: Lay the strips out on the deck boards to get your spacing right. A popular setup is to run one strip near the front edge of each stair tread or one down the centre of each walkway board.
- Pilot Holes: Grab your drill. Using a bit that’s slightly smaller than your screws, drill pilot holes through the pre-drilled holes in the GRP strip and down into the decking.
- Screwing Down: Use weather-resistant screws to fasten the strips securely. You want the screw heads to sit nice and flush with the strip’s surface so you don’t accidentally create a new trip hazard!
Whether you choose the quick convenience of tape or the rugged permanence of GRP strips, both are brilliant, reliable ways to add instant safety right where you need it.
Keeping Your Deck Safe All Year Round
Getting your deck slip-free is a great start, but the job isn’t finished. Think of it as an ongoing commitment to safety, not just a one-off project. Regular maintenance is the key to keeping the grip you’ve worked so hard to create. If you let things slide, even the best anti-slip coating will eventually lose the battle against the damp UK weather, letting algae and grime make a treacherous comeback.
I often tell people to treat their non-slip deck like their car’s tyres—they need regular checks and a good clean to perform properly. A simple, consistent maintenance routine is your best defence, ensuring your deck stays safe and welcoming for everyone, no matter the season.
Your Simple Maintenance Schedule
When it comes to keeping your deck in shape, consistency beats an occasional panic-clean every time. The goal is to stop organic growth and debris from ever getting a chance to take hold. A straightforward routine is all it takes.
Your first line of defence is a good sweep with a stiff-bristled brush. Aim for at least once a week, and maybe a bit more often in autumn when the leaves are piling up. This simple act stops leaves and dirt from trapping moisture on the boards—which is the perfect breeding ground for algae and moss. If you’re already seeing some stubborn green patches, our guide on cleaning algae from decking has some great practical tips.
Keeping your deck clear of debris does more than just prevent slips. It also helps the surface to dry out faster after rain, which massively slows down the return of slippery green growth and gets more life out of your anti-slip treatment.
Beyond sweeping, it’s a good idea to give the deck a more thorough clean every few months. A dedicated decking cleaner and a soft brush will do the trick. Just be gentle—I’d steer clear of a high-pressure jet washer on any textured coating. The powerful spray can blast the grit right off and ruin the finish.
When Is It Time for a Top-Up?
No anti-slip coating is invincible, especially on the bits of your deck that see the most footfall. Knowing the warning signs means you can get ahead of the problem before it becomes a hazard again. Pay close attention to the main walkways and the areas at the top and bottom of your steps.
Keep an eye out for these tell-tale signs:
- Worn Patches: You’ll see areas where the textured finish has become visibly smooth.
- Fading Colour: This is a clear indicator that the protective layer is wearing thin.
- Flaking or Peeling: A sure sign that the coating is failing to stick to the timber.
When you spot these issues, don’t assume you need to recoat the entire deck. More often than not, you can just clean the worn patch thoroughly and apply a fresh coat, blending it in with the rest of the surface. It’s a great way to save a bit of time and money.
This kind of proactive maintenance and regular inspection really does make a difference. We see it in professional industries all the time. For instance, the National Access & Scaffolding Confederation (NASC) Safety Report highlighted a drop in injuries among its members, partly thanks to a bigger focus on using anti-slip decking and doing regular safety checks. The data is clear: construction firms with proper inspection and maintenance routines see a 15-20% reduction in trip and fall incidents. It’s a powerful reminder of how upkeep directly links to safety. You can read the full safety report from NASC to dig into the details.
Your Non-Slip Decking Questions Answered
It’s one thing to read a guide, but another to feel confident about tackling your own deck. You’ve probably got a few questions buzzing around, especially when it comes to your specific situation. That’s perfectly normal. Choosing the right product and knowing what to expect down the line is key to getting this right.
To help you get over that final hurdle, I’ve pulled together some of the most common queries we get from homeowners here in the UK. Think of it as a final chat before you roll up your sleeves.
What’s the Best Fix for an Old, Worn-Out Deck?
If your decking has seen better days, an anti-slip paint is almost certainly your best friend. Stains and oils are great, but they’re designed to show off the wood grain – which isn’t ideal if you’ve got stains, discolouration, or general wear and tear. A quality opaque paint, on the other hand, lays down a thick, protective film. It’s a game-changer for covering up those imperfections and giving a tired deck a fresh, uniform finish.
The real magic, though, is that these paints come with a coarse aggregate already mixed in. This creates a really grippy, high-friction surface, making it one of the most effective non-slip solutions you can find. You’re essentially getting two jobs done at once: a full cosmetic makeover and a major safety upgrade.
How Long Will My Anti-Slip Finish Actually Last?
This is the million-dollar question, and the honest answer is: it depends. The lifespan really comes down to three things: the quality of the product you chose, how thoroughly you prepped the surface, and how much hammer the deck gets from foot traffic.
But as a rough guide, here’s what I’ve seen in my experience:
- Anti-Slip Paints: These are the tough guys. You’ll often get 2 to 4 years out of a good application before you might need to touch up the most worn-out spots.
- Anti-Slip Stains & Oils: Because these soak into the wood, they tend to need a bit more TLC. Plan on reapplying them every 1 to 2 years to keep the colour looking fresh and the grip effective.
- Tapes & Strips: The stick-on tapes can last anywhere from 1 to 3 years, but the screw-down GRP strips are a much more permanent solution. Once they’re down, they’ll likely outlast the decking itself.
Don’t forget, a bit of regular cleaning and maintenance will always help you squeeze the maximum life out of whichever treatment you go for.
Can I Just Add Grit to My Existing Decking Paint?
Yes, you certainly can. If you already have a favourite decking paint or oil, you don’t need to ditch it. You can simply buy anti-slip additives on their own. These are basically tiny granules – often made of polymer, sand, or crushed glass – that you stir directly into your paint tin before you get started.
This is a brilliant approach because it puts you in complete control of the texture. You can add a bit more for a really coarse finish on steps, or just a little for a more subtle feel across the main deck area. The only rule is to follow the manufacturer’s guidelines on the ratio of additive-to-paint and to give the tin a good stir every now and then to stop the grit from settling at the bottom.
The key takeaway is that you don’t have to choose between aesthetics and safety. Whether you opt for a pre-mixed product or customise your own, there are plenty of ways to create a beautiful deck that is also safe for everyone to use.
This flexibility means you can find the perfect balance for your garden.
At TimberSol, we believe a beautiful deck should also be a safe one. Our range of high-quality timber products, including our specialised Yakisugi (also known as shou sugi ban) decking, provides a durable and stunning foundation for any outdoor project. Explore our solutions to create a space that is both stylish and secure.
Learn more at https://timbersol-backup.elnoirstudio.com