Charred Wood Blog
Build Your Perfect A Frame Shelter in the UK Today

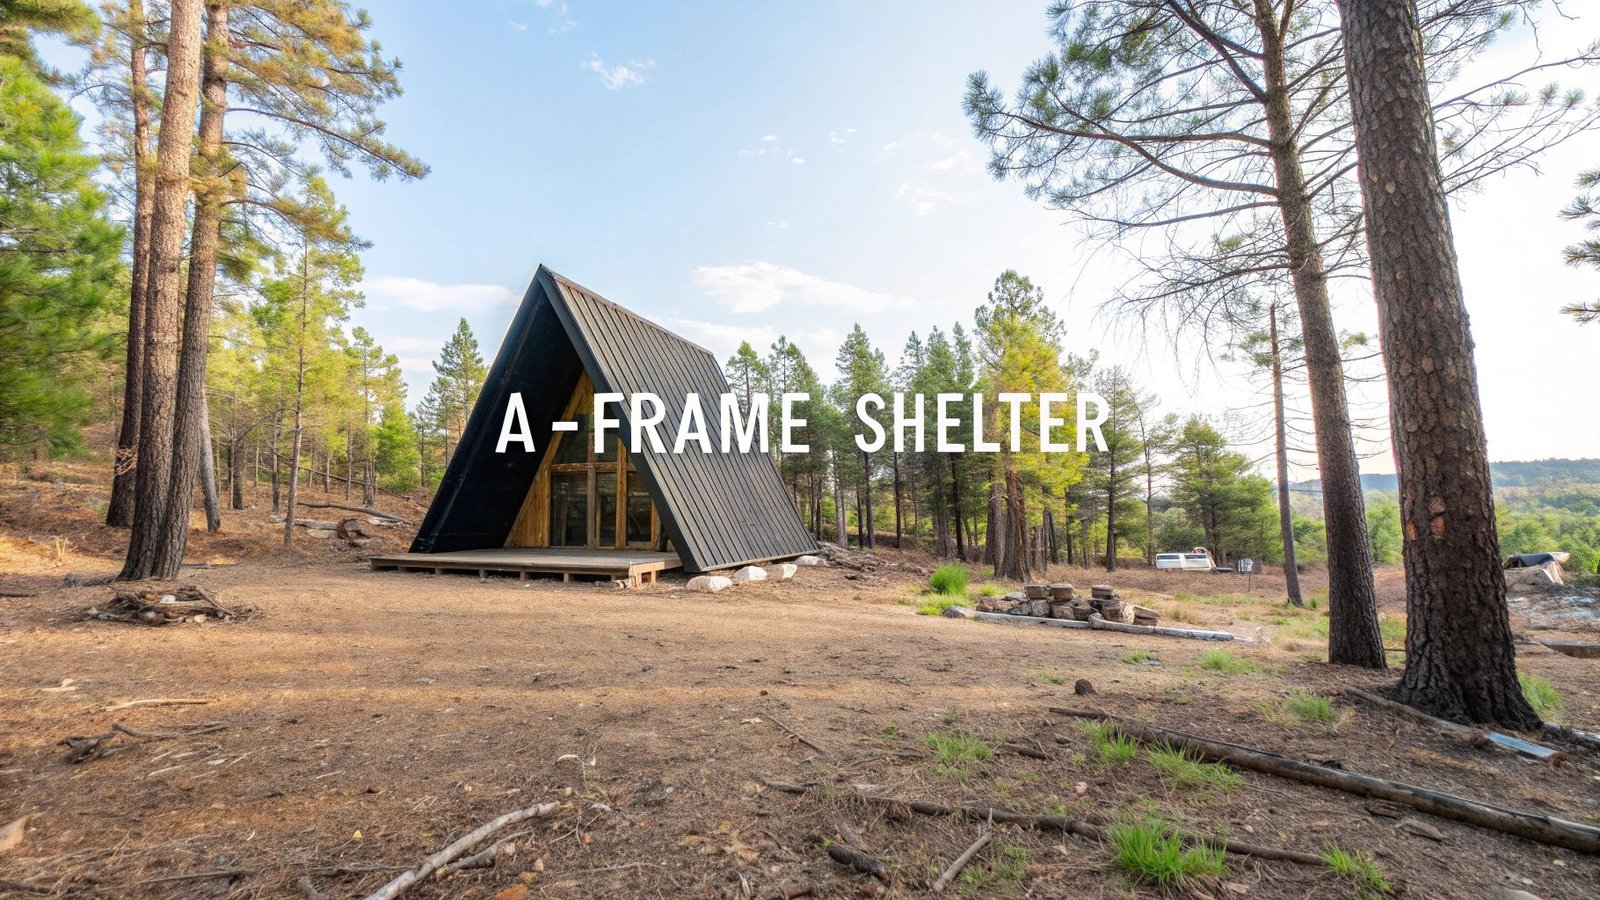
An A-frame shelter is exactly what it sounds like: a structure built in a classic triangular ‘A’ shape, with a steeply pitched roof that often stretches right down to the ground. It’s a brilliantly simple, strong, and efficient design, which is why we’re seeing them pop up all over the UK as everything from garden offices and workshops to rustic countryside getaways.
Why We Still Love the A-Frame
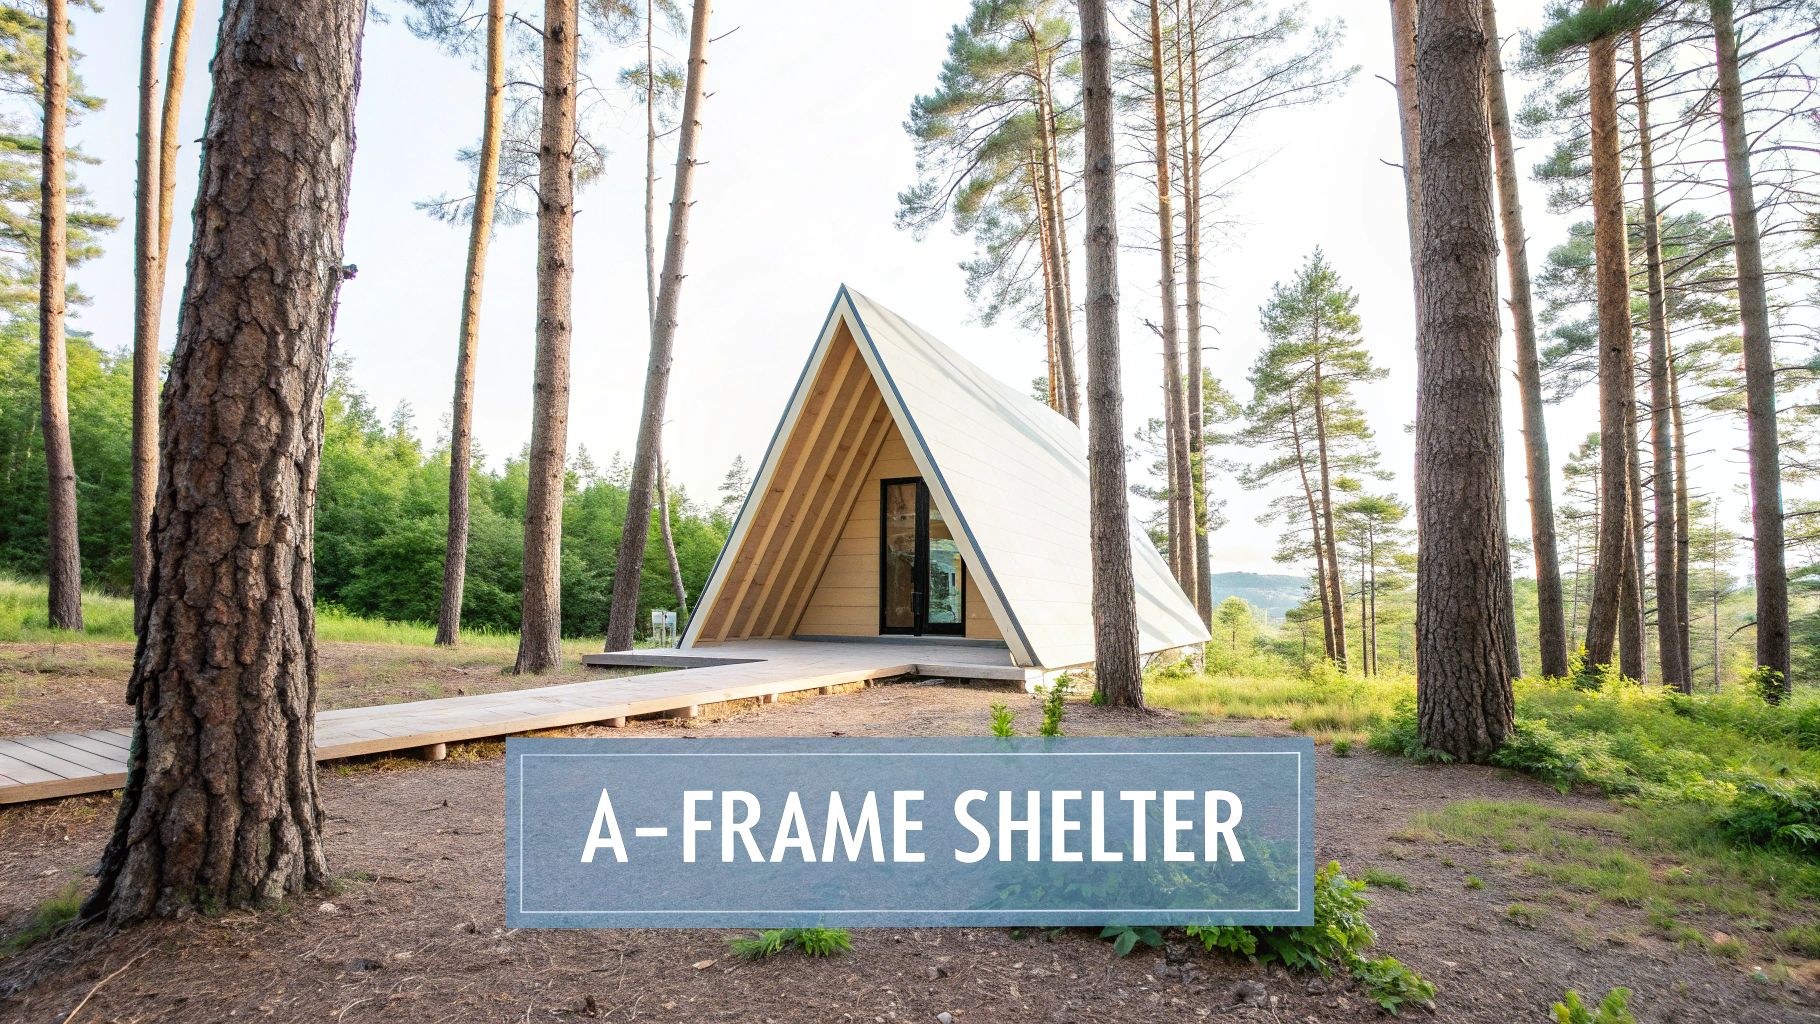
The A-frame’s comeback is no fleeting trend. It’s a genuine return to a design that just works – it’s practical, looks fantastic, and feels connected to the outdoors. That distinctive silhouette is a real head-turner, offering a refreshing change from the usual boxy builds while somehow fitting perfectly into a natural landscape.
This renewed popularity stems from a growing desire for spaces that are both versatile and sustainable. An A-frame shelter isn’t just one thing; it can evolve with you. Today it might be a quiet artist’s studio, tomorrow a productive home office, and on the weekend, a cosy escape from it all. The open-plan interior is a blank canvas.
A Modern Spin on a Classic Design
The modern A-frame has surprisingly deep roots in the UK, enjoying a real boom back in the mid-20th century. This was heavily inspired by a much older, traditional technique called the cruck-frame, where large, curved timbers formed the building’s main skeleton. The British take in the 1950s and 1960s was a fresh reinterpretation of that ancient form, championing simplicity and the raw beauty of timber. For anyone curious about the backstory, you can find some great insights into this architectural history over on Cambridge.org.
The design’s core strengths also make it a perfect match for the often-unpredictable British weather.
- Built for the Elements: That steep roof pitch is no accident. It sheds rain and snow with ease, meaning no water pooling and far less risk of leaks.
- Simple and Solid: Because the roof and walls are one and the same, the design is incredibly material-efficient. It also simplifies the build, putting it within reach for many skilled DIY enthusiasts.
- Naturally Efficient: With less exterior surface area, a well-insulated A-frame can be surprisingly easy to keep warm in winter and cool in summer, which helps keep energy bills down.
The real beauty of an A-frame is its honesty. The structure is the aesthetic. It creates a unique space that feels both vast and incredibly sheltered all at once.
This guide will walk you through the entire journey, from the first spark of an idea to the finished structure, giving you the know-how to build an A-frame shelter that’s both stunning and built to last.
Planning Your A-Frame Build in the UK
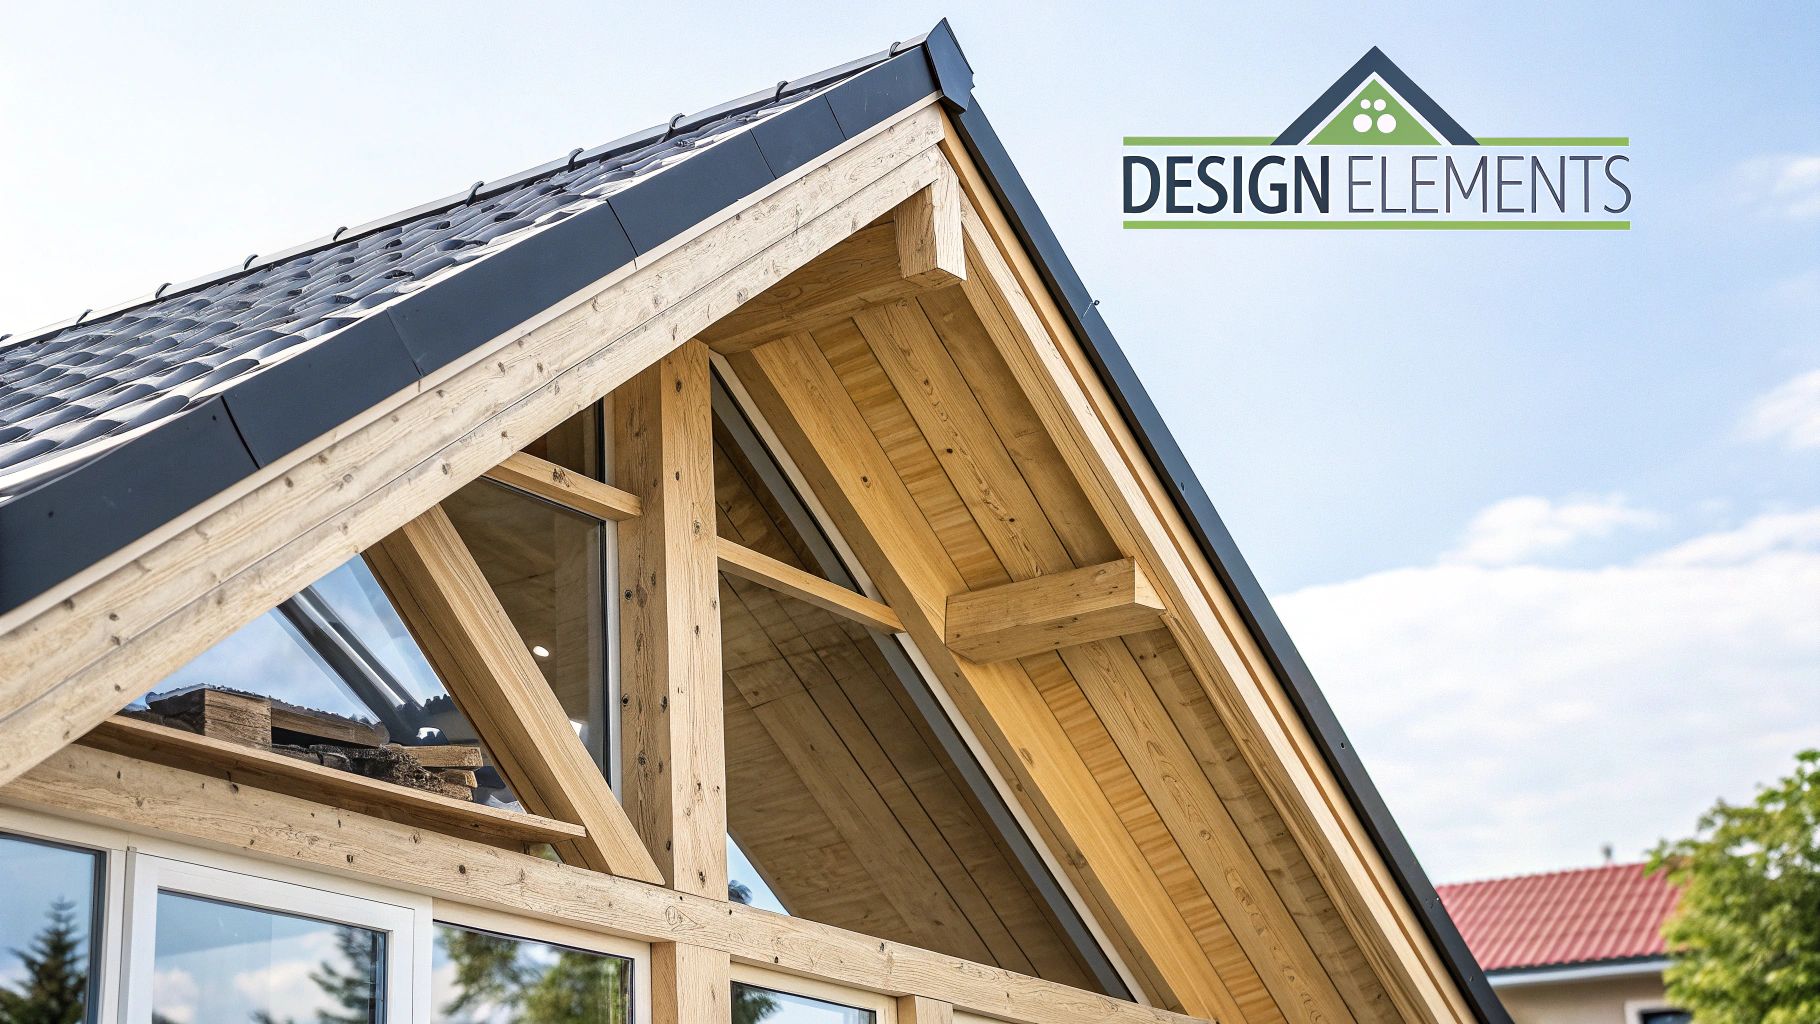
Any successful build starts well before a single piece of timber is cut. This initial planning phase is where you take your dream of an A-frame shelter and turn it into a realistic, buildable project that won’t cause any legal headaches down the line.
The first, and most important, question to ask yourself is: what is this for?
Is it going to be a quiet garden office? A creative studio space? Maybe just a simple weekend retreat? Your answer here will guide almost every decision that follows, from the overall size and complexity to whether you need to think about plumbing and electrics. A basic workshop might get away with a simple power hook-up, but a comfortable getaway needs proper thought about insulation and heating from day one.
Foundations and Groundwork
Once you know its purpose, your next big thought should be what it’s going to sit on. UK ground conditions can be all over the place, so getting the foundation right is absolutely critical for the long-term stability of your shelter. Don’t be tempted to cut corners here; a solid base prevents a world of future pain like subsidence and damp.
For a typical garden A-frame, you have a few solid, practical options:
- Timber Skids on a Gravel Pad: This is a great choice for smaller, more portable structures. It’s relatively cheap and easy to put together and provides fantastic drainage.
- Concrete Pad-Stones: A more permanent solution, these create individual support points for the frame. They’re a good shout for slightly uneven ground, as you can level each one independently.
- Concrete Piers: If you’re building something bigger or on a site with a noticeable slope, concrete piers are the way to go. They provide the most robust support by anchoring the whole structure firmly into the ground.
Navigating UK Planning Permission
This is the part that often puts people off, but for a garden A-frame, the rules can be surprisingly straightforward. A lot of garden buildings fall under ‘permitted development rights’, which means you might not need to go through the full planning permission process.
Permitted development is a huge plus for self-builders, but it’s not a free-for-all. You have to assume nothing and always check the specifics with your local council. Pleading ignorance won’t get you very far if a neighbour complains.
In general, to qualify as permitted development, your build has to meet certain rules about its size, height, and how close it is to your property boundary. For example, a building within 2 metres of a boundary usually can’t be taller than 2.5 metres. The rules get much tighter if you live in a Conservation Area, a National Park, or an Area of Outstanding Natural Beauty. Your first port of call should always be the official UK Government Planning Portal.
Sketching a Functional Layout
With the boring (but essential) stuff sorted, you can get back to the fun part – the interior. A-frames are cosy by nature, so a smart layout is non-negotiable. It’s well worth getting some inspiration by reading about choosing floor plans for tiny homes to see how others have solved the same challenges.
Think about how you’ll move around inside. Where should the windows go to catch the best light? How can you build clever storage into those sloping walls to make use of every last inch of space? This is where your A-frame really starts to feel like your own.
Getting Your Timber Choice Right
Picking the right timber is probably the single most important decision you’ll make when building your A-frame. This choice goes far beyond looks; it’s the very foundation of your shelter’s strength, durability, and how it will stand up to the famously unpredictable British weather.
The Bones of the Build: Structural Timber
For the main A-frame itself, you’re looking for a timber that hits the sweet spot between strength, natural durability, and how easy it is to work with. In my experience, homegrown softwoods are often the best bet in the UK – they’re sustainable and perfectly suited to our climate.
Two species consistently come out on top: Douglas Fir and Larch.
- Douglas Fir: A real workhorse for framing. It’s incredibly strong, has a straight grain that makes it a dream to cut and join, and provides a seriously robust skeleton for any structure.
- Larch: This one’s a personal favourite. Its high resin content makes it naturally tough against rot. If you leave it untreated, it weathers down to a beautiful silvery-grey colour over the years.
When you’re weighing your options, it really comes down to a balance between your budget and how long you want the shelter to last. If you’re keen to dig deeper into the structural properties of different woods, it’s worth taking a look at the strongest types of wood available before you commit.
To give you a clearer picture, I’ve put together a quick comparison of the most common options you’ll encounter here in the UK.
Timber Options For Your A-Frame Structure
| Timber Type | Best Use | Average Cost (per m³) | Durability | Key Features |
|---|---|---|---|---|
| Douglas Fir | Structural Frame | £800 – £1,200 | Very Durable | High strength-to-weight ratio, straight grain, good for large spans. |
| Larch (UK) | Frame & Cladding | £900 – £1,300 | Very Durable | Naturally rot-resistant due to high resin, weathers to a silver finish. |
| Western Red Cedar | Cladding | £1,200 – £1,800 | Very Durable | Lightweight, stable, and naturally resistant to pests and decay. |
| Oak (UK) | Structural Frame | £1,500 – £2,500 | Exceptionally Durable | Extremely strong and long-lasting, but heavier and harder to work with. |
| Treated Pine | Budget Framing | £500 – £800 | Durable (Treated) | Cost-effective and widely available, but relies on chemical treatment for longevity. |
Ultimately, whether you lean towards the rugged durability of Larch or the classic strength of Douglas Fir, the key is choosing a timber that gives you confidence in your build from the ground up.
The Outer Shell: Yakisugi Charred Cladding
If the frame is the skeleton, the cladding is your shelter’s skin – its first line of defence and its defining visual feature. This is where you can really make a statement, and for my money, nothing beats the dramatic beauty and practicality of Yakisugi.
Yakisugi, also known as shou sugi ban, is an ancient Japanese method of charring wood to preserve it. Far from weakening the timber, this controlled burn transforms it. The process creates a layer of carbon on the surface that acts as a natural shield against water, fire, insects, and rot.
The result is a finish that’s not just tough but also absolutely stunning. Depending on how you treat the wood after charring, you can achieve anything from a deep, velvety black with a distinctive ‘alligator skin’ texture to a more subtle, silvery-grey sheen.
Choosing Yakisugi isn’t just an aesthetic whim; it’s a long-term investment. With very little maintenance, properly charred cladding can easily last for over 80 years, which is more than you can say for most paints or stains.
To DIY or To Buy? Sourcing Your Cladding
When it comes to getting your hands on Yakisugi cladding, you’ve got two clear paths: buy it pre-charred from a specialist supplier, or roll up your sleeves and char it yourself.
Buying it ready-made is by far the easiest route. UK suppliers now offer a fantastic range of timber species and char levels, so you can get a perfectly consistent and professional finish delivered right to your site. It saves a huge amount of time and guesswork, but you do pay a premium for that convenience.
The DIY approach, on the other hand, is a genuinely rewarding process. You’ll need a safe outdoor space, a good quality propane torch, and a bit of patience. The technique involves carefully burning the surface of each board, brushing away the loose soot, and then sealing it with a natural oil. It’s labour-intensive, for sure, but there’s nothing quite like the connection you feel to the materials and the final build when you’ve done it yourself.
Bringing the A-Frame to Life: The Build
Alright, the plans are finalised, your charred timber is stacked and ready, and the site is prepped. This is where the real fun begins – turning those drawings into a structure you can stand inside. It’s a hugely rewarding process, but success comes down to getting the fundamentals right from the very start. Precision and patience are your best friends here.
Laying the Groundwork
Everything starts with the foundation. The entire A-frame rests on this, so cutting corners is not an option. Your first job is to clear and meticulously level the site. Whether you’re pouring concrete piers or creating a simple, compacted gravel pad, it has to be perfectly flat. I can’t stress this enough – being even a few millimetres out of level at this stage will cause a world of headaches later on.
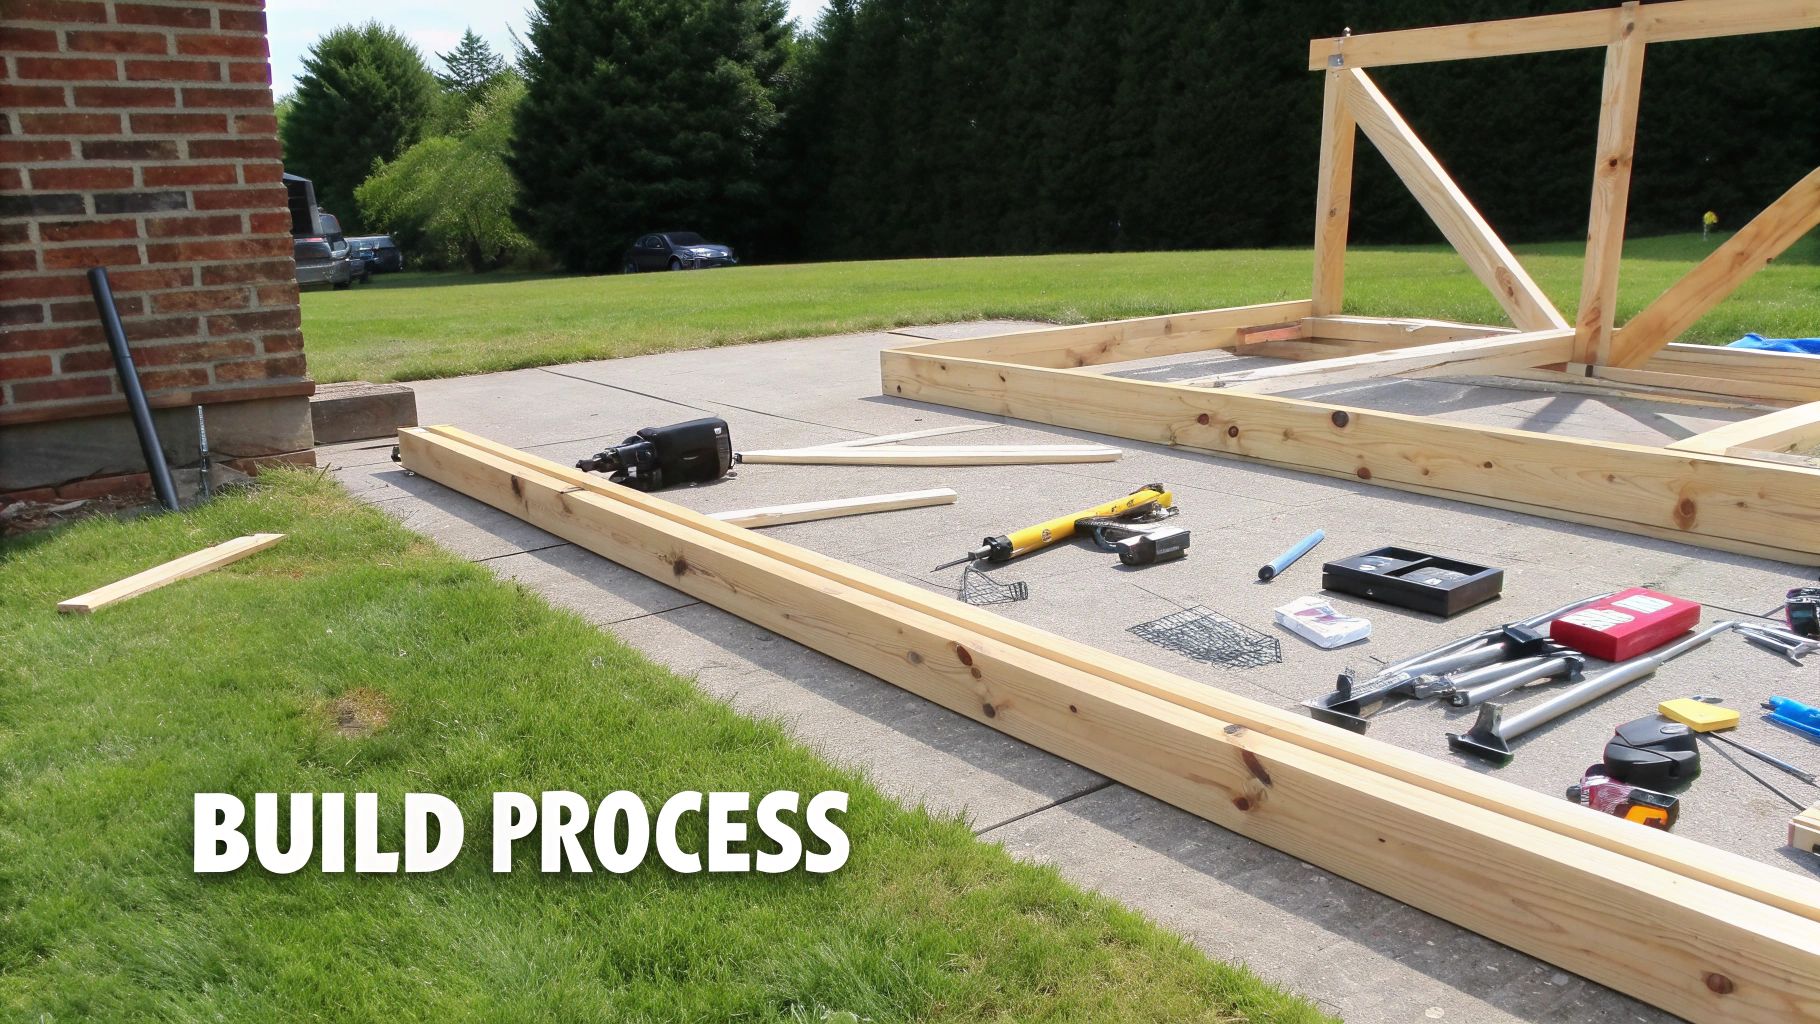
Once your base is solid, it’s time to assemble the iconic triangular frames. My advice? Build them on the ground. It’s far easier and safer to get your angles spot on and your joints tight when you’re working on a stable, flat surface. Trying to piece them together up in the air is a recipe for wonky frames and frustration.
Raising the Walls (So to Speak)
Lifting those heavy frames into place is probably the most demanding part of the entire build. This is absolutely not a one-person job. You’ll need a friend or two to help you safely ‘walk’ each frame up into its vertical position.
The moment the first frame is up, brace it immediately. You don’t want it toppling over. Use long lengths of spare timber, fixing them to stakes hammered into the ground, to hold it perfectly plumb. As you raise each subsequent frame, use temporary spacers to connect it to the previous one, making sure they’re parallel and spaced exactly as your plans dictate.
This is a good moment to appreciate why the A-frame is such a popular choice for self-builders. Its inherent strengths are clear from the get-go.
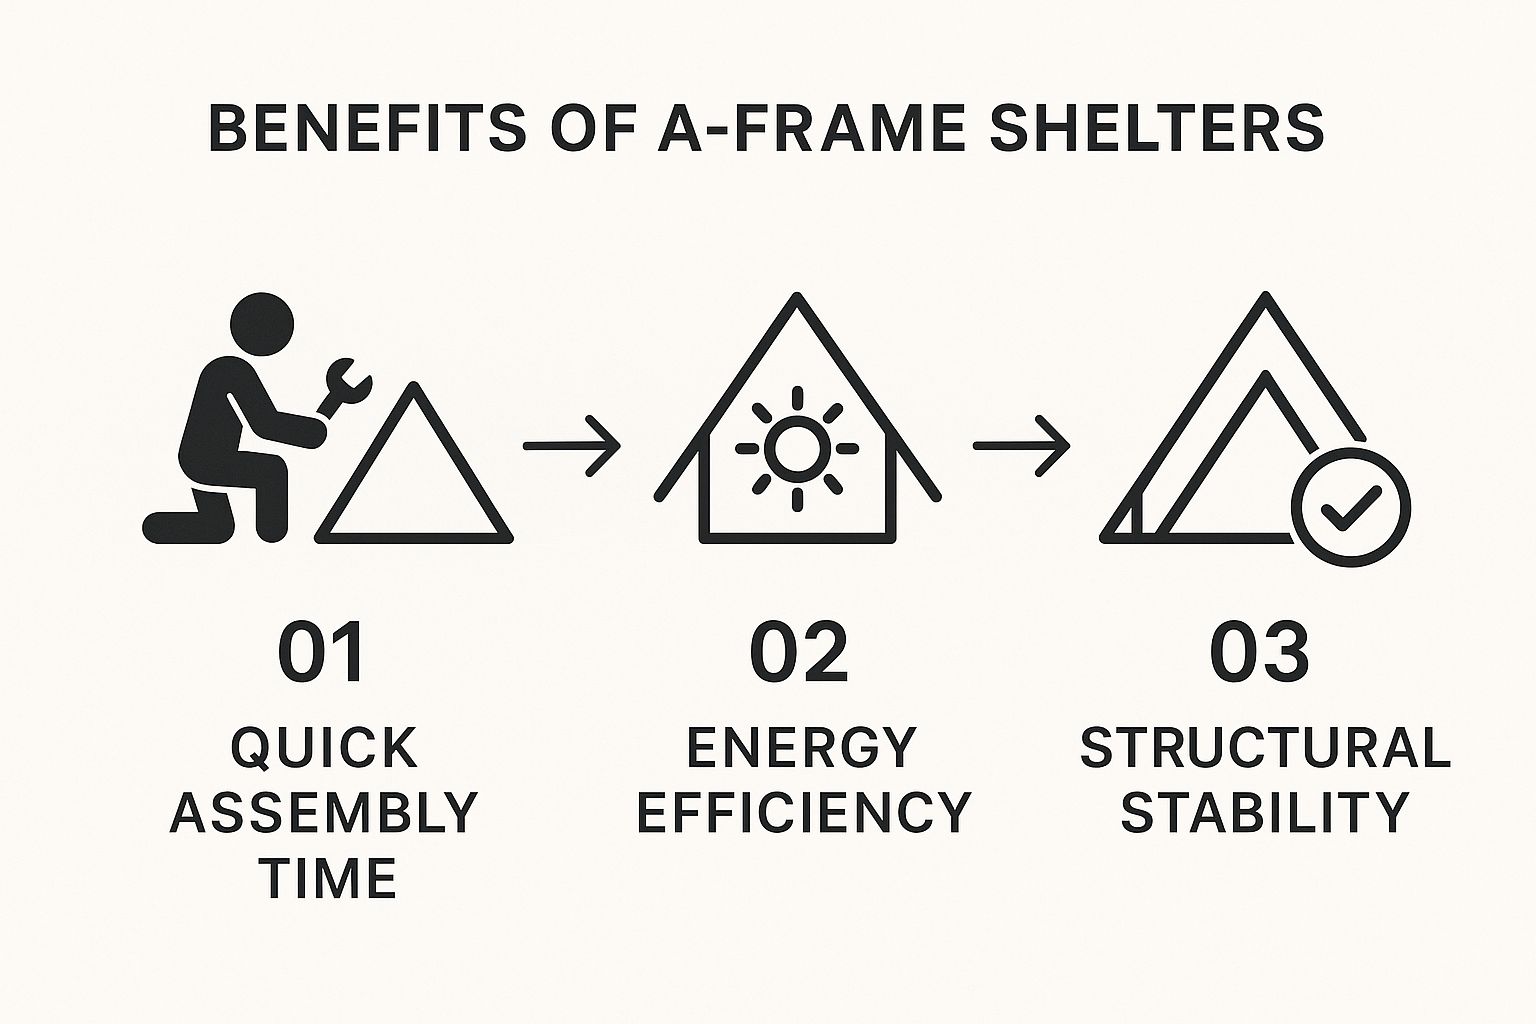
As you can see, the design’s simplicity is its superpower, contributing directly to its stability and making the build process surprisingly efficient.
With all the frames up and temporarily braced, the next milestone is lifting the ridge beam into place. This is the main beam that runs along the very top, connecting the apex of each triangle. It’s what ties the whole structure together, giving it immense rigidity. Getting that beam seated feels like a real victory; it’s the point where you stop having a collection of frames and start having a proper, solid structure.
A word of advice from experience: Double- and triple-check everything at this stage. Get your spirit level and builder’s square out and check every frame and every joint. Making sure the structure is perfectly plumb, level, and square now will save you a world of pain when you start fitting the sheathing and cladding.
Creating a Weatherproof Shell
Now that the skeleton of your A-frame shelter is standing proud, it’s time to wrap it up and make it weatherproof. The first layer is the sheathing. You’ll be fixing sheets of OSB (Oriented Strand Board) or plywood directly onto the outside of the frames. This does more than just cover the gaps – it adds a huge amount of shear strength, locking the entire structure together and stopping it from racking or shifting.
This sheathing then acts as the solid base for your final roofing and cladding. A weatherproof membrane goes on top of the sheathing before your chosen finish—be it metal sheeting, shingles, or more of that beautiful charred timber—is installed. This is the final step that turns your open frame into a true shelter, ready for you to start work on the inside.
If you’re looking for more tips on a similar project, our guide on how to build a cabin in the woods has some extra pointers that might come in handy.
Finishing and Weatherproofing Your Shelter
With the heavy lifting done and your A-frame’s skeleton standing strong, it’s time to shift focus to the finer details. These are the crucial steps that transform a raw structure into a comfortable, durable, and completely weatherproof A-frame shelter.
This stage is all about layering on protection and adding character, beginning with the exterior cladding. When you’re thinking about the final look and feel, exploring various siding options is a great way to marry aesthetics with robust protection. Whether you’ve chosen traditional timber boards or the striking appearance of Yakisugi, how you install it is the key to a watertight finish.
Installing Your Exterior Cladding
Your cladding is the shelter’s first line of defence against the often-unpredictable British weather. If you’re using horizontal boards, always work from the bottom up. This ensures each new board overlaps the one below it, a time-tested method known as shiplap or featheredge (depending on the board’s profile) that’s designed to shed water with ease.
If you’ve gone for Yakisugi, you’ll need a bit more finesse. The charred layer is beautiful but delicate, so handle it with care. To prevent rust streaks from spoiling that unique dark finish, make sure you use high-quality stainless steel fixings. No matter the material, sealing properly around every edge is non-negotiable for longevity. Taking your time here will pay dividends for years to come, and our detailed guide on how to protect wood outdoors is packed with more valuable techniques.
A well-clad shelter does more than just keep the rain out. It creates an air barrier, improves insulation, and defines the building’s final character. Rushing this stage is a false economy you’ll later regret.
Sealing Windows and Doors
Now it’s time to fit your windows and doors. These are potential weak points for water ingress if you don’t get them right. The secret is effective flashing—a thin layer of waterproof material that cleverly directs water away from any openings.
There’s a specific sequence to getting the flashing right, and it’s all about creating overlaps that water can’t beat:
- Start with the Sill: Always install your waterproof membrane or flashing tape across the bottom of the rough opening first. Let it run up the sides just a little bit.
- Move to the Sides: Next, apply the flashing tape up the sides of the opening, making absolutely sure it overlaps the sill flashing at the bottom.
- Finish at the Top: The final piece is the head flashing, which goes over the side pieces. This top-down overlap makes it virtually impossible for water to find its way in.
Once the window or door unit is securely in place, run a bead of high-quality, exterior-grade sealant around the entire frame. This creates that final airtight and watertight seal.
Insulation and Interior Finishes
The last piece of the puzzle is making the inside of your shelter a genuinely welcoming space. Insulation is absolutely vital for comfort in the UK climate, as it prevents heat loss in winter and helps keep the space cool in summer. Rigid foam boards or natural wool batts are both excellent choices that fit neatly between the frame’s timbers.
When it comes to the interior finish, your options range from the rustic to the refined:
- Plywood Sheeting: A simple, warm, and practical aesthetic. It’s quick to install and incredibly durable.
- Tongue-and-Groove Boards: If you want that classic cabin feel, this is the way to go for beautiful, seamless timber walls.
- Plasterboard: This gives you a smooth, clean finish that you can paint, which is perfect for a more modern or polished interior like a garden office.
Timber-framed shelters have a rich and fascinating history in the UK, shaping much of our architectural landscape. A brilliant example is the cabmen’s shelters in London—small green huts built in the late 19th century to give taxi drivers a dry place to rest. Today, only 13 of these historic timber shelters remain, preserved as a unique part of the city’s heritage.
Answering Your A-Frame Questions
Embarking on an A-frame shelter project is an exciting prospect, but it’s completely normal to have a few questions swirling around before you get started. Let’s tackle some of the most common queries I hear, which should give you the clarity and confidence to get your build off the ground.
One of the first hurdles for many is navigating the legal side of things. Will you need planning permission? The good news is that for a simple garden structure in the UK, you often won’t. These smaller builds can fall under ‘permitted development rights’, but you have to play by the rules.
This usually means staying within strict limits on size, overall height (typically under 2.5 metres if it’s close to a boundary), and its intended use. Crucially, it can’t be used as living accommodation. Before you even think about buying materials, your first port of call should always be your local council’s planning portal. The regulations can be much tighter in conservation areas or Areas of Outstanding Natural Beauty.
Getting Down to the Build Itself
Once the paperwork is sorted, the practical questions begin. A big one is always about the foundation. What’s the best approach? Honestly, it all comes down to the size of your shelter and the ground you’re working with.
For a modest A-frame, you can absolutely get away with a simple gravel pad laid with timber or concrete skids. It does the job and is easy on the wallet. But if you’re planning something more substantial, or if your site has a bit of a slope, concrete piers are the way to go. They offer a far more stable and permanent footing for your structure.
Then comes the million-dollar question: just how hard is it to build one yourself?
If you’re reasonably comfortable with DIY, building an A-frame shelter is well within your grasp. The beauty of the design is its repetition, which makes a lot of the construction straightforward once you get going. The real tests of your skill will be making those precise angled cuts and, of course, safely raising the heavy frames.
This is definitely not a one-person job. I can’t stress this enough – you’ll need at least one other person to help you lift and position the main structure safely. With a solid plan, the right tools, and a helping hand, it’s one of the most rewarding projects you can undertake.
For a truly stunning and long-lasting finish, consider the timeless character of charred timber. You can explore a fantastic range of premium Yakisugi cladding options from TimberSol. Find the perfect material for your A-frame shelter at https://timbersol-backup.elnoirstudio.com.