Charred Wood Blog
Master the Yakisugi aka Shou Sugi Ban Technique

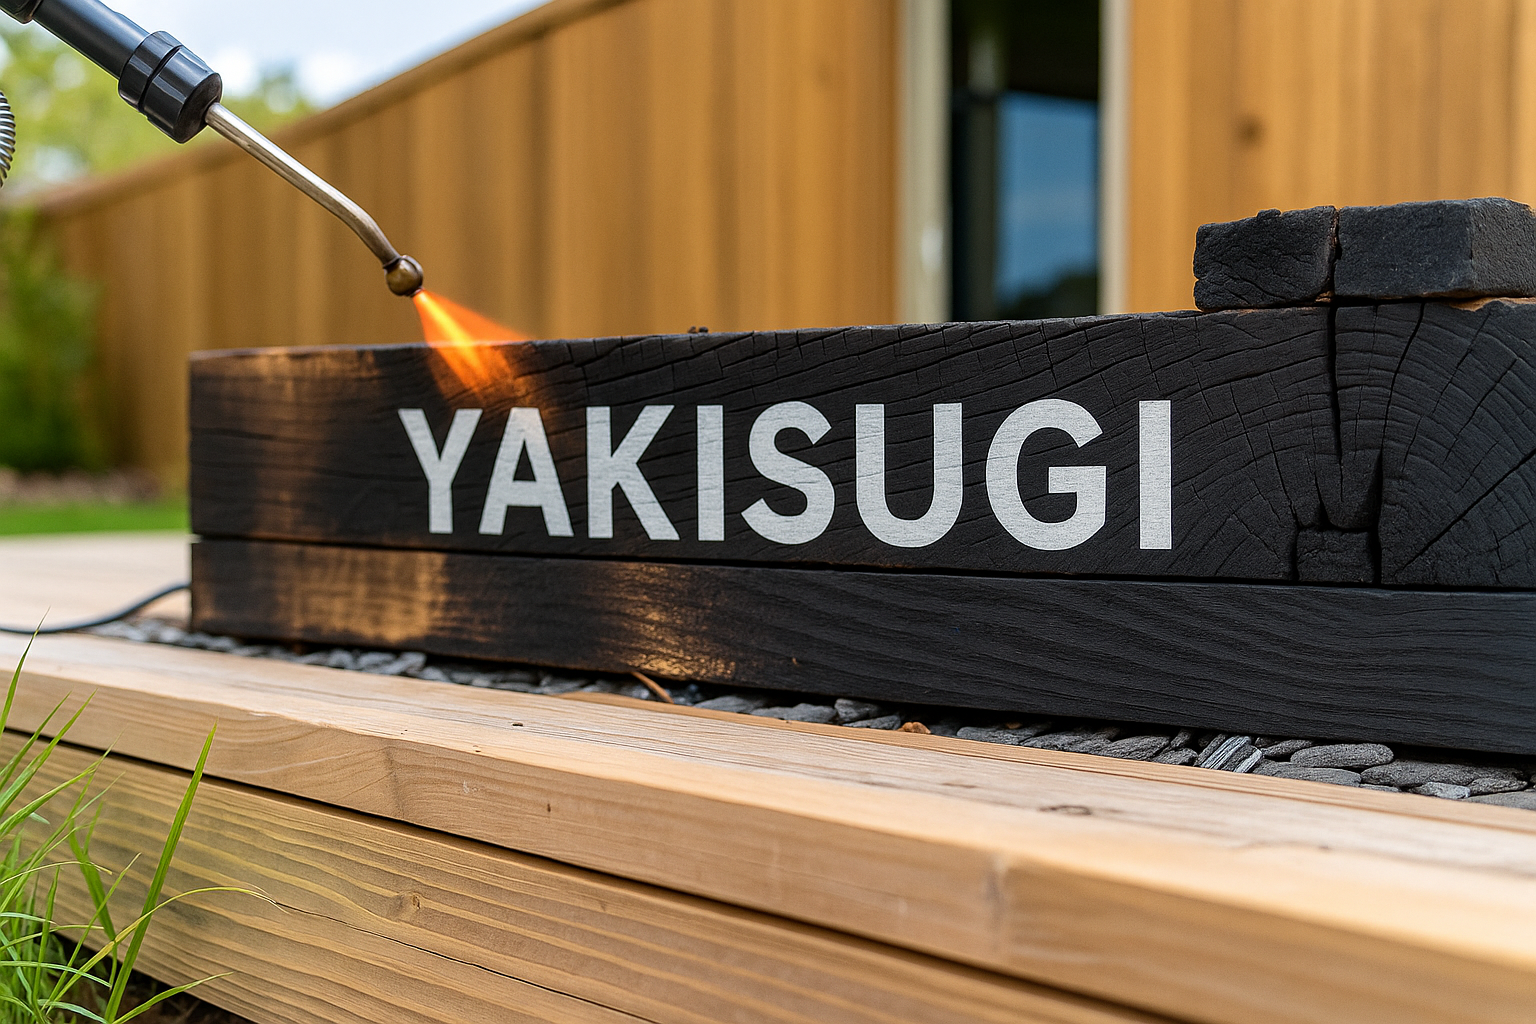
The Yakisugi technique, or shou sugi ban as it’s traditionally known, is a centuries-old Japanese method for preserving wood. By charring the surface with a controlled flame, you create a striking finish that acts as a natural shield against insects, rot, and fire, making the timber incredibly durable.
The Timeless Appeal of Shou Sugi Ban in UK Design
This ancient art of charring wood is seeing a resurgence in modern UK architecture and design. What began as a purely practical preservation method in Japan has transformed into a statement of style, sustainability, and appreciation for natural materials.
Shou sugi ban offers dramatic textures and deep, velvety tones that contrast with grey skies and lush greenery of the British landscape.
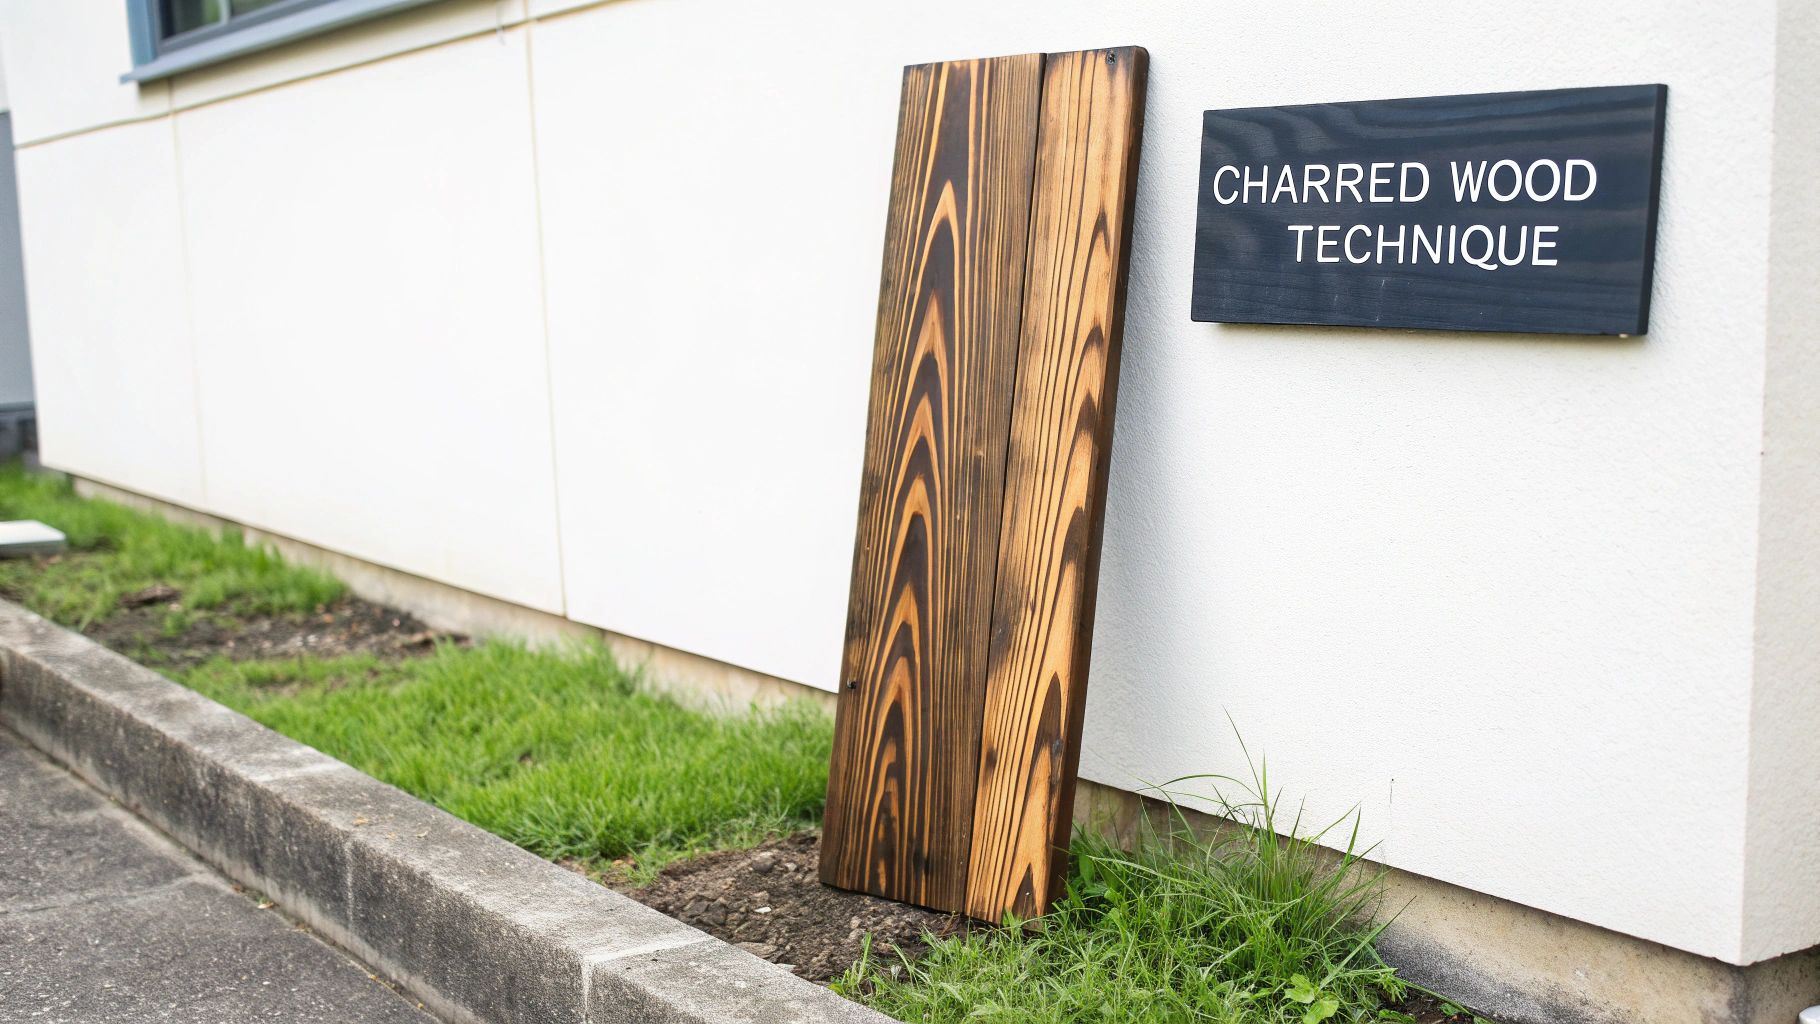
But its appeal runs deeper than aesthetics. Architects and homeowners are searching for materials with character and natural imperfections. Shou sugi ban fits the bill perfectly, offering a unique, organic feel that synthetic paints and stains can’t replicate.
Why Is This Ancient Technique Gaining Popularity Now?
This renewed interest is no coincidence. It taps directly into several key trends in design and construction, especially here in the UK, where people are looking for sustainable building methods and nature-connected spaces.
The shou sugi ban technique delivers on so many levels:
- Aesthetic Uniqueness: The iconic “alligator skin” texture and deep black colour create a rustic yet sophisticated visual.
- Natural Durability: Charring process forms a carbon layer that acts as a natural barrier, which reduces reliance on chemical preservatives and maintenance based on mdpi.com data.
- Biophilic Connection: Using fire-treated wood forges a stronger connection between building and environment and strengthens biophilic connection.
This isn’t just for grand architectural projects, either. DIYers and garden designers are using charred cladding for fencing, decking and furniture. While the process demands care and respect for the fire, it’s surprisingly accessible and offers a deeply satisfying hands-on experience. To get a better sense of the practical advantages, you can read more about the benefits of charred wood siding in our dedicated guide.
From Japanese Tradition to British Architecture
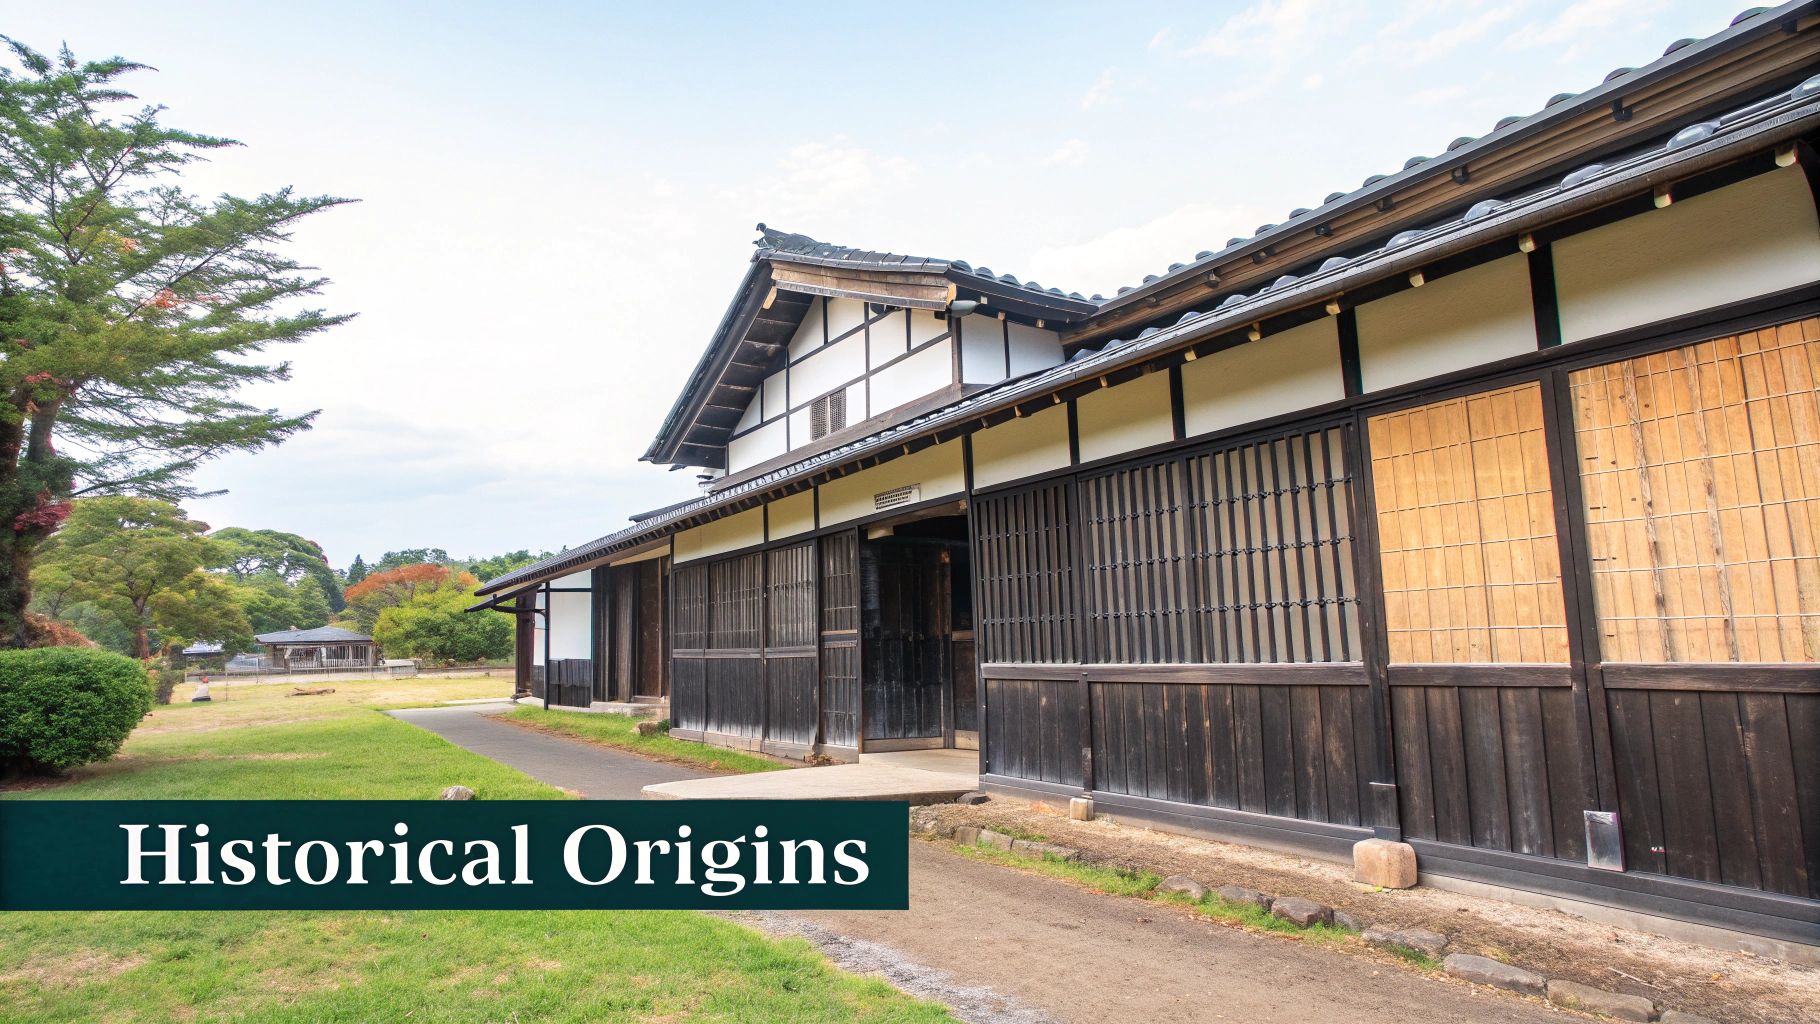
The journey of this craft speaks to its universal appeal. Originally called Yakisugi, the authentic process involves charring the outer 3 – 4 mm of Japanese cypress (Sugi) at over 400°C. This careful burning creates a soot layer that improves the wood’s resilience. As UK architects began to adopt the Yakisugi method, they realised the method’s combination of raw beauty and environmental credentials.
By embracing the shou sugi ban technique, you’re choosing more than just a finish. You’re selecting a piece of history, a sustainable building solution, and a work of art forged by fire that grows more beautiful with time.
This guide will walk you through every step of the process. We’ll demystify the art of charring wood and give you clear, practical advice for stunning results. Whether you’re cladding a house or building a small garden feature, you’ll find the knowledge you need right here.
Selecting and Preparing Your Timber for Charring
The success of any Shou Sugi Ban project hinges on the timber you choose. It’s the foundation of the whole process. Not all woods perform equally with a flame; their unique character dictates the texture, colour, and durability after charring based on mdpi.com data. Getting this first step right is absolutely critical.
Traditionally, Japanese Cypress (sugi) is the gold standard, but finding it in the UK can be challenging and expensive. Fortunately, we have several excellent softwoods that respond well to the charring process, each offering its own distinct personality.
Choosing Your Wood Species
Here in the UK, you should look at species like Cedar, Siberian Larch, and certain types of Pine. They’re all great candidates for different reasons. The key is their grain structure and resin content. Resin acts as a natural fuel, helping the wood char evenly, while the grain’s density determines the depth and pattern of “alligator skin” texture.
Cedar, for example, is a very popular choice. Its high resin content and straight grain gives consistent, deeply textured char. It’s also naturally weather-resistant. Larch is another solid option; it’s denser than Cedar and gives you a more subtle, refined finish.
A good rule of thumb is that denser woods generally produce a finer, more uniform char. Less dense woods with pronounced grain patterns, like Pine, gives you a rustic and dramatic look. It all depends on the aesthetic you’re aiming for.
Before you part with any cash, give the boards a good inspection. Look for timber that is as clear of knots. Knots char differently from the surrounding wood and can even fall out, leaving you with unwanted holes. Also, ensure the planks are straight and not warped, it’ll make both the charring and the final installation easier.
Pre-charred species provide a consistent, installation-ready Yakisugi finish without DIY variability. TimberSol supplies multiple timber options so you can match the project to the right grain, stability, and maintenance profile, including charred spruce cladding, which is ideal for lightweight applications, charred douglas fir cladding, which is suited for bold grain definition, charred larch cladding, which offers resin-rich durability, charred accoya cladding, which delivers maximum dimensional stability, and charred thermowood cladding, which provides thermally enhanced stability and low maintenance.
Below is a quick guide to some common timbers you’ll find in the UK and their typical performance.
UK Timber Suitability for Shou Sugi Ban
| Wood Species | Charring Characteristics | Best For | UK Availability |
|---|---|---|---|
| Siberian Larch | Dense grain, creates a subtle, uniform char. Very durable. | Cladding, decking, fencing. | Widely available from timber merchants. |
| Western Red Cedar | High resin, chars quickly and deeply with a rich, dark colour. | Feature walls, high-end cladding. | Readily available, but can be pricey. |
| Scots Pine | Pronounced grain creates a dramatic, rustic texture. | Fencing, garden projects, rustic interiors. | Very common and affordable. |
| Douglas Fir | Strong grain pattern, chars well to a dark brown/black. | Structural beams, cladding, decking. | Generally available at specialist suppliers. |
This isn’t an exhaustive list, of course, but it covers the main timber species you’re likely to encounter. Always ask your timber merchant for their advice, as they often have first-hand experience with how their stock performs.
Preparing Your Timber and Workspace
Prep is vital for safety and quality. First things first, check for moisture. Wood with a high moisture won’t char evenly. It’ll steam and spit, creating a patchy surface and unpredictable process. If your timber feels damp, let it acclimatise in a dry, well-ventilated space for a few days, or a couple of weeks if needed.
Setting up a safe workspace is completely non-negotiable. This is not a job for a cluttered garage or a small patio next to the fence.
- Location: Work location should be a clear, outdoor area well away from anything flammable materials. The ideal surface is gravel drive or concrete pad.
- Support: Use sturdy, non-flammable supports (concrete blocks, metal trestles). You need to hold the boards at a comfortable working height.
- Weather: Never work on a windy day. A sudden gust can cause unpredictable flames and flying embers, which creates a serious fire risk.
Essential Tools and Safety Gear
Working with fire requires the right gear, having it is essential, not optional. Don’t even think about striking that torch without all required safety equipment.
Here’s a checklist of the absolute must-haves:
- Propane Torch: A roofer’s propane torch gives you a wide, powerful flame for even and efficient charring.
- Fire Extinguisher: It should be ABC-rated, fully charged, and within arm’s reach.
- Water Source: A garden hose with a spray nozzle or large buckets should be kept on standby.
- Personal Protective Equipment (PPE):
- Heat-Resistant Gloves: Hands should be protected by heat-resistant gloves (leather or welding gloves).
- Eye Protection: Eyes should be protected by safety goggles or a full-face shield.
- Respiratory Mask: A proper respirator rated for smoke and particulates will stop you from inhaling soot and fumes based on hsqeconsultancy.co.uk data.
- Clothing: Wear non-flammable natural fibres like thick cotton or wool, along with sturdy leather boots. Stay away from synthetic materials because they can melt onto your skin.
With your timber chosen, your workspace organised, and your safety gear on, you’re finally ready to get to the heart of the process: applying the flame.
Mastering the Art of the Burn
Applying the flame is the heart and soul of the Shou Sugi Ban technique, and it’s a process that relies on feel and intuition as well as method. It requires patience and the ability to read how the wood reacts to the heat. Whether you’re using a simple propane torch or a more traditional setup, the core idea is the same: control the heat and work with intention.
Your goal is to create a consistent, protective layer of carbon. A rushed or uneven burn results in patchy appearance and reduced durability.
Controlling the Flame and Reading the Wood
When you fire up your propane torch, start with a medium flame. Hold the nozzle about 15 – 20 centimetres (6-8 inches) away from the wood and use a slow, steady sweeping motion, like spray-painting. It’s crucial to keep the torch moving to prevent hotspots, which can cause overly deep burns and weak points.
As you work, the wood will start to “talk” to you. You just need to know what to look and listen for:
- Sweating Resin: Wood’s natural resins begin to bubble up. That’s a great sign, it indicates the wood is heating properly.
- Colour Change: The timber will change colour from its natural hue to a dark brown, and then to a deep black. You want that consistent deep black across the entire board.
- Surface Cracking: As the char deepens it develops fine spiderweb cracks, creating ‘alligator skin’ (or gyo-me) texture. Cracking pattern indicates you’re on the right track.
The sweet spot for the char depth is between 3 – 5 millimetres. Anything less, results in reduced protective benefits. Go any deeper, and you risk weakening the board itself. Consistency is everything.
Don’t panic if a board catches fire with a persistent flame. Just pull the torch away and give it a quick mist from your water hose to put it out. Let it cool for a second before continuing, maybe with a gentler touch this time.
The whole workflow is a straightforward rhythm of charring, brushing, and sealing.
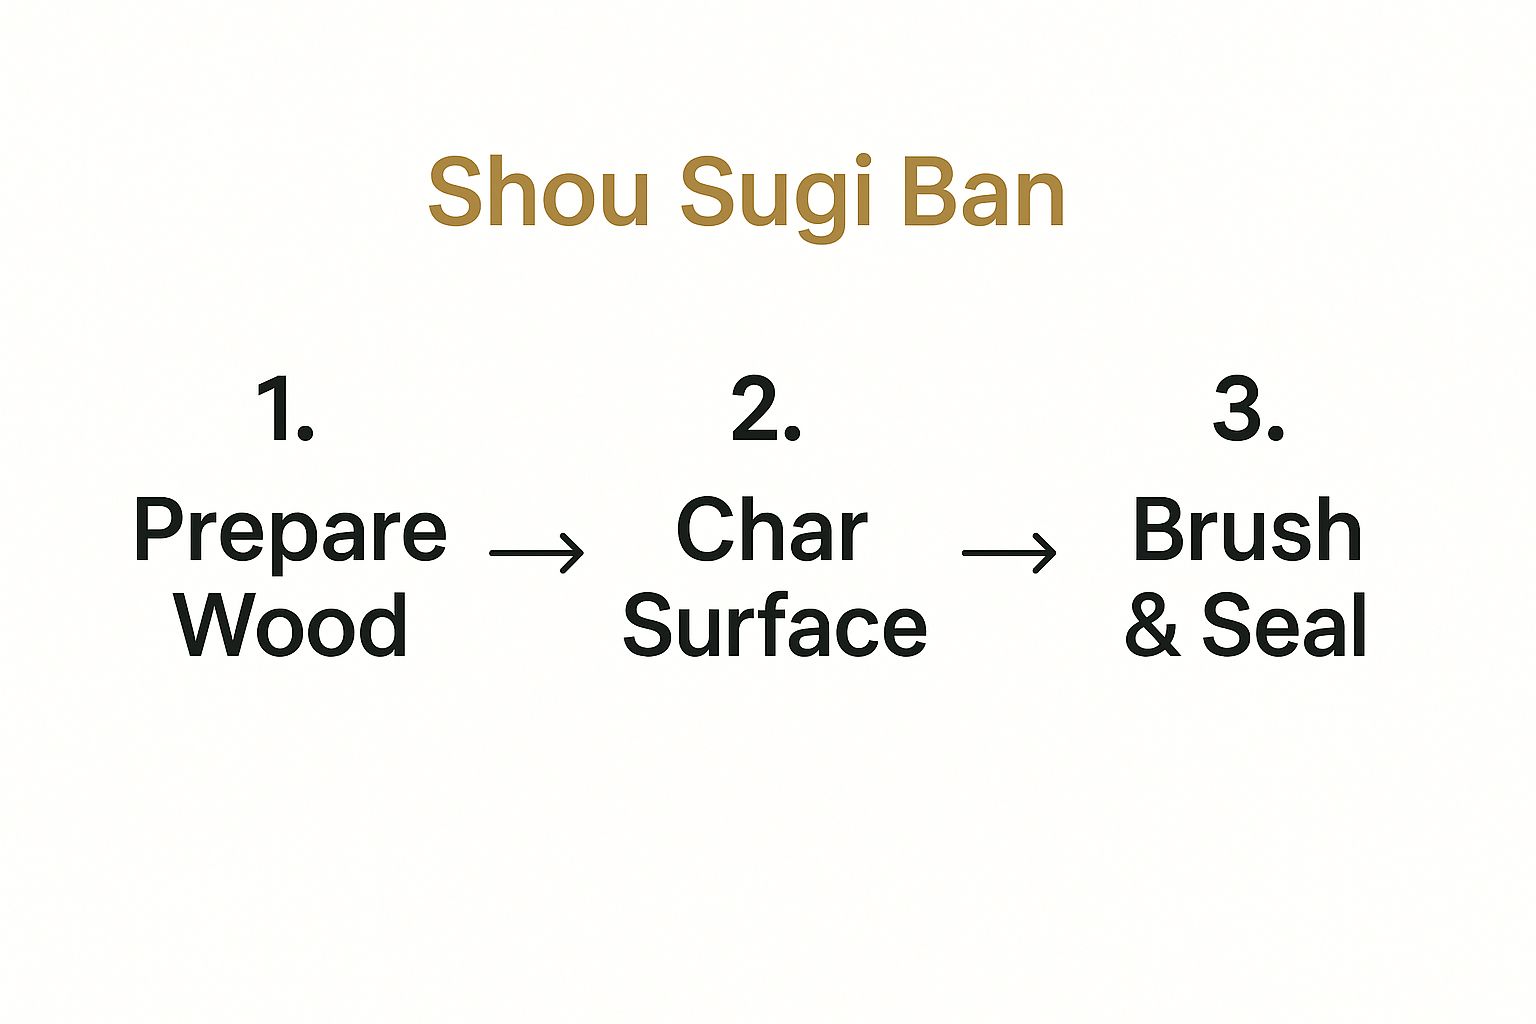
As you can see, the burn is the central, transformative part of the process, bookended by good prep and a solid finish to lock in the results.
Different Charring Methods
While a handheld torch is perfect for most projects, it’s not the only charring method.
The Single Board Torch Method. This is the most common and accessible approach that gives you total control over each piece. It’s ideal for feature walls, custom furniture and garden planters.
The Traditional Triangular Flue. For bigger jobs, the traditional Japanese method is brilliantly efficient. You wire three boards together into a chimney shape and start a small fire at the bottom. The flue effect pulls the flames upward the inside, charring all three boards at once in about 5 – 7 minutes. It gives a really deep, authentic char, but it does require more space and a confidence to handle safely.
Achieving the Perfect ‘Alligator Skin’ Texture
That deep, cracked ‘alligator skin’ is the signature look of a proper Shou Sugi Ban finish. Getting it right is all about patience and time under the flame. You have to hold the flame to form and fracture a thick carbon layer. The wider the growth rings in the timber, the more dramatic the final texture will be.
For instance, a piece of Scots Pine produces a rustic, chunky texture. Compare that to Siberian Larch, which produces a subtler, more refined pattern. It really shows how your choice of wood shapes the final aesthetic.
This is also where you can put your own stamp on it. You can influence texture by adjusting torch speed and distance. A slower torch pass creates a deeper, more pronounced char, while a quicker pass results in a lighter scorch that shows more wood grain.
If you’re taking on a huge project like cladding a whole building, consistency is paramount. For that kind of scale, working with pre-finished boards helps ensure a uniform look across the structure. If you’re looking for that professional finish without the DIY labour, exploring expertly prepared charred cladding options is a smart move for top-quality outcomes.
The final step in this stage is to let them cool down completely after charring. This sets the carbon layer and prepares the wood for brushing and sealing.
Brushing and Finishing Your Charred Wood
Charring and cooling mark a turning point in the process. The burnt wood is covered in a deep, black layer of carbon, but its true character is hidden underneath the char. This next bit is the brushing and finishing, where the magic really happens. It’s how you’ll bring out the wood’s texture and prepare it for sealing.
The first thing to do is gently brush away the loose soot and char from the surface. This is a delicate process of revealing the beauty beneath. The kind of brush you use affects the final look, so it’s always a good idea to have a practice run.
Choosing Your Brush for the Desired Texture
The purpose of brushing is to remove the soft, flaky outer layer of char to show off the more stable, textured carbon layer underneath. The brush you pick gives you control over how much char is removed, ultimately, the final appearance of the wood.
- Stiff Wire Brush (Steel or Brass): Creates a dramatic, rustic finish, it removes the softer char between the growth rings, enhancing that “alligator skin” pattern and revealing wood’s grain.
- Medium Nylon Brush: If you’d prefer something a bit smoother and more uniform, a medium-bristled nylon brush is the tool for the job. It leaves most of the delicate char intact. The end result is a velvety, consistent black finish.
- Soft Bristle Brush: For the lightest touch imaginable and minimal disturbance. People sometimes go this route to preserve the raw, untouched look, but be warned, this kind of finish results in less durability unless you seal it really well.
Whatever you choose, brushing technique should follow the direction of the wood grain. Use long, even strokes with consistent pressure. You’ll be amazed at how much soot comes off, so make sure you keep your respiratory mask and safety glasses on.
Think of the brushing stage as your chance to decide the wood’s final personality. A heavy hand with a wire brush creates a high-contrast, weathered look, while a light nylon brushing produces a subtle, contemporary sheen. There’s no right or wrong way to brush; it’s all about the finish you’re aiming for.
Applying the Final Sealant
The final step is sealing the wood with a protective finish. It locks in the char and prevents it from rubbing off on everything, it provides protection against moisture and UV rays. An unsealed board will fade to a silvery grey more quickly and be far more vulnerable to the weather.
The most traditional, and in my experience, most effective sealants are natural penetrating oils. Unlike varnishes, these oils soak into the wood fibres and the carbon layer, feeding the material from the inside out based on timberlaketrussworks.com data.
Tung oil and Linseed oil are two of the most popular sealant choices.
Comparing Natural Oil Finishes
| Oil Type | Application & Characteristics | Drying Time | Best For |
|---|---|---|---|
| Tung Oil | Gives a tough, waterproof, and flexible matte finish that doesn’t yellow over time. You usually apply it in thin coats with a rag, wiping off any excess after 15-20 minutes. | Can take several days to fully cure, sometimes up to a week per coat. Patience is key! | Exterior cladding and decking, thanks to its brilliant water resistance and UV protection. |
| Linseed Oil | Brings out the wood’s colour with a slightly warmer, amber tone. It’s a bit easier to apply and generally cheaper. Just make sure you get “boiled” linseed oil, which has drying agents added. | Dries faster than Tung oil, typically becoming touch-dry in 24 hours. | Interior projects, furniture, and anywhere you want a warmer aesthetic. |
When you’re applying the oil, remember that less is more. Use a thin, even coat with a clean, lint-free cloth. Let it soak in for 20 – 30 minutes, and then wipe away. If you leave pools of oil that’ll result in a sticky, tacky mess that won’t dry properly.
For most outdoor projects, I’d recommend two coats of oil for the best protection. Keep in mind that the second coat should only be applied when the first coat is completely dry. It’s this careful finishing process that ensures visual beauty and long-term durability gracefully handling the unpredictability of British weather.
How It Holds Up in the UK Climate
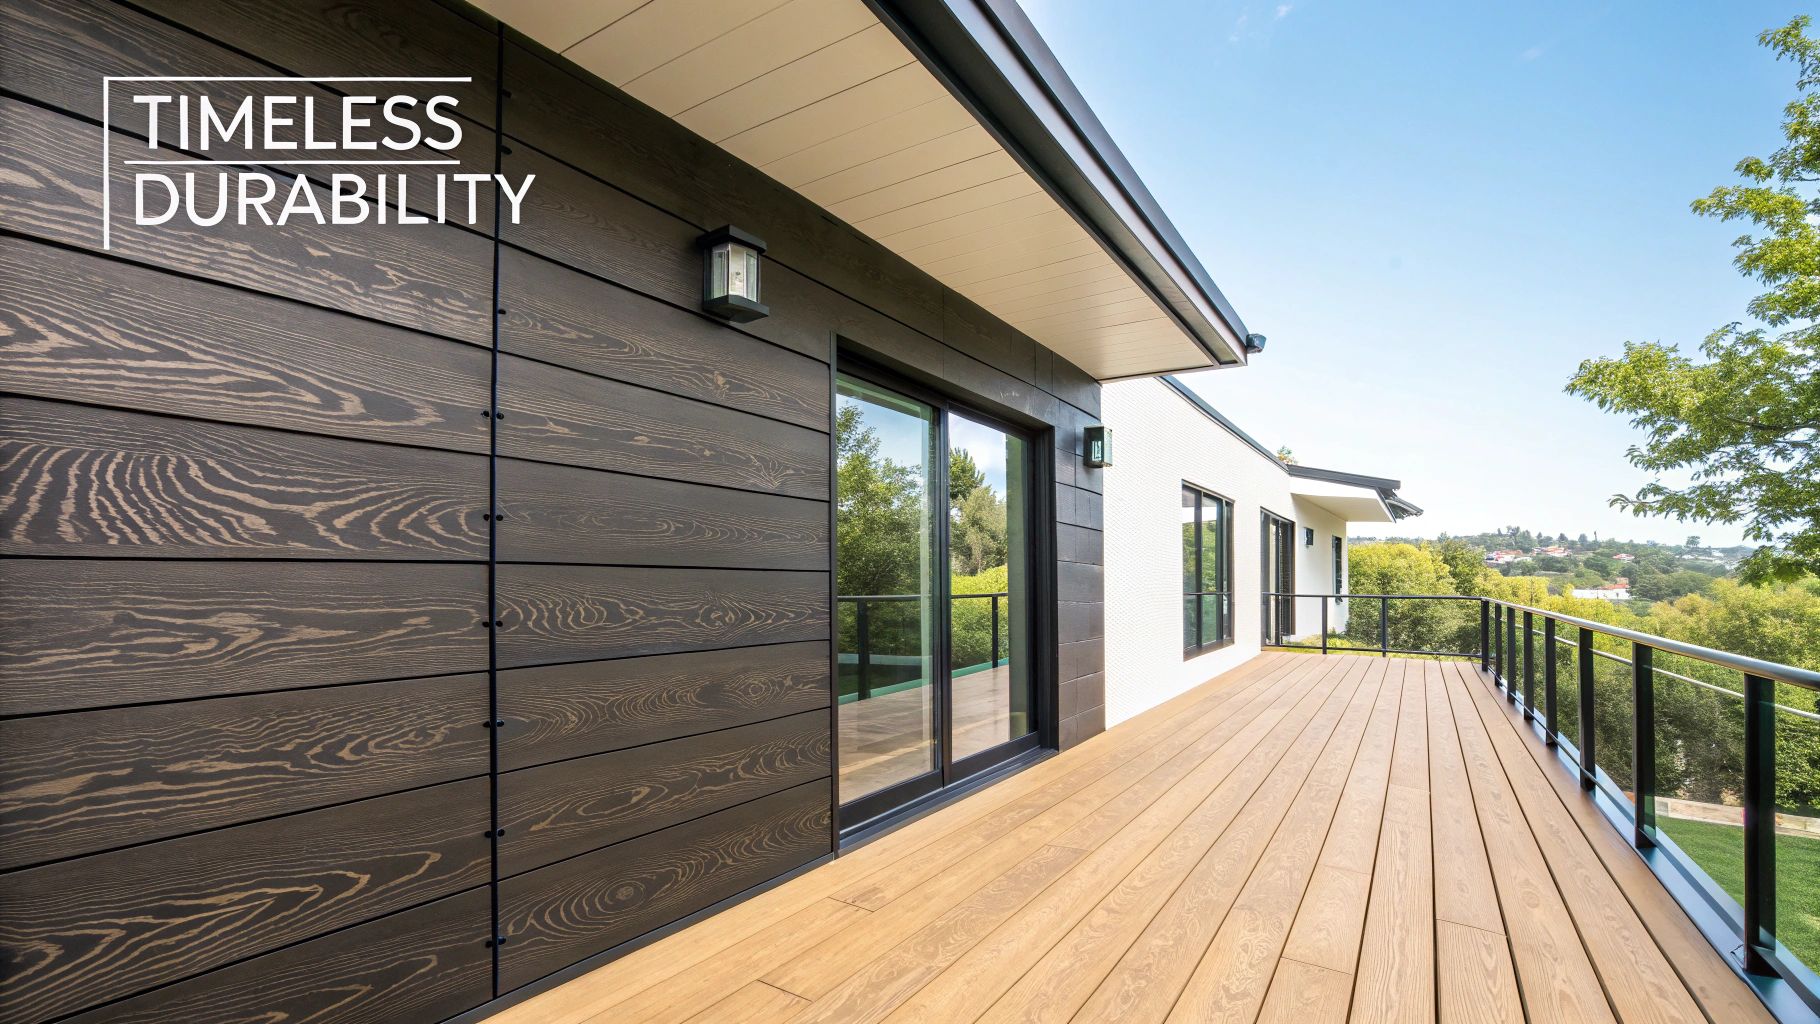
Shou Sugi Ban is prized for its dramatic looks and longevity, but how does it actually fare in the real world? Specifically, how does it stand up to the uniquely challenging British weather? With our mix of driving rain, damp winters, and the occasional blast of harsh sun, any exterior finish gets a proper test.
A well-executed charred finish is incredibly resilient, but it’s not a set-it-and-forget-it solution. The carbon layer is naturally hydrophobic, which is just a technical way of saying it repels water brilliantly. This is a massive advantage in our climate, as it prevents moisture from seeping into wood, the number one cause of rot and decay. The charring process also changes wood’s composition, making it less appealing to insects like termites and wood-boring beetles.
That said, some of the claims you might hear about its fire resistance, need to be taken with a pinch of salt. While the charred surface is harder to ignite than raw timber, it’s best to have realistic expectations. In fact, some modern research has started to question these traditional beliefs.
A Realistic Look at Durability Claims
The conversation around Shou Sugi Ban often paints a picture of near-invincibility. But science tells a more nuanced story. A 2021 study investigated the flammability and decay resistance of different charred woods, findings showed that the benefits varied depending on the type of wood used. If you’re interested in the specifics, you can read the full research about these wood performance findings.
What does this mean for your project here in the UK? It simply highlights the importance of getting the process right. It reinforces the need to choose a suitable timber like Larch or Cedar and to apply a high-quality sealant afterwards.
The real-world durability of your project depends less on ancient myths and more on modern practices: a thorough char, meticulous brushing, and consistent maintenance routine tailored to our climate.
A Practical Maintenance Plan
Keeping your charred wood looking its best for decades to come isn’t difficult, but it does require proactive care. The main culprits you’re up against are UV radiation, which causes fading from deep black to silvery grey and persistent moisture that wears down the oil finish over time.
A simple maintenance plan is all you need to protect the finish.
Annual Check-up and Clean (Every Spring)
Think of this as a quick MOT for your cladding. Once a year, give the surface a gentle wash with a soft-bristled brush and plain water.
Critically, avoid pressure washers because they can strip the char layer and damage wood fibres underneath, based on homebuilding.co.uk data. While you’re cleaning, keep an eye out for faded, dry, or patchy areas during cleaning.
Re-oiling When Needed (Every 3 – 5 Years)
Re-oiling frequency depends on how exposed the wood is. A south-facing wall that gets battered by sun and rain requires more frequent maintenance than sheltered areas.
A good rule of thumb is to watch water behavior, which indicates when to re-oil. Dull, thirsty-looking wood signals it’s time for a fresh coat. Make sure the wood is completely clean and dry before you start, then apply a thin layer of the same oil used initially (Tung or boiled linseed oil).
This routine oiling preserves the deep, rich colour and protective barrier. While Shou Sugi Ban creates a low-maintenance finish, it’s a mistake to think of it as “no-maintenance”. Occasional attention keeps your project durable and visually stunning for years.
Got Questions About Shou Sugi Ban?
Even after walking through the whole process, it’s completely normal to have a few questions rattling around before starting. Let’s tackle some of the most common queries we get. Think of this as the final piece of the puzzle, giving you the confidence to get started.
Getting these details right separates a good result from a truly stunning one.
How Long Does a Shou Sugi Ban Finish Really Last in the UK?
Properly done and sealed shou sugi ban finish can protect the timber for decades.
With a bit of maintenance, a fresh coat of oil every 3 – 5 years, the wood itself will stay well-protected from the British weather. What does change, however, is the colour. Over 5 – 10 years, that jet-black char weathers into a beautiful, silvery-grey patina. This happens fastest on surfaces that get the most wind and rain.
This weathering isn’t a sign of decay; it’s just the natural evolution of the timber. In fact, many people love the softened, aged look that adds a new layer of character to the building.
If you’re using the timber in a sheltered spot, like under a porch or on an indoor feature wall, it will keep its dark, dramatic colour for much longer.
Can I Just Char the Wood I Already Have on My House?
Absolutely not. Trying to apply the shou sugi ban technique to wood that’s already installed, be it cladding, fencing, or a deck, is incredibly dangerous.
You’re working with an intense, open flame. The fire can spread to the building, the charring process must be done on loose, individual boards in a safe, controlled space. Only after the boards are fully charred, cooled, brushed, and sealed should they be installed.
For more in-depth answers, our frequently asked questions page is packed with further information.
What’s the Difference Between a Deep and a Light Char?
The amount of char you apply is one of your biggest creative decisions, and it has a massive impact on the final look and the timber’s performance.
- Deep ‘Alligator’ Char: This is achieved by burning the wood until a thick, cracked carbon layer forms. The texture creates a dramatic, rustic look like alligators skin. This thick carbon layer provides the best weather resistance.
- Light Char: A more subtle approach. It allows more natural wood grain to show through. The finish is smoother and more uniform. Because that protective carbon layer is thinner it requires more frequent re-oiling that helps maintain the finish’s performance and appearance.
There’s no right or wrong answer here. A deep char gives you a bold, rugged look with maximum durability, while a light char offers more refined and contemporary appearance.
At TimberSol, we live and breathe the art of shou sugi ban. We provide expertly crafted charred timber for cladding, decking, and fencing, helping you create something truly beautiful and long-lasting. Explore our premium charred wood solutions at https://timbersol-backup.elnoirstudio.com.